
Related Manuals for Genesis Irid 400 RGB


Summary of Contents for Genesis Irid 400 RGB
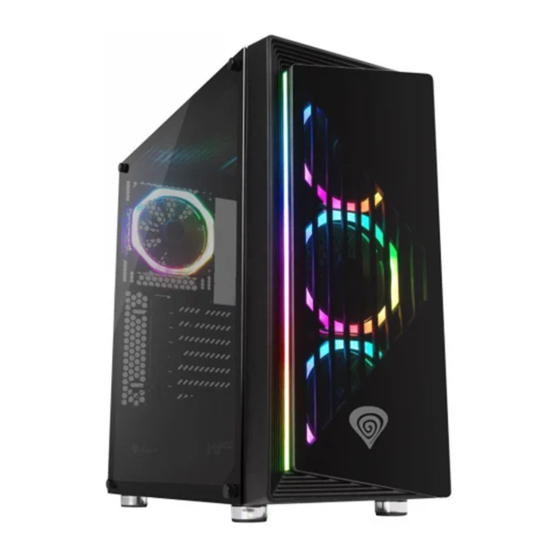
- Page 1 Irid Quick installation guide GAMING PC CASE www.genesis-zone.com V|20181220IRID400...
-
Page 2: Specification
Specification Material SPCC Steel, ABS, Tempered Glass Motherboard Support ATX, micro- ATX, mini-ITX 3,5" HDD Bays 2,5" SSD Bays I/O Connctors USB 3.0 x2, USB 2.0 x2, HD Audio Jack x2 Fan control Rainbow RGB fan controller hub with RF remote Expansion Slots Cooling Suport max. -
Page 3: Installation
PACKAGE CONTENTS 3x - Screw spacer 8x - Screw for PSU 18x - Screw for for Motherboard HDD/Motherboard 1x - motherboard tray 6x - Screw for HDD 1x - Speaker spacer screwing tool cage 1x - PC case 1x - Installation guide 5x - Cable tie Installation Photo 1-3. - Page 4 Photo 4-6. SSD Installation: Put SSD in designated area, then x it by screws. Side-cover is necessary to be removed. Photo 7-10. HDD Installation: HDD designated area instalation. Fix 2 supporting screws on left side of HDD. Install HDD in HDD tray. Fix right HDD side by screws.
- Page 5 SPECYFIKACJA Materiał Stal SPCC, ABS, Hartowane szkło Wspierane płyty główne ATX, micro- ATX, mini-ITX Zatoki HDD 3,5" Zatoki SSD 2,5" Gniazda We/Wy. USB 3.0 x2, USB 2.0 x2, HD Audio Jack x2 Kontrola wentylacji Kontroler wentylatorów Rainbow RGB z pilotem RF Gniazda rozszerzeń...
- Page 6 zawartość 3x - Dystanse do 8x - Śrubki do 18x - Śrubki do płyt głównych zasilacza HDD/Płyty głównej 1x - nakładka do wkręcania 6x - Śrubki do klatki 1x - Głośnik dystansów do tacki płyty głównej 1x - PC case 1x - Instrukcja obsługi 5x - Opaska zaciskowa Instalacja...
- Page 7 Zdjęcie 4-6. Instalacja dysku SSD: Zamontuj dysk SSD w wyznaczonym do tego miejscu, przykręć do obudowy za pomocą śrubek uprzednio demontując panel boczny. Zdjęcie 7-10. Instalacja dysku HDD: Wyznaczone miejsce na dyski HDD. Przykręć dwie śrubki wspierające z lewej strony dysku. Wsuń dysk do zatoki HDD a następnie przymocuj do zatoki za pomocą...
-
Page 8: Product & Support Information
| please scan qrcode | © GENESIS. All rights reserved. GENESIS name and logo, and all related product and service names, design marks and slogans are the trademarks or registered trademarks of GENESIS. All other product and service marks contained herein are the trademarks...
Need help?
Do you have a question about the Irid 400 RGB and is the answer not in the manual?
Questions and answers