Advertisement
Available languages
Available languages
Quick Links
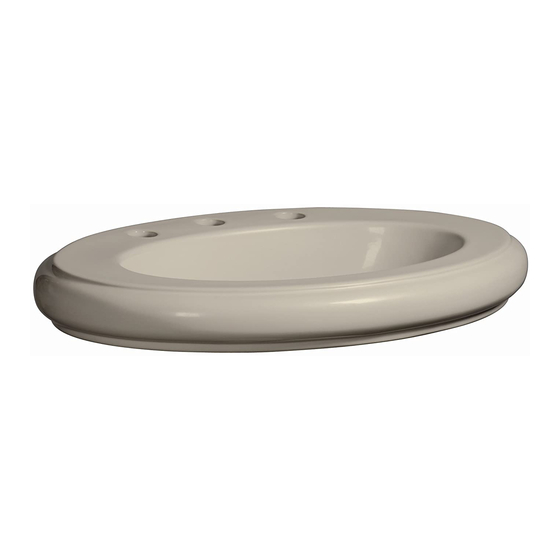
Orrington™ Collection
Self-Rimming Lavatory
DC017118
CALL 1-888-328-2383 OR VISIT WWW.DANZE.COM
Español, página "Español - 1"
© 2007 DANZE, INC. ALL RIGHTS RESERVED.
Français, page "Français - 1"
Pub No. IM-DC017118/08-07.01
Advertisement

Subscribe to Our Youtube Channel
Related Manuals for Danze Orrington DC017118


Summary of Contents for Danze Orrington DC017118
- Page 1 Installation Instructions Orrington™ Collection Self-Rimming Lavatory DC017118 CALL 1-888-328-2383 OR VISIT WWW.DANZE.COM Español, página “Español - 1” © 2007 DANZE, INC. ALL RIGHTS RESERVED. Français, page “Français - 1” Pub No. IM-DC017118/08-07.01...
-
Page 2: Before Installation
IntroductIon to danze Thank you for choosing Danze. We believe that elements in your bathroom should awaken your senses like a splash of cool water. That’s what you will experience with Danze. Danze is a manufacturer of high quality decorative plumbing products for your powder room, kitchen and bath. -
Page 3: Installation Instructions
Product dImensIons 4. Set the lavatory (A) into the proper position on top of the Orrington™ bathroom vanity. Ad- 8” just the lavatory position to assure that there is 4” an even amount of wood showing around the base of the lavatory (A). 7/8”... - Page 4 2. Use a pencil to lightly mark the centerlines for 9. Press down firmly on the lavatory rim to location of the lavatory (A) on the slab or counter distribute the adhesive. top. 10. Remove excess adhesive with a dry cloth. 3.
- Page 5 3/4” 3/4” Si tiene alguna pregunta sobre algún producto de Danze, comuníquese con nosotros en nuestra página web www.danze.com, o llame a nuestro centro de 7/8” servicios técnicos en horas normales de oficina, en el teléfono 888-328-2383. 1/8”...
- Page 6 2. Instale el grifo y el desagüe (no incluidos) en el lavabo (A) siguiendo las instrucciones del fab- 8. Termine de conectar el grifo y el desagüe ricante. siguiendo las instrucciones del fabricante. 3. Ponga una capa continua de material sellante (no incluido) en el borde superior del mueble to- cador Orrington™...
- Page 7 6. Instale el grifo y el desagüe (no incluidos) en el lavabo (A) siguiendo las instrucciones del fab- 13. Termine de conectar el grifo y el desagüe ricante. siguiendo las instrucciones del fabricante. 7. Ponga dos cordones continuos de mate- rial sellante (no incluido) entre la abertura en Consulte el manual del propietario para el cuidado y el mantenimiento.
- Page 8 3/4” Pour toute question concernant votre achat d’un produit Danze, veuillez commu- 3/4” niquer avec nous par le biais de notre site Web www.danze.com, ou appeler le centre de service technique durant les heures d’ouverture au 888-328-2383. 7/8” Danze Inc. se réserve le droit d’effectuer des changements aux spécifications 1/8”...
- Page 9 2. Assembler le robinet et le tuyau de vidange (non compris) au lavabo (A) selon les recomman- 8. Terminer les raccordements du tuyau de vi- dations du fabricant. dange et du robinet selon les recommandations du fabricant. 3. Appliquer un cordon continu de calfeutrant adhésif (non compris) dans la rainure sur la sur- face supérieure du meuble-lavabo Orrington™...
- Page 10 6. Assembler le robinet et le tuyau de vidange (non compris) au lavabo (A) selon les recomman- 13. Terminer les raccordements du tuyau de vi- dations du fabricant. dange et du robinet selon les recommandations du fabricant. 7. Appliquer deux cordons continus de calfeu- trant adhésif (non compris) entre l’ouverture dans le dessus ou dans le comptoir et la ligne Veuillez référer au manuel d’entretien du propriétaire pour les soins et...
Need help?
Do you have a question about the Orrington DC017118 and is the answer not in the manual?
Questions and answers