Advertisement
Quick Links
Installation and Operating Instructions
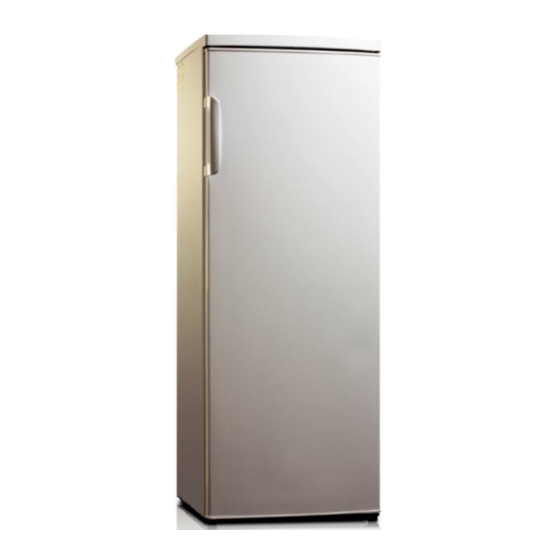
MODEL: RL252AP
TALL A+ SINGLE DOOR LARDER
Please read these instructions carefully before attempting to install or use this
appliance. It is advisable to keep these instructions in a safe place for future
reference.
N.B. Should your appliance require attention, our service agents will not be able
to book a service call without your unique serial number which can be found on
the last page of this manual.
Advertisement

Subscribe to Our Youtube Channel
Related Manuals for Iceking RL252AP


Summary of Contents for Iceking RL252AP
- Page 1 Installation and Operating Instructions MODEL: RL252AP TALL A+ SINGLE DOOR LARDER Please read these instructions carefully before attempting to install or use this appliance. It is advisable to keep these instructions in a safe place for future reference. N.B. Should your appliance require attention, our service agents will not be able to book a service call without your unique serial number which can be found on the last page of this manual.
- Page 2 Introduction Thank you for choosing this ICEKING appliance. It has been designed to give years of trouble-free use provided it is installed and maintained correctly. Please read these instructions carefully before installing or using your appliance. It is advisable to keep your purchase and installation receipts with these instructions in a safe place for future reference.
- Page 3 Your 1 year Manufacturer's guarantee THIS DOES NOT AFFECT YOUR STATUTORY RIGHTS. Your new Iceking appliance carries a free guarantee which protects you against the cost of repairs during the first 12 months from date of purchase provided that: Any claim is accompanied by evidence of the model reference, model serial number and proof of purchase, such as a Sales Receipt, showing that the appliance was purchased within the 12 months prior to the date of claim.
-
Page 4: Description Of The Appliance
Description of the Appliance 1. Thermostat Control & Interior Light Unit 2. Interior Shelves x 4 3. Door Storage – Specific Areas for Bottles & Dairy Products 4. Salad Crisper Box with Glass Shelf 5. Levelling Feet 6. Cool Zone 7. - Page 5 CONTENTS: Section 1. Installation Section 2. Safety Advice Section 3. Operating the Appliance Section 4. Maintenance...
- Page 6 Section 1. Installation IMPORTANT! This appliance must be left to stand in an upright position for at least 4 hours before being switched on for the first time. Remove all packaging and securing tape from the appliance. Wash the interior of the appliance with luke warm water containing a small amount of bicarbonate soda (5ml to 0.5 litres of water).
- Page 7 Section 2. Safety Advice Please read this booklet thoroughly before installing and switching on the appliance. The manufacturer accepts no responsibility for incorrect installation and usage. If this appliance is to replace an old refrigerator with a lock, as a safety measure break or remove the lock and/or door before disposal.
- Page 8 Section 3. Operating the Appliance 3.1. Switching on the Appliance Allow the appliance to stand for a minimum of 4 hours after installation. Plug in the appliance and switch on at the mains supply. Set the thermostat control to the required setting as detailed in the Temperature Control section (3.2.).
- Page 9 3.4. Energy Saving Advice - Do not install the appliance close to sources of heat, such as a cooker, dishwasher or radiator. - Locate the appliance in a cool well-ventilated room and make sure that the air vents are clear. - Try to avoid keeping the door open for a long time, warm air will enter the cabinet and may cause a build up of ice as well as affecting the energy consumption.
- Page 10 Section 4. Maintenance Before any maintenance or cleaning work is carried out, DISCONNECT the appliance from the ELECTRICITY supply. 4.1. Internal Cleaning Clean the interior and accessories with warm water and bicarbonate of soda (5ml to 0.5 litre of water). Rinse and dry thoroughly. Do not use detergents, abrasive powders, highly perfumed cleaning products, wax polishes or cleaning products containing bleach or alcohol.
- Page 11 4.5. Changing the Interior Light Bulb Switch off the power supply to the appliance Remove the screw that secures the interior light perspex cover in place. Remove the cover and unscrew the bulb. Replace the bulb with a suitable replacement (Max 15W). Refit the cover and switch the appliance back on.
- Page 12 Remove the plastic hinge cover. Remove the screws and upper-hinge assembly then lift and remove the larder door away from the lower hinge assembly. Now remove the hinge pin from the upper hinge, turn the hinge over and refit the pin into the same hole.
- Page 13 There is excessive frost/ice build up: Ensure that the door has been closed correctly Ensure that the door seal is clean and sealing correctly Check that the Temperature Control has not been set to maximum The appliance is making a noise: ...
- Page 14 Insurance Any warranty provided with this product does not cover loss of food content . Any claim for loss, damage, costs or expenses of an indirect or consequential nature including any economic loss or damage to foodstuffs or any other goods is excluded.
Need help?
Do you have a question about the RL252AP and is the answer not in the manual?
Questions and answers