Table of Contents
Advertisement
Quick Links
Advertisement
Table of Contents
Troubleshooting

Related Manuals for Everflo EPU-OS5

Summary of Contents for Everflo EPU-OS5
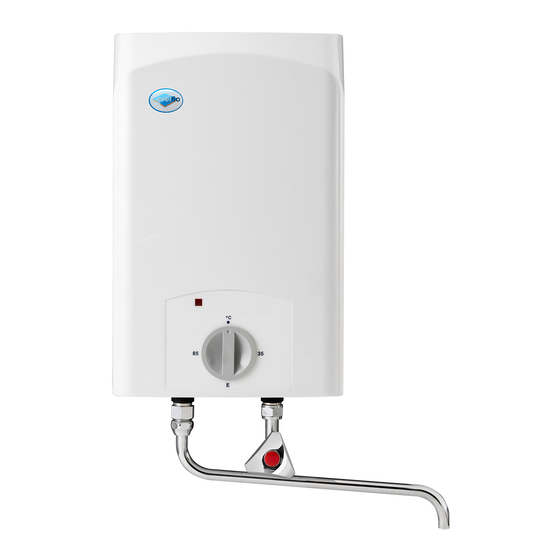
- Page 1 INSTALLATION INSTRUCTIONS — POINT OF USE WATER HEATERS EPU - OS5...
-
Page 2: Table Of Contents
CONTENTS Special Information General information, symbols in this documentation, units of measurement Intended use, general safety instructions Appliance description; cleaning, care & maintenance Troubleshooting, General safety instructions, Instructions, standards and regulations Appliance description; preparation Installation, appliance installation Water connection Power supply Commissioning, Initial start-up,Recommissioning Shutdown, Troubleshooting Maintenance... -
Page 3: Special Information
SPECIAL INFORMATION -- The appliance may be used by children aged 8 and older and persons with reduced physical, sensory or mental capabilities or a lack of experience and know-how, provided that they are supervised or they have been instructed on how to use the appliance safely and have understood the resulting risks. -
Page 4: General Information, Symbols In This Documentation, Units Of Measurement
GENERAL INFORMATION The chapters “Special Information” and “Appliance description ” are intended for both the user and qualified contractors. The chapter “Installation” is intended for qualified contractors. Note Read these instructions carefully before using the appliance and retain them for future reference. - Page 5 Other symbols in this documentation Note General information is identified by the adjacent symbol. »» Read these texts carefully. Symbol Material losses (appliance damage, consequential losses and environmental pollution) Appliance disposal »» This symbol indicates that you have to do something. The action you need to take is described step by step.
-
Page 6: Intended Use, General Safety Instructions
SAFETY Intended use This open vented (non-pressurised) appliance is designed for heating domestic hot wa- ter. The appliance can supply one draw-off point. This appliance is intended for domestic use. It can be used safely by untrained persons. The appliance can also be used in a non-domestic environment, e.g. in a small business, as long as it is used in the same way. - Page 7 Material losses The user should protect the appliance, the water pipes and the tap against frost. Material losses Never subject the appliance to water pressure. The tap outlet has a vent function. Scale build-up can block the outlet and subject the appliance to pressure. Never seal the tap outlet.
-
Page 8: Appliance Description; Cleaning, Care & Maintenance
APPLIANCE DESCRIPTION The open vented (non-pressurised) appliance constantly maintains the water content at the pre-selected temperature. The appliance switches on automatical- ly as soon as its temperature falls below the set value. During heating, expansion water drips from the tap. The appliance must only be installed with taps suitable for open vented (non-pressurised) water heaters. -
Page 9: Troubleshooting, General Safety Instructions, Instructions, Standards And Regulations
TROUBLESHOOTING Problem Cause Remedy The appliance does not The temperature selec- Switch the appliance ON supply hot tor is set to by turning water. “°C”. the temperature selec- tor. No power at the appli- Check the plug / fuses in ance. -
Page 10: Appliance Description; Preparation
INSTALL - APPLIANCE DESCRIPTION The appliance is intended to heat cold water and supply it to a single draw-off point. The appliance must only be installed with an open (non-pressurised) tap. This open vented (non-pressurised) appliance is only suitable for oversink installation. - Page 11 Material losses The appliance is only suitable for oversink installation. The water connections of the appliance point downwards. Material losses Connecting pipe length (from tap to appliance) may not exceed 1 m.
-
Page 12: Installation, Appliance Installation Water Connection Power Supply
INSTALLATION Appliance installation Mark out the holes to be drilled on the wall (see chapter “Installation / Specifica- tion / Dimensions nd connections”). Drill the holes and insert suitable rawl plugs. Secure the wall mounting bracket using suitable screws. Hang the appliance on the wall mounting bracket. Water connection Material losses Carry out all water connection and installation work in accordance... - Page 13 Power supply WARNING Electrocution Carry out all electrical connection and installation work in accord- ance with relevant regulations. WARNING Electrocution When permanently connected to the power supply using a dedicat- ed junction box, the appliance must be able to be isolated from the mains power supply by an isolator that disconnects all poles with at least 3 mm contact separation.
-
Page 14: Commissioning, Initial Start-Up,Recommissioning
COMMISSIONING WARNING Electrocution Commissioning may only be carried out by a qualified contractor in accordance with safety regulations. IInitial start-up Either open the DHW valve of the tap or set the mono lever mixer tap to “hot” until the water that flows out is free of air bubbles. Switch on power at the fused spur. -
Page 15: Shutdown, Troubleshooting
SHUTDOWN Isolate the appliance from the power supply by switching off at the fused spur. Drain the appliance (see chapter "Installation / Maintenance / Draining the appli- ance"). TROUBLESHOOTING Problem Cause Remedy The appliance does The high limit safety Remedy the cause of the fault. not supply hot water. -
Page 16: Maintenance
MAINTENANCE WARNING Electrocution Before any work on the appliance, disconnect all poles of the appliance from the power supply. Dismantle the appliance for maintenance work. Draining the appliance WARNING Burns Hot water may escape during draining. Drain the appliance via its connectors. Opening the appliance Pull off the temperature selector. - Page 17 Checking the earth conductor Pull off the temperature selector. Check the earth conductor (in Germany, e.g. BGV A3) across a temperature controller fixing screw and the earth conductor contact of the power cable. Replacing the power cable The power cable must only be replaced by a qualified contractor with an original spare part.
-
Page 18: Specification, Dimensions And Connections
DIMENSIONS c01 Cold water inlet Male thread G 1/2 A c06 DHW outlet Male thread G 1/2 A i13 Wall mounting bracket... -
Page 19: Wiring Diagram
WIRING DIAGRAM... -
Page 20: Heat-Up Profile
HEAT UP PROFILE Heat-up performance The heat-up period depends on the degree of scaling and residual heat. The heat-up time for a cold water supply at 10 °C and a maximum temperature setting 60 C will be achieved in 8 minutes Country-specific approvals and certifications The test symbols can be seen on the type plate. -
Page 21: Erp Performance
ERP DATA EPU - OS5 Manufacturer Tatramat Load Profile Energy Efficiency Class Energy Conversion Efficiency Annual Power Consumption Default Temperature Setting Sound Power Level dB(A) Daily Power Consumption 2295... -
Page 22: Data Table
DATA TABLE Unit of Measure EPU - OS5 Hydraulic data Nominal capacity Litres Mixed water volume at 40 Litres Electrical data Rated voltage Rated output Rated current MCB/fuse rating Phases 1/N/PE Frequency 50/60 Application limits Max. permissible pressure Max. flow rate l/min Energy data Standby energy consumption/24 h at... -
Page 23: Gaurantee Terms And Conditions
GUARANTEE TERMS & CONDITIONS This product is guaranteed against faulty materials and manufacture for a period of one year from the date of purchase. In the event of issues with the product the customer shall return the product to the merchant or other retailer from where the product was originally supplied. - Page 24 We take every care and precaution to ensure that information in this document is accurate at the point of publishing but with continuous product development the details given in this document are subject to alteration without notice. REF: 025215 Everflo - Oversink Vented Installation Manual - English - January 2017...
Need help?
Do you have a question about the EPU-OS5 and is the answer not in the manual?
Questions and answers