Table of Contents
Advertisement
Quick Links
Advertisement
Table of Contents

Subscribe to Our Youtube Channel
Related Manuals for 4D systems GEN4-4DCAPE-43T-CLB


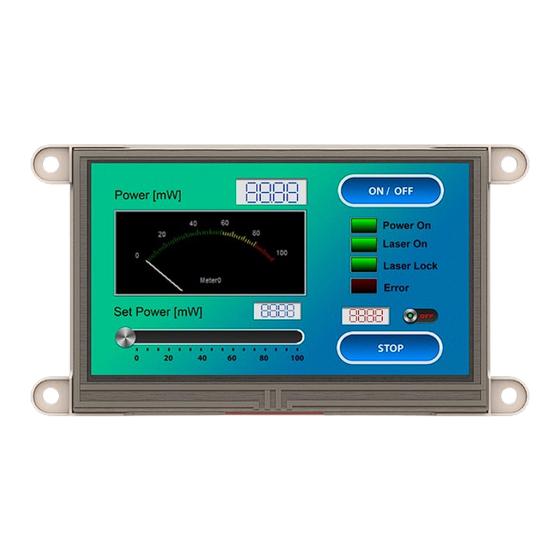
Summary of Contents for 4D systems GEN4-4DCAPE-43T-CLB
- Page 1 gen4-4DCAPE-XXT/CT-CLB - GETTING STARTED MANUAL...
-
Page 2: Table Of Contents
Getting Started with a Simple Project Reference Documents Glossary WHAT’S IN THE BOX gen4-4DCAPE- gen4-4DCAPE 30-way Flat Flex Adaptor XXT/CT-CLB Cable (FFC) Supporting documents, datasheet, CAD step models and application notes are available on the 4D Systems website. gen4-4DCAPE-XXT/CT-CLB - GETTING STARTED MANUAL... -
Page 3: Introduction
• Reference Documents The gen4-4DCAPE-XXT and gen4-4DCAPE-XXCT-CLB are part of the gen4 series of display capes designed and manufactured by 4D Systems for BeagleBone boards. These capes feature a 4.3”, 5.0” and 7.0” colour LCD display powered through a BeagleBone board and come in resistive and capacitive touch variants—gen4-4DCAPE-XXT and gen4-4DCAPE-XXCT-... - Page 4 1.3 gen4-4DCAPE Adaptor The adaptor included is needed to connect the BeagleBone board and the gen4-4DCAPE. It is a module stacked into the BeagleBone board. 1.4 30-way Flat Flex Cable (FFC) The Flat Flex cable is connected to the gen4-4DCAPE Adaptor to connect it to the gen4-4DCAPE Display.
-
Page 5: How To Use The Gen4-Lcd-Cape
HOW TO USE THE GEN4 LCD CAPE Connecting the gen4-LCD-CAPE 1. Connect the gen4-4DCAPE Adaptor to the BeagleBone Black while the BeagleBone Black is not powered. 2. Connect the 30-way FFC cable to the gen4-4DCAPE Adaptor, and to the gen4-4DCAPE Display. The 30-way FFC connectors are ‘Upper Contact’... - Page 6 Debian is the distribution shipping with current BBB boards now, and can be installed onto older BBB’s. If the distribution you wish to use is not supporting 4D Systems’ gen4-4DCAPEs by default, the supplied source files can be used, please refer to our Product Page.
-
Page 7: Gen4-4Dcape Troubleshooting
7. Once power is connected, something should be displayed on the gen4- 4DCAPE a few moments after it has started to boot. Each distribution will behave differently and might require different input from the User (It is recommended to have a keyboard attached while setting the system up, as login details etc. - Page 8 Changing the Screen Orientation The Screen Orientation of the display can be changed. To implement this, there are two things that need to be changed: 1. Rotate Screen Orientation Run the command: sudo nano /etc/X11/xorg.conf Find the “Device Section” with "Builtin Default fbdev Device 0" identifier as below and add the text in red in the section.
-
Page 9: Getting Started With A Simple Project
GETTING STARTED WITH A SIMPLE PROJECT After connecting the display and flashing the image, you can now start doing projects. This project simply shows a message box on the gen4-4DCAPE that says “Hello World”. Part 1: Scripting Step 1: Update the Python version This project uses Python 3.5.3. - Page 10 2. Go to Desktop and create a new file “HelloWorld.py”. 3. Open using Sublime Text or any other editor you have installed in you computer. 4. Paste the script below and Save: import QtGui from PyQt4 import window(): QtGui.QApplication(sys.argv) widget QtGui.QWidget() label QtGui.QLabel(widget)
- Page 11 Part 2: Running the Project Option 1: Run the Python Script Using the BeagleBone Terminal To run the python script using the gen4-4DCAPE Display, navigate to where the python script is saved then run the command: $ python3 HelloWorld.py Option 2: Run the Python Script Using SSH Navigate to the script’s directory (in this case, Desktop).
-
Page 12: Reference Documents
This website details how to get started with the BBB. Note: For support regarding the gen4-4DCAPE hardware itself, please go to the 4D Systems website and either contact Support directly via a Ticket, or use the 4D Systems Forum. gen4-4DCAPE-XXT/CT-CLB - GETTING STARTED MANUAL... - Page 13 NOTES gen4-4DCAPE-XXT/CT-CLB - GETTING STARTED MANUAL...
-
Page 14: Glossary
10. SSH - Secure Shell or Secure Socket Shell, is a network protocol that gives users, particularly system administrators, a secure way to access a computer over an unsecured network. Visit our website at: www.4dsystems.com.au Technical Support: www.4dsystems.com.au/support Sales Support: sales@4dsystems.com.au gen4-4DCAPE-XXT/CT-CLB - GETTING STARTED MANUAL Copyright © 4D Systems, 2019, All Rights Reserved...
Need help?
Do you have a question about the GEN4-4DCAPE-43T-CLB and is the answer not in the manual?
Questions and answers