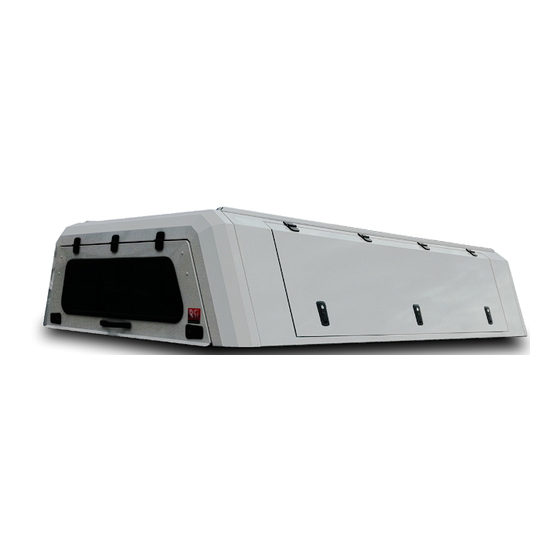
Summary of Contents for RSI ISUZU SINGLE CAB
-
Page 1: Assembly Instructions
ASSEMBLY INSTRUCTIONS ISUZU SINGLE CAB PLEASE ENSURE TO READ ASSEMBLY INSTRUCTIONS CAREFULLY BEFORE ATTEMPTING TO INSTALL. LIKE SHARE FOLLOW... - Page 2 ASSEMBLY KIT CONTENTS ASSEMBLY KIT CONTENT (HARDWARE) DESCRIPTION EXAMPLE Nyloc Nut M6 M6 X 12 BH Screws / End Caps 4 / 4 M6 X 16 M6 X 25 M6 Flat Washer Sealer Foam ASSEMBLY KIT CONTENT (COMPONENTS) DESCRIPTION EXAMPLE REAR END (INC REAR DOOR) FRONT END ROOF PANEL...
-
Page 3: Warning Labels
WARNING LABELS Ensure that only the recommended tools are used during the assembly procedure of the RSI SMARTCANOPY to avoid damaging the RSI SMARTCANOPY. Take note to the symbols indicating possible safety hazards during assembly and to use the relevant personal protective equipment and safety measures as indicated. - Page 4 2. ONLY USE THE HARDW ARE PROVIDED IN THE ASSEMBLY KIT OUTLINED ON THE PAGE BEFORE 3. HANDLE ALL RSI SMARTCANOPY COMPONENTS WITH CARE UPON UNPACKING 4. TO AVOID SCRATCHING DO NOT PLACE RSI SMARTCANOPY COMPONENTS ON A ROUGH SURFACE 5. NEVER USE ACETONE ON PAINTWORK 1.
- Page 5 STEP 2. LOCATE BOTH SIDE PANELS AND PLACE THEM EITHER SIDE OF THE ROOF AS INDICATED (PLEASE NOTE THAT THE BLUE STICKERS MUST BE ORIENTATED TO THE ONE SIDE OF THE RSI SMARTCANOPY AND THE THREE RED STICKERS TO THE OTHER) 3.
- Page 6 ASSEMBLY OF THE RSI SMARTCANOPY 1. ALIGN THE FRONT END TO THE SIDE PANEL & ROOF ASSEMBLY, THE FL, FR RED ORIENTATION STICKERS STEP SHOULD BE ON THE SAME SIDE. 2. USING M6 NYLOC NUTS & M6 X 16 FLAT WASHERS FASTEN BOTH TOP CORNERS & MIDDLE FIVE POINTS LOOSELY.
- Page 7 4. USING A NO. 10 FLAT SPANNER, TIGHTEN ALL REMAINING JOINING STUDS FOR BOTH THE FRONT & REAR ENDS. NOTE: ADD END CAP TO NYLOC NUT REPEAT THIS STEP IN ALL 4 CORNERS OF THE RSI SMARTCANOPY. STEP 1. REMOVE THE ADHESIVE BACKING ON THE BLUE/GREEN TAPE ON THE D-RUBBER.
- Page 8 EIGHT RUBBER ONTO THE RSI SMARTCANOPY FOLLOWING THE EDGE ALL THE WAY ROUND. When sticking the rubber on the front part of the canopy, when edges start to lift, stick it back down to the canopy using a very small amount of glue...
- Page 9 ASSEMBLY OF THE RSI SMARTCANOPY STEP 5. CUT THE OVERHANG ON THE D-RUBBER SHORTER, BE SURE TO LEAVE SOME OVER HANG IN ORDER EIGHT TO HELP SEAL THE REAR. THANK YOU FOR PURCHASING A RSI SMARTCANOPY. SHOULD YOU HAVE ANY ENQUIRIES ABOUT THE ASSEMBLY, FEEL FREE TO CONTACT US...


Need help?
Do you have a question about the ISUZU SINGLE CAB and is the answer not in the manual?
Questions and answers