Table of Contents
Advertisement
Quick Links
GEIGER
RADIO SYSTEMS
Sunshade controls
Radio remote
controls for
rolling shutters
and sunshade
controls
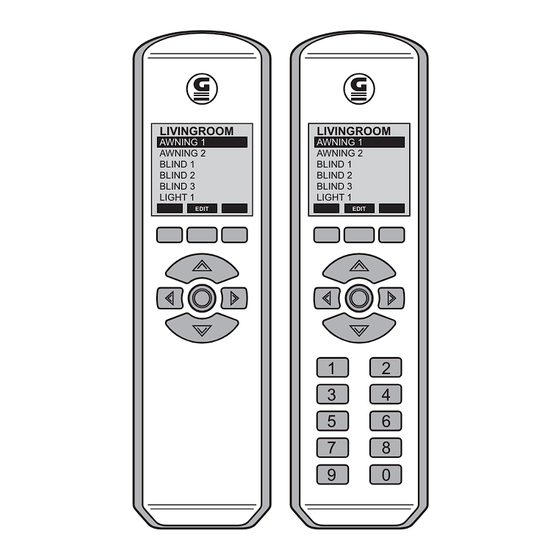
GF0043 18-channel
GF0050 50-channel
Display handheld transmitter
with timer, astro function and
USB interface
LIVINGROOM
AWNING 1
AWNING 2
BLIND 1
BLIND 2
BLIND 3
LIGHT 1
EDIT
WOHNZIMMER
LIVINGROOM
AWNING 1
MARKISE 1
AWNING 2
MARKISE 2
BLIND 1
JALOUSIE 1
BLIND 2
JALOUSIE 2
BLIND 3
JALOUSIE 3
LIGHT 1
LICHT 1
EDIT
1
2
3
4
5
6
7
8
9
0
Advertisement
Table of Contents


Need help?
Do you have a question about the GF0050 and is the answer not in the manual?
Questions and answers