Sign In
Upload
Download
Table of Contents
Contents
Add to my manuals
Delete from my manuals
Share
URL of this page:
HTML Link:
Bookmark this page
Add
Manual will be automatically added to "My Manuals"
Print this page
×
Bookmark added
×
Added to my manuals
Manuals
Brands
CAB Manuals
Control Unit
PX Series
Operator's manual
CAB PX Series Operator's Manual
Print module
Hide thumbs
1
2
Table Of Contents
3
4
5
6
7
8
9
10
11
12
13
14
15
16
17
18
19
20
21
22
23
24
25
26
27
28
page
of
28
Go
/
28
Contents
Table of Contents
Bookmarks
Table of Contents
Table of Contents
1 Introduction
Instructions
Intended Use
Safety Instructions
Safety Marking
Environment
2 Installation
Device Overview
Unpacking and Setting-Up the Print Module
Connecting the Device
Connecting to the Power Supply
Connecting to a Computer or Computer Network
Switching on the Device
3 Control Panel
Structure of the Control Panel
Symbol Displays
Operating States
Key Functions
4 Loading Material
Loading Labels
Setting the Label Sensor
Setting the Head Locking System
Loading Transfer Ribbon
Setting the Feed Path of the Transfer Ribbon
5 Printing Operation
Printhead Protection
Synchronization of the Paper Feed
Printing
Peel-Off Mode
External Rewinding
Ribbon Saving
6 Cleaning
Cleaning Information
Cleaning the Rollers
Cleaning the Printhead
7 Fault Correction
Types of Errors
Problem Solution
Error Messages and Fault Correction
8 Labels
Label Dimensions
Device Dimensions
Reflex Mark Dimensions
Cut-Out Mark Dimensions
9 Mounting Dimensions
10 Licences
Declaration of Incorporation
EU Declaration of Conformity
Fcc
11 Index
Advertisement
Quick Links
1
Instructions
2
Setting the Label Sensor
3
Problem Solution
4
Types of Errors
Download this manual
Operator's Manual
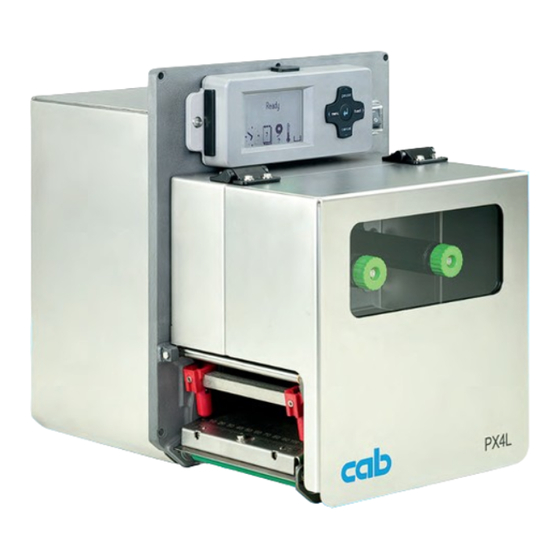
PX
Print Module
Made in Germany
Table of
Contents
Previous
Page
Next
Page
1
2
3
4
5
Advertisement
Table of Contents
Need help?
Do you have a question about the PX Series and is the answer not in the manual?
Ask a question
Questions and answers
Related Manuals for CAB PX Series
Control Unit CAB PX4L Operator's Manual
Print module (28 pages)
Control Unit CAB PX4R Operator's Manual
Print module (28 pages)
Control Unit CAB PX6R Operator's Manual
Print module (28 pages)
Control Unit CAB CAB CL.ES.RR Operating Instructions Manual
(17 pages)
Control Unit CAB CL.FWS Operating Instructions Manual
(21 pages)
Control Unit CAB CL.MD Operating Instructions Manual
(17 pages)
Control Unit CAB SHADE User Handbook Manual
(28 pages)
This manual is also suitable for:
Px4l
Px4r
Px4.3l
Px4.3r
Px6r
Px6l
Table of Contents
Print
Rename the bookmark
Delete bookmark?
Delete from my manuals?
Login
Sign In
OR
Sign in with Facebook
Sign in with Google
Upload manual
Upload from disk
Upload from URL


Need help?
Do you have a question about the PX Series and is the answer not in the manual?
Questions and answers