Advertisement
Advertisement

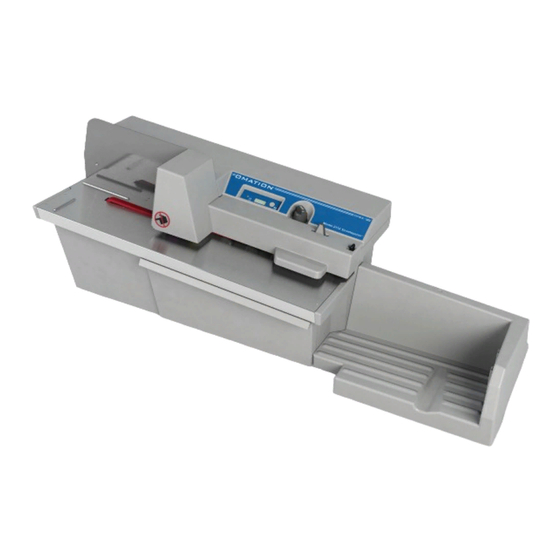
Summary of Contents for Opex OMATION 2112
- Page 1 Model 2112 User Manual June 2015...
- Page 2 All rights reserved. Printed in the United States of America. If you find errors, inaccuracies, or any other issues or concerns with this document, please contact the OPEX Technical Writers via email at: GroupTechwriters@opex.com No portion of this manual may be reproduced in any form or by any means, or stored in a database or retrieval system, without the express, written ®...
-
Page 3: Table Of Contents
Specifications ..........14 Table of Contents Omation Model 2112 User Manual - OPEX Corporation use only - not for distribution... -
Page 4: Safety
• Mill cutter can remove as little as 0.010” of a chip • Enhanced chip management/chip capacity • Two position depth of cut, or no cut (for counting mail only) • Large variety of mail types Safety Omation Model 2112 User Manual - OPEX Corporation use only - not for distribution... - Page 5 Cut/No Cut Function The Omation 2112 is capable of counting individual pieces of mail with or without cutting open the envelope. This function can be selected by turning the Cut/No Cut Knob to the desired selection position. Counter Function This displays the count for individual pieces of mail processed in either the “No Cut”...
-
Page 6: Introduction
Figure 1: Omation 2112 main components Operation Refer to Figure 1 for component locations. 1 Connect the power cord to the Omation 2112 and into an AC supplied outlet. Note: When you first connect the power cable, the Chip Bin Full Indicator Light will flash. - Page 7 10 To continue processing, repeat the above steps. Nip Arm Removal/Installation The Nip Arm should be removed for clearing paper jams and cleaning the machine. Introduction Omation Model 2112 User Manual - OPEX Corporation use only - not for distribution...
- Page 8 Also, the nip arm assembly must be removed if you want to increase/decrease the cut depth from the factory setting. Setting the cut depth is described on page 9. Introduction Omation Model 2112 User Manual - OPEX Corporation use only - not for distribution...
- Page 9 - For a shallower cut - push the release button and with a Phillips head screwdriver, turn the cutter adjust cam counterclockwise one notch to decrease the cut by 0.002”. 3 Replace the nip assembly. Introduction Omation Model 2112 User Manual - OPEX Corporation use only - not for distribution...
- Page 10 Figure 4: Output tray extended Simply lift the output tray up, move it to the desired position, and press it down onto the stepped tray hitch (see Figure 4). Introduction Omation Model 2112 User Manual - OPEX Corporation use only - not for distribution...
-
Page 11: Routine Maintenance
Accumulations of dirt and debris can cover sensors, preventing them from working effectively. This will hinder machine performance. 6 Re-install the chip bin and nip arm assembly. Routine maintenance Omation Model 2112 User Manual - OPEX Corporation use only - not for distribution... -
Page 12: Optional Assemblies
The following assemblies can be ordered as replacement parts for the Omation Model 2112. Figure 5: Service Nip Arm Assembly (9130755) Figure 6: Retard Plastic Sub Assembly (9130855) Figure 7: Output Tray Assembly (9131300) Optional assemblies Omation Model 2112 User Manual - OPEX Corporation use only - not for distribution... - Page 13 Figure 8: Chip Bin Assembly (9131400) Optional assemblies Omation Model 2112 User Manual - OPEX Corporation use only - not for distribution...
-
Page 14: Specifications
JAPAN: 100 VAC, 50/60HZ, 3A US: 1964 BTU/h (max @ 115v/5A) BTU Rating EURO: 2357 BTU/h (max @ 230v/3A) JAPAN: 1024 BTU/h (max @ 100v/3A) Specifications Omation Model 2112 User Manual - OPEX Corporation use only - not for distribution...

Need help?
Do you have a question about the OMATION 2112 and is the answer not in the manual?
Questions and answers