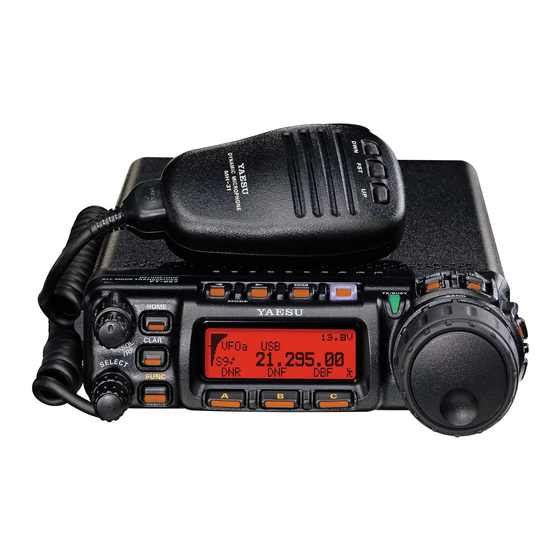
Yaesu FT-857 Manual
Installing a lif port
Hide thumbs
Also See for FT-857:
- Operation manual (132 pages) ,
- Technical supplement (108 pages) ,
- Manual (6 pages)
Advertisement
Table of Contents
- 1 Installing a LIF Port into the FT-857/897 Transceiver
- 2 LIF Port Installation
- 3 Dismantling the Transceiver
- 4 Connecting the RG174 Cable to the PCB
- 5 Routing the Cable and Reassembling of the Transceiver
- 6 Connection of the LIF Converter (RX-Only)
- 7 Setup of the CAT Interface
- 8 Omnirig Setup for the FT-8X7 Series Transceivers
- Download this manual
Installing a LIF port into the FT-857/897 transceiver
Introduction
This document describes the procedure for installing a LIF (Low Intermediate
Frequency [9 – 18kHz]) port into the FT-857/897 transceiver. This procedure
requires a level of expertise sufficient to dismantle the transceiver and to solder.
Nonetheless, the installation is straight forward and should not cause any
difficulties for the experienced radio amateur.
It is important to unplug all connectors and power before working on any
transceiver. It is also important to be grounded to avoid static discharges.
Please note: no responsibility or liability will be taken by the author of this
document for any damage or malfunction caused by user modifications.
LIF port installation
Dismantling the Transceiver
The top cover of the radio must be removed. There are 7 screws that need
to be removed and then the lid will become loose; there are 3 screws on
the top cover and 2 on each side. Remove the lid carefully; the speaker
cable will still be connected to the circuit board. Unplug the speaker.
Connecting the RG174 cable to the PCB
Solder the ground shield of the RG174 to the first 3 pins of J23. This will
also make the option filter 1 selectable in the radio's menu. Pin 4 is the RF
and it needs to be connected to the center of the RG174 coaxial cable and
to the input of the 455kHz filter. The center pin of the filter is connected to
pin 2 of J24 and the output is connected to pin 3. The filter is secured on
the PCB with double sticky tape. The filter will keep the AGC function
Advertisement
Table of Contents

Related Manuals for Yaesu FT-857


Summary of Contents for Yaesu FT-857
- Page 1 Introduction This document describes the procedure for installing a LIF (Low Intermediate Frequency [9 – 18kHz]) port into the FT-857/897 transceiver. This procedure requires a level of expertise sufficient to dismantle the transceiver and to solder. Nonetheless, the installation is straight forward and should not cause any difficulties for the experienced radio amateur.
- Page 2 Note: Option filter 1 has to be selected for RX to route IF to the LIF. Routing the cable and reassembling of the transceiver The best routing of the RG174 is shown below for the FT-857. The coaxial cable is secured with a tie-wrap to the power cable. The LIF PCB has to be mounted outside of the transceiver.
- Page 3 7kHz high pass filter or between 4-5 to enable it. Note: The transmit audio is still filtered with the existing filter inside the FT-857/897. If the MDSR is properly configured the standard microphone can be used to transmit, while the RX is processed through the computer.
- Page 4 “OmniRig Configuration & Status”, select the key icon “Configure OmniRig”. Only configure RIG 1. • Select the transceiver to be controlled from the drop down menu (FT-857 or FT-897). • Select the port of the computer. If the Com port is not known go to the “Device Manager”...
Need help?
Do you have a question about the FT-857 and is the answer not in the manual?
Questions and answers