Table of Contents
Advertisement
Advertisement
Table of Contents

Subscribe to Our Youtube Channel
Related Manuals for OJ Electronics MTD3-1999


Summary of Contents for OJ Electronics MTD3-1999
- Page 1 67772A 06/19 (AML) MTD3-1999 User Manual © 2019 OJ Electronics A/S...
-
Page 2: Table Of Contents
TIME: Time and Event Settings 2/2 Li: Floor Temperature Limit SW: Software Version TP: Temperature Read-out Done: Exiting the Menu LCD: Display Settings Troubleshooting and Additional Information ADJ: Adjust Change of Front Cover NSB: Night Setback PAGE 2 © 2019 OJ Electronics A/S... -
Page 3: Introduction
This thermostat can be used as a controller for electric room heating pursuant to EN50559 PAGE 3 © 2019 OJ Electronics A/S... -
Page 4: Menu Overview
Measured temperature +/- 10°C (AdJ) 2 0 °C - 8 0 °C (nSb) 5 0 °C - 10 0 °C (dEF) oFF; on; AUt oFF: diF: 0,3–10,0 on: CYC: 15–60 (PWM) AUt: CYHi: 10–60 AUt: CYLo: 10–30 PAGE 4 © 2019 OJ Electronics A/S... -
Page 5: Icons
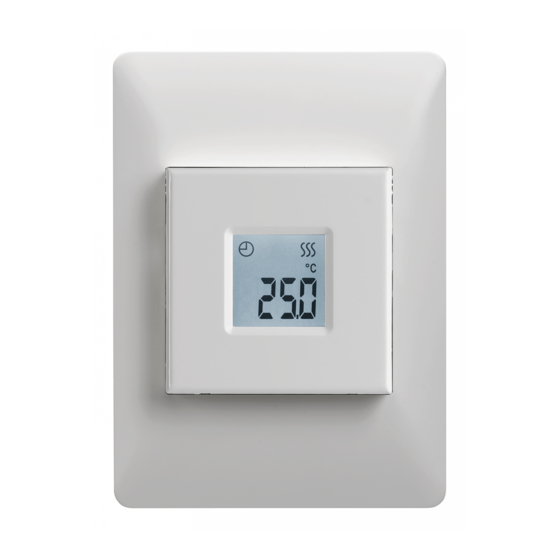
Scheduled operation Child lock is engaged Night setback Fahrenheit is chosen as temperature scale Frost protection mode Celsius is chosen as temperature scale Heating is activated The thermostat is in regulator mode APP: C PAGE 5 © 2019 OJ Electronics A/S... -
Page 6: App: Sensor Application 1/2
• Use the top or bottom button to select the appli- this function will increase energy consumption cation that fits your installation Floor limit temperatures are set in the “Li : Floor • Confirm your choice with the middle button Temperature Limit” menu PAGE 6 © 2019 OJ Electronics A/S... -
Page 7: App: Sensor Application 2/2
• AE: With this setting, an optional external room sensor (connected to the floor sensor terminals) controls the heating system Menu structure: APP: A; F; C; AF; AE (Options available may vary depending on version) PAGE 7 © 2019 OJ Electronics A/S... -
Page 8: Sca: Temperature Scale
SChi: 0,0 °C - 40 0 °C lowest temperature the thermostat may use as its SCLo: 0,0 °C - SChi setpoint temperature • Confirm your choice with the middle button (Options available may vary depending on version) PAGE 8 © 2019 OJ Electronics A/S... -
Page 9: Li: Floor Temperature Limit
• Use the top and bottom buttons to set the limit for the LiLo: 0 °C - Lihi lowest temperature the thermostat may reach • Confirm your choice with the middle button (Options available may vary depending on version) PAGE 9 © 2019 OJ Electronics A/S... -
Page 10: Tp: Temperature Read-Out
FLo: Actual measured floor temperature ro: Actual measured room temperature • Use the middle button to skip to the next sensor type and skip to the menu (Options available may vary depending on version) PAGE 10 © 2019 OJ Electronics A/S... -
Page 11: Lcd: Display Settings
SCA: C; F; nu • Use the top and bottom buttons to toggle between the diS: SP; tP; CL different options • Confirm your choice with the middle button (Options available may vary depending on version) PAGE 11 © 2019 OJ Electronics A/S... -
Page 12: Adj: Adjust
• Use the top and bottom buttons to adjust the sensor AdJ: with the value with which you want to increase/de- Measured temperature +/- 10°C crease the temperature • Confirm your choice with the middle button (Options available may vary depending on version) PAGE 12 © 2019 OJ Electronics A/S... -
Page 13: Nsb: Night Setback
NSB is activated 2 0 - 8 0 • Confirm your choice with the middle button (Options available may vary depending on version) PAGE 13 © 2019 OJ Electronics A/S... -
Page 14: Def: Frost Protection
Menu structure: you want to be the setpoint temperature when DEF is dEF: 5 0 °C - 10 0 °C activated • Confirm your choice with the middle button (Options available may vary depending on version) PAGE 14 © 2019 OJ Electronics A/S... -
Page 15: Pwm: Pulse Width Modulation 1/2
• Confirm your choice with the middle button • Use the top and bottom buttons to set the hysteresis or duty cycle • Confirm your choice with the middle button PAGE 15 © 2019 OJ Electronics A/S... -
Page 16: Pwm: Pulse Width Modulation 2/2
Menu structure: PWM: oFF; on; AUt oFF: diF: 0,3 - 10,0 on: CYC: 15 - 60 AUt: CYHi: 10 - 60 CYLo: 10 - 30 (Options available may vary depending on version) PAGE 16 © 2019 OJ Electronics A/S... -
Page 17: Pli: Power Limit 1/2
If you want the thermostat to provide heat a maximum of 90% of the time, then the thermostat should be limited by 10% Ten per cent of one hour is 6 minutes PAGE 17 © 2019 OJ Electronics A/S... -
Page 18: Pli: Power Limit 2/2
Menu structure: of minutes with which you want the heating to be PLi: 0 - 30 deactivated per hour • Confirm your choice with the middle button (Options available may vary depending on version) PAGE 18 © 2019 OJ Electronics A/S... -
Page 19: Time: Time And Event Settings 1/2
Monday – Saturday with 4 events, Sunday with 2 events 7 : 0: Monday – Sunday with 4 events 0 : 7: Monday – Sunday with 2 events Note: If an external timer is used, this takes priority PAGE 19 © 2019 OJ Electronics A/S... -
Page 20: Time: Time And Event Settings
• Use the top and bottom buttons to set the current dAY: Non; tuE; UEd; thu; Fri; SAt; Sun hour: 0-23 minutes • Confirm your choice with the middle button Nin : 0-59 PAGE 20 © 2019 OJ Electronics A/S... -
Page 21: Sw: Software Version
Menu structure: • Scroll through the menu until you come to SU SW: Read-out • Press the middle button to enter the software read-out • Press the middle button to exit the read-out PAGE 21 © 2019 OJ Electronics A/S... -
Page 22: Done: Exiting The Menu
Note that settings are saved when the menu is exited Menu structure: When in the menu: donE: Return to main screen • Scroll through the menu until you come to Done • Press the middle button to exit the menu PAGE 22 © 2019 OJ Electronics A/S... -
Page 23: Troubleshooting And Additional Information
• If there is no reaction when any button is pushed, Support except from the backlight For support, please contact your installer or place of - Check for the padlock icon, the child lock might purchase be activated Do not contact the manufacturer PAGE 23 © 2019 OJ Electronics A/S... -
Page 24: Change Of Front Cover
• Align the top of the new front cover with the top of the thermostat • Press at the bottom of the new front cover, applying pressure where the taps are located PAGE 24 The OJ trademark is a registered trademark belonging to OJ Electronics A/S · © 2019 OJ Electronics A/S...
Need help?
Do you have a question about the MTD3-1999 and is the answer not in the manual?
Questions and answers
I do not have a manual for the underfloor heating in my apartment and would like to download one Attached is a photo of the control unit