Advertisement
GoBidet Bidet Attachment
Tel 1-800-681-0753 • Fax +1 360-681-4029
• 1 User Manual
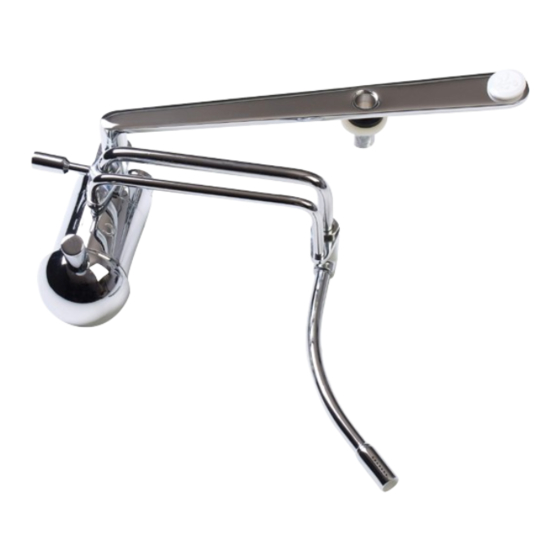
• 1 GoBidet™ Unit w/ mounting bracket, nut, rubber washer, and plastic washer
• 1 Plastic Spacer (part no. 2003.11)
• 1 3/8" Hose (part no. 2003.14)
• 1 7/8" T-valve (part no. 2003.18) - installs on bottom of toilet tank
• Te on Tape
GoBidet Model GB-2003C
Used with normal care, this bidet product is guaranteed against defects
in material and workmanship for a period of one year. This warranty
does not cover improper installation or improper use. For complete
details, contact the dealer from where it was purchased or you may
reach us at:
151 Ruths Place #5
Sequim, WA 98382
www.Go-Bidet.com
MODEL #2003C
In this box:
Limited Warranty
www.Go-Bidet.com
1-800-681-0753
1
Advertisement
Table of Contents

Related Manuals for GoBidet 2003C

Summary of Contents for GoBidet 2003C
-
Page 1: Limited Warranty
MODEL #2003C In this box: • 1 User Manual • 1 GoBidet™ Unit w/ mounting bracket, nut, rubber washer, and plastic washer • 1 Plastic Spacer (part no. 2003.11) • 1 3/8” Hose (part no. 2003.14) • 1 7/8” T-valve (part no. 2003.18) - installs on bottom of toilet tank •... - Page 2 For hot water installation, please use the Hot Water Installation Kit (Part no. 2003HIK ), available by calling 1-800-681-0753. Your GoBidet™ will attach to a one-piece toilet (tank/bowl are molded into one piece) or a two-piece toilet (tank/bowl are separate). It also ts regular (round) or elongated toilets.
- Page 3 VERY IMPORTANT! To avoid scalding do not use only hot water ! F. Care & Maintenance To keep the GoBidet® operating as intended, clean and wipe with baby oil or a similar product when necessary using a soft cloth.
- Page 4 • Firmly tighten nut holding shower head assembly (Part no. 2003.01) to GoBidet. 4. Water leaks from GoBidet behind the bell handle assembly (Part no. 2003.04): • Insert screwdriver in hole at bottom of bell handle assembly and loosen set screw to remove bell handle assembly. Unscrew (counter clockwise direction) chrome nut cover (Part no.
Need help?
Do you have a question about the 2003C and is the answer not in the manual?
Questions and answers