Advertisement
MegaRAID® SAS 9361-24i RAID Controller
Quick Installation Guide
3-03578
Thank you for purchasing this
controller. Please take a few minutes
to read this quick installation guide
before you install the controller.
ATTENTION:
Perform all installation work at
an electrostatic discharge (ESD)-
safe workstation that meets the
requirements of EIA-625,
Requirements for Handling
Electrostatic Discharge Sensitive
. You must perform all
Devices
actions in accordance to the
latest revision of the IPC-A-610
ESD-recommended practices.
5972-4859-P0
Overview
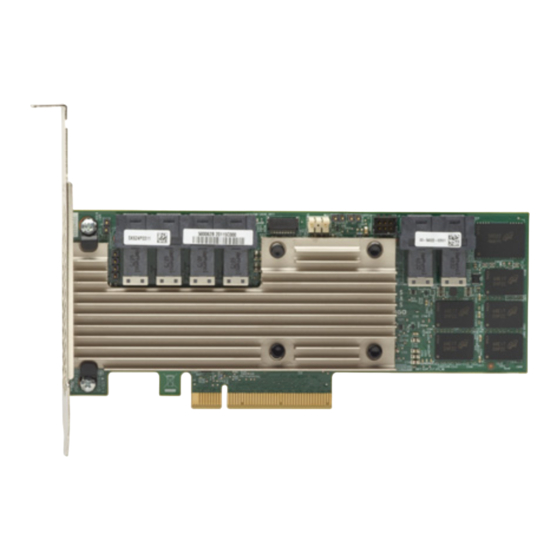
The MegaRAID® SAS 9361-24i RAID controller is a PCI Express (PCIe) 3.0, low-profile controller with RAID
control capability, based on the SAS3324 RAID On-a-Chip (ROC) device. The controller uses 4 GB of DDR3
1866-MHz memory and controls 24 internal Serial Attached SCSI (SAS)/Serial Advanced Technology
Attachment (SATA) ports through six SFF-8643 mini-SAS HD internal connectors. The MegaRAID SAS
9361-24i RAID controller supports data retention by using NAND flash memory down on the controller,
backed up by a CacheVault Power Module 02 (CVPM02).
Installing the MegaRAID SAS 9361-24i RAID Controller
To install the controller, follow these steps:
Unpack the controller. Unpack the controller in a static-free environment. Remove it from the
1.
antistatic bag, and inspect it for damage. A low-profile bracket is included with the RAID controller. If you
notice any damage, contact Broadcom or your reseller support representative.
ATTENTION:
To avoid the risk of data loss, back up your data before you change your system
configuration.
2.
Prepare the host computer. Turn off the host computer, and unplug the power cords from the
rear of the power supply.
CAUTION: Disconnect the computer from the power supply and from any networks to which you
will install the controller, or you risk damaging the system and experiencing electrical
shock.
3.
Remove the cover from the host computer.
4.
Insert the controller into an available PCIe slot. Locate an empty x8 PCIe slot adequate for your
controller. Remove the blank bracket panel on the rear of the computer that aligns with the empty PCIe
slot. Save the bracket screw, if applicable. Align the controller to the PCIe slot. Press down gently, but
firmly, to seat the controller correctly in the slot. The following figure shows how to insert the controller
into a PCIe slot.
NOTE: The shape, size, and locations of the components on the controller and its bracket might vary
from this illustration. The controller requires a x8 PCIe slot.
Advertisement
Table of Contents

Subscribe to Our Youtube Channel
Related Manuals for Broadcom MegaRAID SAS 9361-24i


Summary of Contents for Broadcom MegaRAID SAS 9361-24i
- Page 1 A low-profile bracket is included with the RAID controller. If you controller. Please take a few minutes notice any damage, contact Broadcom or your reseller support representative. to read this quick installation guide before you install the controller.
- Page 2 MegaRAID SAS 9361-24i RAID Controller Quick Installation Guide Installing the MegaRAID SAS 9361-24i RAID Controller February 20, 2017 Figure 1. Installing the MegaRAID SAS 9361-24i RAID Controller in a PCIe Slot Bracket Screw Press Here Press Here 3_03573 PCIe Slot...
- Page 3 Controllers, and ICs > MegaRAID SAS 9361-24i > Driver. Replacing the Bracket on the MegaRAID SAS 9361-24i RAID Controller To replace the bracket on the Broadcom 12Gb/s SAS RAID controller, follow these steps: At an ESD-safe workstation, remove the controller from its ESD protective bag. ATTENTION: Never apply pressure to the bracket or the heat sink when inserting the controller.
- Page 4 MegaRAID SAS 9361-24i RAID Controller Quick Installation Guide Replacing the Bracket on the MegaRAID SAS 9361-24i RAID Controller February 20, 2017 Figure 3. Removing the Screws 3_03574 Keep the controller on a level surface to make sure you do not lose any retaining clips. The heat sink is held in place by the same screws that attach the bracket.
- Page 5 MegaRAID SAS 9361-24i RAID Controller Quick Installation Guide Replacing the Bracket on the MegaRAID SAS 9361-24i RAID Controller February 20, 2017 Figure 4. Heat Sink Held in Place by Retaining Clips Attached by Bracket Screws 3_03575 CAUTION: Do not move or rock the heat sink after you remove the bracket screws. Doing so might damage the thermal interface material, which causes the controller to overheat during operation.
- Page 6 The term "Broadcom" refers to Broadcom Limited and/or its subsidiaries. For more information, please visit www.broadcom.com. Broadcom reserves the right to make changes without further notice to anyproducts or data herein to improve reliability, function, or design. Information furnished by Broadcom is believed to be accurate and reliable. However, Broadcom does not assume any liability arising out of the application or use of this information, nor the application or use of any product or circuit described herein, neither does it convey any license under its patent rights nor the rights of others.
Need help?
Do you have a question about the MegaRAID SAS 9361-24i and is the answer not in the manual?
Questions and answers