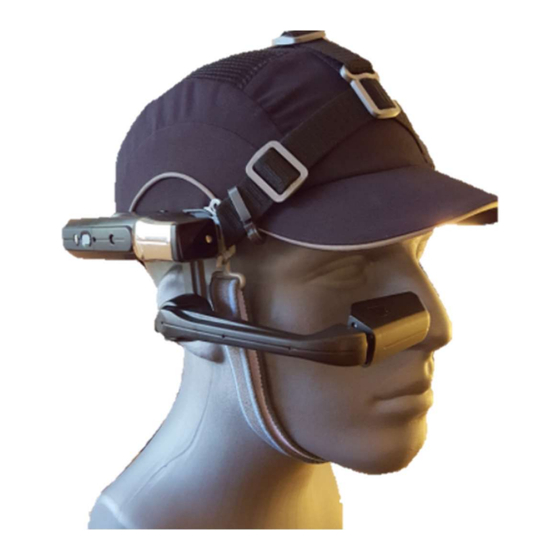
RealWear HMT-1 Installation Instructions Manual
Bump cap strap
Hide thumbs
Also See for HMT-1:
- User manual (51 pages) ,
- Quick start manual (5 pages) ,
- User manual (91 pages)
Table of Contents
Advertisement
Quick Links
Advertisement
Table of Contents

Summary of Contents for RealWear HMT-1
- Page 1 Bump Cap Strap Installation Instructions for the RealWear HMT-1 August 2017...
- Page 2 Your use of the prototype hardware is for information purposes only. We are pleased that you are considering the use of the HMT-1 and hope that you find this accessory also potentially useful. We look forward to hearing from you about your experiences with it.
- Page 3 5. Fold the boom arm all the way down and back 6. Lay the headset down on a table with boom arm laying on table 7. Lay the t-strap over the headset with the button snap on the rear headband and the tri-glide buckles facing up.
- Page 4 The following steps provide instruction on fitting to a bump cap. 12. Fit the HTM-1 and strap over the top of the bump cap so that the hull of the HMT-1 is approximately even with the bottom edge of the cap.
- Page 5 13. Attach the brim clips - one on each side of the strap, close to the buckles - underneath the brim of the cap. (Note that these clips are prototypes. While they have snap-on clips to allow easier attachment to and removal from the straps, they are printed pieces and the snaps will often disengage.
- Page 6 The finished result should look like this… HMT-1Release Notes for Pioneer Members Page...


Need help?
Do you have a question about the HMT-1 and is the answer not in the manual?
Questions and answers