Table of Contents
Advertisement
Advertisement
Table of Contents

Related Manuals for Xblue Networks QB


Summary of Contents for Xblue Networks QB
- Page 1 XBLUE Setup Guide 20180406001...
-
Page 2: Table Of Contents
Access the QB server programming interface ....................11 Getting your XBLUE IP Phones working ......................12 Ensure Dedicated spot for QB on your network ......................14 Secure the QB Server IP Address on your network ..................14 Revision History Revision... -
Page 3: About This Guide
866-925-8312. This guide will cover connection and access of the server and XBLUE IP Phones and connection of analog telephone lines. Your QB PBX is an advanced application product that is best adapted into a network by preparing for the installation. First gather information about your office network to prepare to connect your QB PBX into that environment. -
Page 4: Before You Start
Before You Start Before you begin to install your QB PBX server, please check the package contents to verify that you have received the items below. If there is any problem, please contact your provider. Package Contents... -
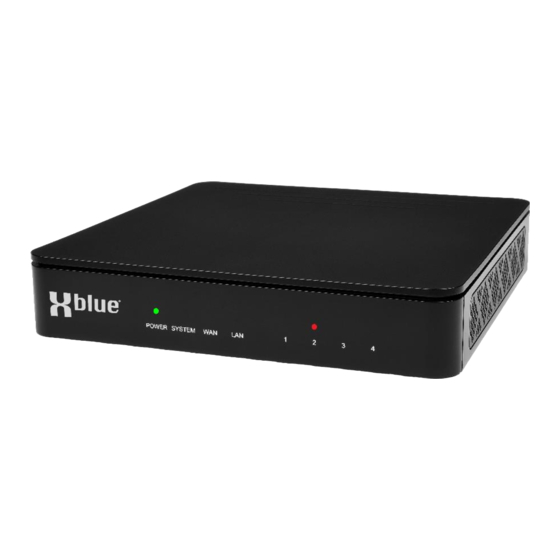
Page 5: Hardware Overview
XBLUE QB Setup Guide Hardware Overview Front Panel – QB1 Rear Panel – QB1 Front Panel – QB2 Rear Panel – QB2 5/17... -
Page 6: Led Indicators - Resource And Port Description/Status
XBLUE QB Setup Guide LED Indicators – Resource and Port Description/Status Status Status Description On - Green Power ON POWER Power status Power OFF Blinking – Green The system is running properly System System status Steady/Off The system is not running properly Steady –... -
Page 7: Installation
This device is intended for inside use only. • Install the XBLUE QB PBX in a location that is clean, free from vibration, electric shock, static electricity and temperature/humidity extremes. o The operating temperature should be kept below 104°F (40°C). -
Page 8: Desktop Installation - Qb1
XBLUE IP Phones are connected. STEP 2 Connect the telephone lines from your service provider interface to the ports of the QB (QB1: 1~4)(QB2: 1~8). Note: VoIP Lines have no cable/wire connections, they are programmed into the server. -
Page 9: Configuration Of Qb And Get Phones Working
Configuration of QB and Get Phones Working XBLUE QB IP Telephony Servers are administered using a web browser. When the QB is connected to your network it will obtain an IP Address from your network. To begin you must find that IP Address given to the server by your network. - Page 10 5. Input the IP Address into the web browser address bar (where you input web pages names). 6. The first time you access the QB server you will be prompted to validate the connection as secure. Figure 1 Server Label 7.
-
Page 11: Access The Qb Server Programming Interface
3. The Desktop of the QB server is shown. 4. All of the configuration settings of your QB server can be accessed using the Settings icon. Additional applications are also available by clicking on the Main Menu (dot-cube) in the upper left of the Desktop. -
Page 12: Getting Your Xblue Ip Phones Working
You can use the PC connector to connect your computer to the same network. c. IP Phones must be connected to the same network as the QB Server. (The wall jack must go to the same data-switch and router to which the QB server is connected. - Page 13 XBLUE QB Setup Guide 5. Select the Edit button for the phone you wish to provision. 6. In the edit box of the selected phone click on the Model of the phone. The IP7g XBLUE telephone is one of the “F4” family of telephones. Select “F4” from the list for the IP7g telephone.
-
Page 14: Ensure Dedicated Spot For Qb On Your Network
The QB is shipped so that it will become operational on your network regardless of how your network is configured. It is VERY important that the QB Server (as any server) be given a dedicated position on your network to ensure that it does not get assigned a new location by chance. If this were to happen the IP Phones registered to the server would no longer function. - Page 15 If you don’t know your router’s UN and PSWD contact your network administrator or ISP 2. Find the QB PBX server on the list by locating the QB Server MAC Address. Click on the device MAC Address to open the to view the device details and then click on Edit.
- Page 16 XBLUE QB Setup Guide 3. This opens the page in your router for the QB PBX device. Make appropriate notes about the device on this page of your router and select Reserved IP to secure this IP Address for the QB server.
- Page 17 4. Click Save. NOTE If you have made any changes in the QB server be sure to click on the Apply button in the upper-right of the Desktop since changes you make are simply stored in a file until loaded to the server for use. The process invoked with the “Apply”...
Need help?
Do you have a question about the QB and is the answer not in the manual?
Questions and answers
hi please where do i find the default password for making long distance calls
what is the default password for international long distance dialing