
Related Manuals for Hudson Reed A3500


Summary of Contents for Hudson Reed A3500
- Page 1 Thermostatic Bar Valves Installation & operating guide Please leave this installation & user guide with the end user...
-
Page 2: Product Variants
CONTENTS Product Variants Important information Cleaning & Aftercare Box contents Dimensions Plumbing connections Installation Temperature adjustment 1. PRODUCT VARIANTS Round Bar Valve with interchangeable outlet. Square Bar Valve with interchangeable outlet. INS010 REV 2... -
Page 3: Important Information
2. IMPORTANT INFORMATION Debris in the new pipe work can get into the cartridges. This is easily avoided by thoroughly flushing the pipe work BEFORE connecting the shower valve to the water supplies. This shower valve is suitable for use with all water supply systems up to a maximum water pressures of 5 bar (balanced water pressures are desirable for best performance). -
Page 4: Box Contents
BOX CONTENTS Note: Body, plate and outlet position may vary depending on the model supplied. 1. Main thermostatic shower valve body with built in check valves. 2. Rubber sealing washers x 2. 3. Screws and wall plug pack x 2. 4. -
Page 5: Plumbing Connections
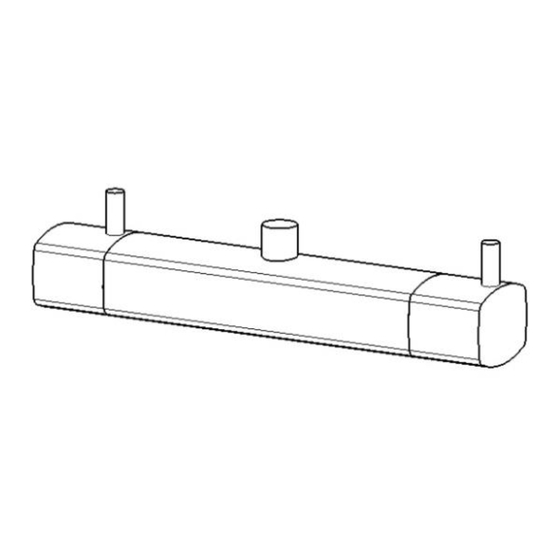
5. DIMENSIONS ALL DIMENSIONS ARE APPROXIMATE 6. PLUMBING CONNECTIONS The inlets will be clearly marked hot and cold. Always connect the hot pipework to the hot side of the valve and the cold pipework to the cold side of the valve. The pipework on site should be installed with the hot on your left hand side and the cold on your right hand side when you face the wall. -
Page 6: Installation
7. INSTALLATION 1. You must install isolation valves in an accessible position on the HOT & COLD water supply lines for servicing purposes. Check valves are already installed in the connecting nuts. 2. Determine the fixing position for the shower valve. 3. -
Page 7: Temperature Adjustment
8. TEMPERATURE ADJUSTMENT The Shower Valve temperature is pre-set to 42°C, but on certain installations the temperature may need to be adjusted. Note: Ensure hot water supply is above 60°C. Turn the Flow Control Handle to the maximum flow. Set the temperature control knob at the 42°C position & check the temperature of the water from the outlet. If the temperature is not set to 42°C continue below. -
Page 8: Temperature Adjustment
9. FAQ ISSUE POSSIBLE CAUSE Temperature 1. Maximum temperature needs adjusting. See Temperature issue. Adjustment instruction. (Too hot/too 2. Hot and cold water supplies are plumbed to the wrong sides cold/fluctuation) of the valve. 3. Check Hot Water supply temperature. (Min 60°C) 4.
Need help?
Do you have a question about the A3500 and is the answer not in the manual?
Questions and answers