Table of Contents
Advertisement
Advertisement
Table of Contents

Related Manuals for Sic Marking i143

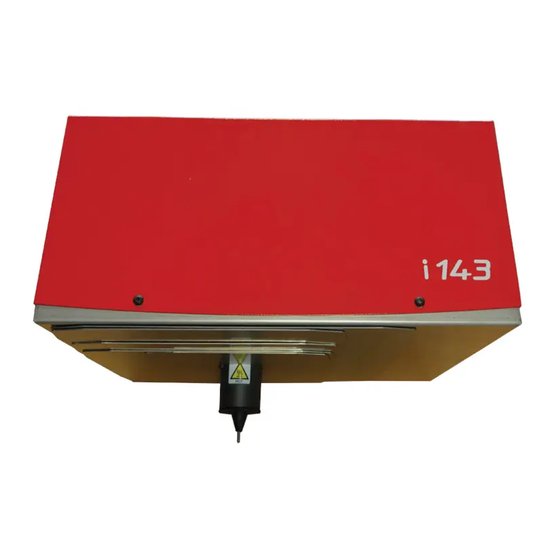
Summary of Contents for Sic Marking i143
- Page 1 USER MANUAL www.sic-marking.com NOTI143US - R00.doc...
- Page 3 NOTI143US - R00.doc Translation of the original instructions 3/25...
-
Page 4: Table Of Contents
TABLE OF CONTENTS TABLE OF CONTENTS PRESENTATION INSTALLATION AND START-UP 1. Unpacking......................6 2. Installation ......................6 2.1. Fastening ......................6 2.2. Connections ....................... 7 2.3. Face arrière du contrôleur e10 ................8 USE OF THE MACHINE 1. Safety ........................9 2. -
Page 5: Presentation
Thank you for choosing a dot marking system (also called micro-percussion) for your marking applications. SIC MARKING systems contribute to improve the tracability of your products while complying with the industrial standards. We would like to welcome you as a user of our systems. -
Page 6: Installation And Start-Up
INSTALLATION AND START-UP 1. U NPACKING Except if we deliver the system, it is generally supplied in an appropriate packaging, which needs to be kept for any return of the material. Remove the sub-systems carefully (controller, control handbox, possible options …) from their packages. -
Page 7: Connections
2.2. Connections Using the SUB-D 25 connector, connect the marking machine to the "marker" connector located at the rear of the controller. For the integrated type machines, proceed the same way using a connection cable. Correctly fasten the screws of the connector. ... -
Page 8: Face Arrière Du Contrôleur E10
Figure 1 : Face arrière du contrôleur 2.3. Face arrière du contrôleur e10 N° TITRE CONNECTE A : CODE ARTICLE MARKER MACHINE DE MARQUAGE ENTREES/SORTIES/MACHINE DE MARQUAGE START/STOP BOITE A BOUTON SERIAL PC / AUTOMATE HOST PC / AUTOMATE USB DEVICE ACCESSORY 1 AXE D OPTION... -
Page 9: Use Of The Machine
USE OF THE MACHINE 1. S AFETY An intense use may cause the temperature of the system to rise up to 100°C. It is recommended to wear safety glasses. It is also recommended to wear a noise reducing helmet. Acoustic value of the machine : 76 dB on a piece of steel at medium speed The marking system should never be used without any surface to mark as the marking head may break. -
Page 10: Marking Machine
4. M ARKING MACHINE 4.1. Positioning and clamping of the part to be marked Even if the part is not submitted to high forces, it is necessary to immobilize it in order to reach an optimal marking quality. Depending on the type of parts and the working conditions, the clamping system can vary from the simple manual fastening of the part against an angle iron (bracket) to the mechanical, magnetic or pneumatic fastening. -
Page 11: Launch / Stop The Marking
For your information, hereafter are some values about the distance between the stylus and the part depending on the marking force : Force Minimum distance Maximum distance Maximum distance between the stylus and the part : 9 mm We recommend that you make trials before marking a new part. 4.3. -
Page 12: Maintenance
Please contact our local distributor first. To find out about our local distributor, you can check our website : www.sic-marking.com If you can not reach our distributor, please call SIC MARKING at +33.4.72.54.80.00. SIC MARKING or its distributor offer the following services : Phone support ... -
Page 13: Preventive Maintenance
3. P REVENTIVE MAINTENANCE If you want to keep your machine in a good working condition, it is necessary to do the following actions : clean the stylus pin guide and the stylus assembly regularly avoid dust and abrasive particles on the guiding and driving elements How to clean the stylus pin guide and the stylus assembly Unplug the marking machine Unscrew the stylus pin guide (see General layout of the stylus assembly in... -
Page 14: Trouble Shooting
4. T ROUBLE SHOOTING Problem Check Solution The stylus assembly does not Check that : move on the X and Y axes The controller is on See controller manual A marking program is loaded and the controller Load a program and set the machine in marking is in marking mode (see software manual) mode The machine is correctly linked to the controller... -
Page 15: Appendix
APPENDIX NOTI143US - R00.doc Translation of the original instructions 15/25... - Page 16 NOTI143US - R00.doc Translation of the original instructions 16/25...
- Page 17 NOTI143US - R00.doc Translation of the original instructions 17/25...
- Page 18 NOTI143US - R00.doc Translation of the original instructions 18/25...
- Page 19 NOTI143US - R00.doc Translation of the original instructions 19/25...
- Page 20 NOTI143US - R00.doc Translation of the original instructions 20/25...
- Page 21 1.1. Nomenclature NOTI143US - R00.doc Translation of the original instructions 21/25...
- Page 22 NOTI143US - R00.doc Translation of the original instructions 22/25...
-
Page 23: Electrical Chart
1.2. Electrical chart NOTI143US - R00.doc Translation of the original instructions 23/25... - Page 24 NOTI143US - R00.doc Translation of the original instructions 24/25...
- Page 25 SIC MARKING Headquarters SIC MARKING KOREA ZAC Bel Air Banpo Technopia RM#707 186. 195 rue des Vergers Galmachi-ro /Gyeonggi-do 69480 POMMIERS Korea France +82 31 731 8400 Ph.: + 33 472 548 000 info@sic-marking.co.kr info@sic-marking.com .sic-marking.kr SIC MARKING USA SIC MARKING ITALIA...
Need help?
Do you have a question about the i143 and is the answer not in the manual?
Questions and answers