Advertisement
INSTRUCTIONS FOR INSTALLATION AND USE.
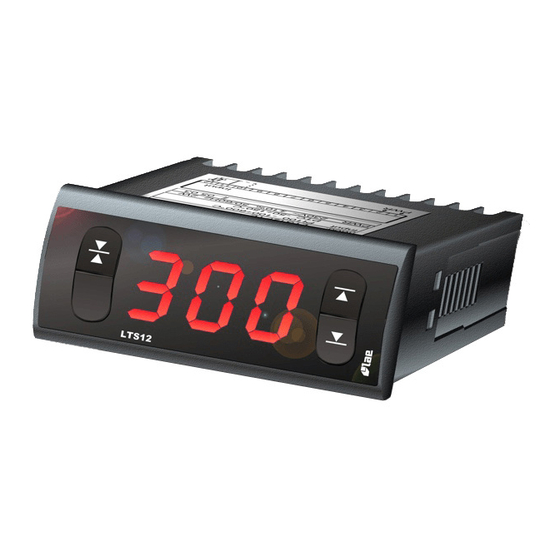
LTS12
We thank you for choosing an LAE electronic product. Before proceeding to the installation of this unit, please read this
instructions sheet carefully; only in this way you will obtain maximum performances and safety.
1. INSTALLATION
1.1 LTS12 has got a size of 77x35x77 mm (WxHxD), it must be inserted into the panel through a 71x29 mm hole and
secured via the suitable brackets exerting correct strength. The rubber gasket must be placed between the panel and the
instrument front, so please make sure that there are no gaps allowing liquid infiltrations.
1.2 The unit works with an ambient temperature between -10°.. +50°C and 15%.. 80% relative humidity. To reduce the
effects of electro-magnetic interference, place the probe cable and the unit itself as away as possible from power lines.
1.3 Probe and power supply must be connected strictly following the diagram appearing on the enclosure. If present, the
probe screen must be earthed, by connecting it to the metal frame. If needed, the unit must be powered by means of the
suitable transformer mod. TRxxx.
Where delicate or valuable products have to be maintained under strict conditions, please use a separate controller for limit
and alarm functions.
2. CONFIGURATION (SETUP)
Thanks to the configuration parameters, the LTS12 can suit scale, resolution and sensor type. Access to the configuration
takes place through the following sequence: switch off the unit, keep buttons
through the parameter list with
with
+
or
.
Exit from the SETUP takes place by letting the keypad untouched for 10 seconds.
Parameter SCL provides the readout scale, i.e.: with SCL=01 there is no modification of the measured value, while with
SCL=02, there is a scale conversion from °C to °F (to be used for temperature measurements only). In this latter case, 0.1
resolution is not available.
With SCL=01 resolution is based upon the value set to ACC; with ACC=01 or 02 resolution is set to respectively 1 or 0.1.
With ACC=03 you will obtain the maximum resolution allowed by the display, i.e.: 0.1 for values between –19.9 and 99.9
and 1 outside of these limits.
Through SIM it's possible to simulate different sensor response times to changes of the value measured, therefore: by setting
SIM to values greater than 0, the resulting effect will be a proportional reduction of the displayed data change.
If the model you own accepts two types of input, then select the one you want to use by means of parameter TYP following
the table here below:
or
until you get to the desired one, then get its value displayed with
SCL Readout scale
ACC Resolution
TYP Type of sensor
LOR Minimum range limit
HOR Maximum range limit
SIM Display indication slowdown
LAD Zero calibration
HAD Span calibration
M
ODEL
LTS12 PT
LTS12 TC
LTS12 AV
+
pressed, then switch on unit again. Scroll
01=1; 02=0.1; 03=autorange
TYP=0
Pt100 DIN43760
T/C "J" Fe-CuNi
-----
and change it
01=normal, 02=°F
0; 1
-199 .. 999
-199 .. 999
0 .. 100
--
--
TYP=1
PTC KTY81-121
T/C "K" NiCr-Ni
0... 1V
Advertisement
Table of Contents

Subscribe to Our Youtube Channel
Summary of Contents for LAE electronic LTS12
- Page 1 1. INSTALLATION 1.1 LTS12 has got a size of 77x35x77 mm (WxHxD), it must be inserted into the panel through a 71x29 mm hole and secured via the suitable brackets exerting correct strength. The rubber gasket must be placed between the panel and the instrument front, so please make sure that there are no gaps allowing liquid infiltrations.
- Page 2 WARRANTY LAE electronic Srl warrant that their products are free of any defects in workmanship and materials for a period of 1 (one) year from date of production shown on the enclosure. LAE electronic Srl shall only repair or replace those products of which defects are due to LAE electronic Srl and recognised by their technicians. LAE electronic Srl are not liable for damages resulting from malfunctions of the products.
- Page 3 INSTRUCTIONS FOR INSTALLATION AND USE. WIRING DIAGRAM LTS12TC LTS12PT : the cable with three wire compensation must be used for all Pt100 probes and for PTC1000 probes longer than 5 metres. For PTC probes of shorter lengths it’s possible to use a two wire cable and make a junction between terminals 10 and 11.
Need help?
Do you have a question about the LTS12 and is the answer not in the manual?
Questions and answers