Pioneer BDP-LX91 System Firmware Update Instructions
Hide thumbs
Also See for BDP-LX91:
- User manual (15 pages) ,
- Update instructions (4 pages) ,
- Operating instructions manual (73 pages)
Advertisement
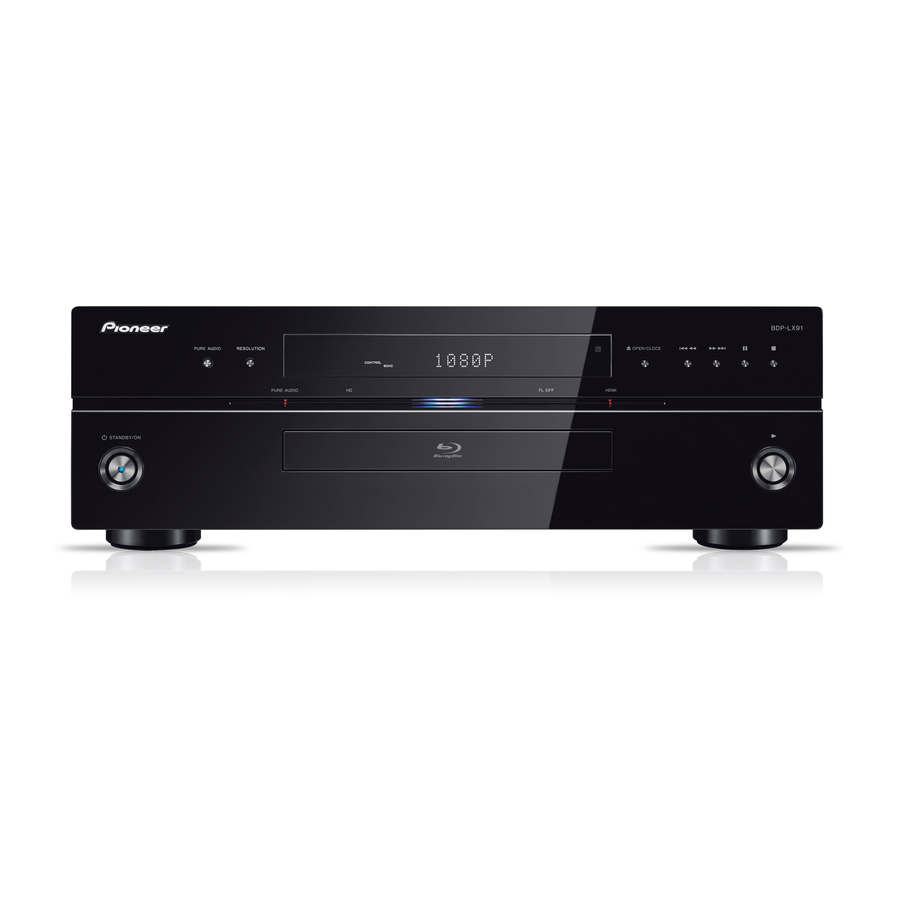
System Firmware Update Instructions For BDP-LX91
NOTE: If you have any difficulty carrying out these instructions, please contact Pioneer Customer
Support Center.
A. Check the current firmware version of the player:
Using the player's remote control:
1. Press the "STANDBY/ON" button to switch the unit on.
2. If the player starts to play a disc, press the "STOP" button and wait until the Pioneer logo is
displayed on your TV.
3. Press the "Home Menu" button.
4. Select "Initial Setup" and press "Enter"
5. Select "Video Out" then press "Enter"
6. Select "TV Aspect Ratio" then press "Enter"
7. Press the "Blue" button on the remote control.
8. The firmware version of your player will be displayed in the bottom right portion of the TV
screen.
If the version number is 2.73 or higher, it is not necessary to update the firmware.
If the version number is less than 2.73, it is necessary to update the firmware. Please continue to
Step B.
B. Download the firmware ZIP file from Pioneer's website:
Download the firmware ZIP file named "BDP25A_V273.zip" from the website to a folder on your
computer.
C. Create the firmware update disc:
NOTE: Use a brand new CD-R/-RW disc to burn the firmware update. The player may not
be able to correctly read a dirty disc or a disc with scratches.
Items needed to create the firmware update disc:
- A CD-R/-RW drive
- CD-R/-RW creation (writing) software
- One blank CD-R or CD-RW disc
CD-R Disc:
CD-RW Disc: You can only use a blank CD-RW disc. If the disc has been used, the contents
must be erased before copying the firmware files to it
- Supported OS: Windows: 98, 98SE, Me, 2000, XP, Vista, MacOS
All manuals and user guides at all-guides.com
You can only use a blank CD-R disc
Advertisement
Table of Contents

Related Manuals for Pioneer BDP-LX91


Summary of Contents for Pioneer BDP-LX91
- Page 1 Using the player’s remote control: 1. Press the "STANDBY/ON" button to switch the unit on. 2. If the player starts to play a disc, press the "STOP" button and wait until the Pioneer logo is displayed on your TV. 3. Press the "Home Menu" button.
- Page 2 All manuals and user guides at all-guides.com REMARKS: No other OS is supported. Certain conditions or PC settings may prevent you from being able to correctly create the update disc. For information about burning or adding files to a CD-R/-RW, refer to the instruction manual for your disc creation software, or ask the manufacturer of the disc creation software or manufacturer of the PC for further assistance.
- Page 3 DO NOT touch the disc tray or the disc until the update has finished. If you have any problem during the update process, please refer to the firmware update FAQ included in this document or you can call Pioneer Customer Support Center. PROCEDURE: 1.
- Page 4 All manuals and user guides at all-guides.com the update doesn't continue, it is necessary to repair the player. In such an event, call Pioneer Customer Support Center. Q: What do I do if the power cord is unplugged or a black out occurs during the update? A: If the disc tray is open, be sure to put the firmware UPDATE disc on the tray and power on the player.
Need help?
Do you have a question about the BDP-LX91 and is the answer not in the manual?
Questions and answers