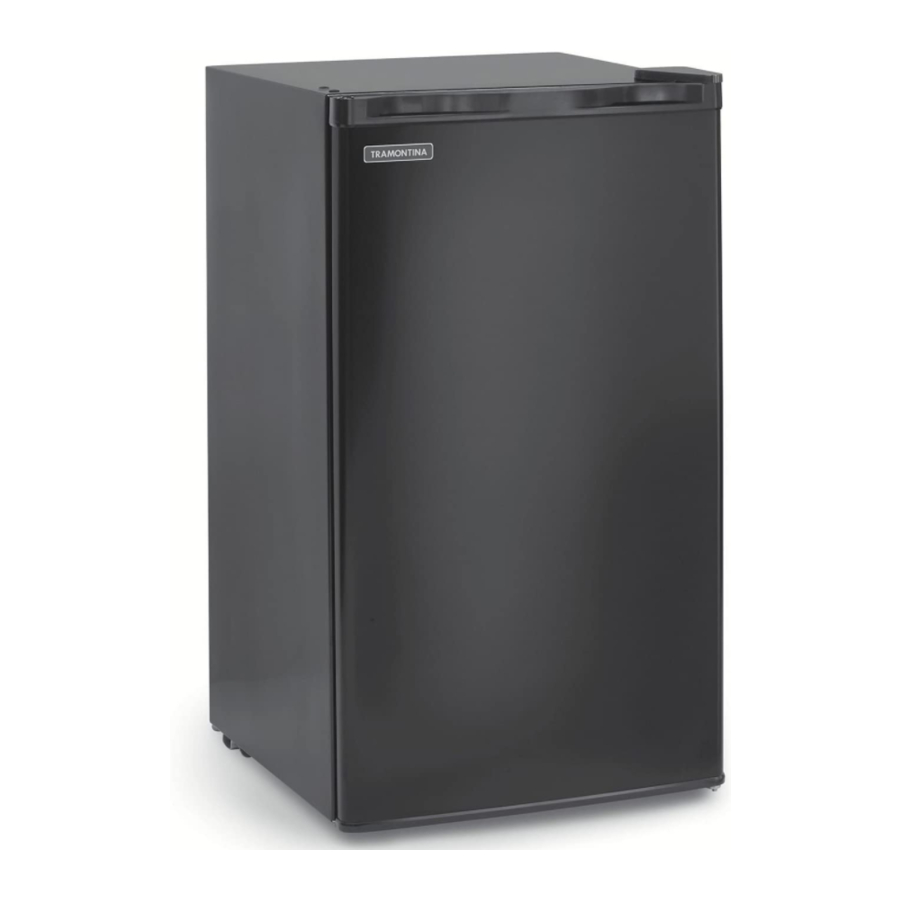
Summary of Contents for Tramontina 80901/100
- Page 1 HOME APPLIANCES Refrigerator 3.2 Cu. Ft. Use & Care Instructions Read All Instructions Carefully. Save These Instructions.
-
Page 2: Table Of Contents
Product Introduction ............. 2 Installation ................3-5 Door Reversal Instructions ..........6-7 Defrosting the Chiller ............. 8 Cleaning and Maintenance ........... 9 Troubleshooting ..............10 Safety Warnings ..............11 Customer Service ..............11 Product Warranty ..............12 Model #80901/100 - 1 -... -
Page 3: Product Introduction
PRODUCT INTRODUCTION Adjustable Thermostat Bracket Cover Chiller Compartment Seven-Can Dispenser Rack Drip Pan Tall Bottle Storage Bin Adjustable Tempered Glass Shelves Reversible Door 10 Ice Cube Tray Adjustable Front Leveling Legs - 2 -... -
Page 4: Installation
INSTALLATION STOP! BEFORE YOU DO ANYTHING! Do not plug the refrigerator into a power outlet until it has been resting in its upright position for at least six (6) hours. If the refrigerator has been laid on its side, placed upside down or tilted more than 45°... - Page 5 INSTALLATION POWER SUPPLY This refrigerator is equipped with a 115V/60Hz single phase motor. If the power supply to the refrigerator is subject to large fluctuations, it is strongly advised to utilize a wall-mounted power conditioner surge protection device to prevent damage to the electronic components and motor. The power plug is a standard grounded three-prong non-polarized flush mount, which allows for easier connection to power outlets.
-
Page 6: Installation
INSTALLATION USING YOUR REFRIGERATOR Your refrigerator is only designed for the storage of food and beverages. Temperature Control Use the Adjustable Thermostat knob to control the cooling temperature. 0 = Turns the Compressor Off 1 = Low Cool 7 = High Cool Allow the refrigerator to cool down completely before adding food. -
Page 7: Door Reversal Instructions
DOOR REVERSAL INSTRUCTIONS TOOLS NEEDED: Phillips screwdriver or 5/16" socket tool and thin flathead screwdriver. The refrigerator is shipped with the brackets attached on the right side. The door may be reversed to allow opening from the left side. If you plan on reversing the door hinges, DO NOT plug the refrigerator into the power outlet. Remove glass shelves before reversing the door. - Page 8 DOOR REVERSAL INSTRUCTIONS With the unit on its side, remove the bottom metal Unscrew the axle insert and screw into the opposite base bracket. Then gently place the refrigerator on side of the metal base bracket. Attach the metal base bracket to the bottom of the refrigerator. Lift opposite side to complete the door reversal.
-
Page 9: Defrosting The Chiller
DEFROSTING THE CHILLER The chiller compartment may not reach temperatures low enough to freeze foods. It works well when the food is already frozen prior to storage. It is designed for ice-making and short-term storage of some commercially frozen foods. Place frozen food into the chiller as quickly as possible after purchase. -
Page 10: Cleaning And Maintenance
CLEANING AND MAINTENANCE It is important to clean and maintain the refrigerator once a month. When performing maintenance, make certain the refrigerator is unplugged from the power outlet. Wipe the inner and outer surfaces of the refrigerator clean with a damp cloth. If needed, use a gentle detergent or a solution of baking soda and water. -
Page 11: Troubleshooting
TROUBLESHOOTING Problem Recommended Adjustment Refrigerator doesn’t work. • Check for power failure. • Verify unit is plugged into power outlet. • Check home fuse box to determine if a fuse has blown. Refrigerator is too cold. • Adjust thermostat to lower number. Refrigerator is not cooling •... -
Page 12: Safety Warnings
In the unlikely event this item is damaged or missing parts, please do not return it to the store. Instead, please contact our customer service department listed below for assistance so we can work quickly and efficiently to resolve product issues. TRAMONTINA USA, Inc. Customer Service 12955 West Airport Blvd. -
Page 13: Product Warranty
1 YEAR LIMITED WARRANTY This product is warranted by TRAMONTINA to be free of defects in material and workmanship for a period of one year from the date of the original purchase, provided the unit is used under normal operating conditions intended by the manufacturer. Any piece will be repaired or replaced at no charge with the same item or one of equal or better value if it is found to be defective under normal, noncommerical single-family household use and when cared for according to the manufacturer’s... - Page 14 Product & Warranty Registration Card Thank you for purchasing this Tramontina product. We appreciate you taking a few minutes to complete this card and mailing it back to us, or registering online for faster assistance. The information we receive will help us develop new products and services to meet your expectations.
- Page 15 PLEASE PLACE STAMP HERE POST OFFICE WILL NOT MAIL WITHOUT POSTAGE TRAMONTINA USA, Inc. 12955 West Airport Blvd. Sugar Land, Texas 77478-6119 Fold Here Use tape to seal card...


Need help?
Do you have a question about the 80901/100 and is the answer not in the manual?
Questions and answers