Advertisement
Advertisement
Table of Contents

Subscribe to Our Youtube Channel
Related Manuals for NuMED MAC 600


Summary of Contents for NuMED MAC 600
- Page 1 Easy User Guide MAC 600 ECG SYSTEM...
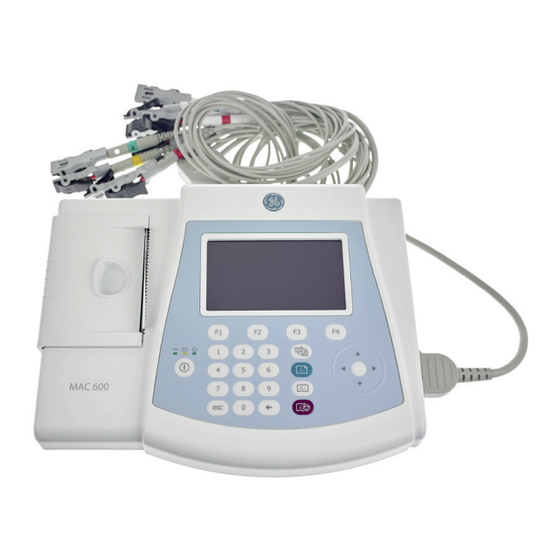
- Page 2 ACQUIRING AN ECG Connect the patient lead to the MAC 600 ECG system. Power on the device. Press the ‘F1’ key to access the patient details screen. Enter your patient’s details using the keypad and arrow pad. To confirm the details, press the white circle which is located in the centre of the arrow pad.
- Page 3 To check the quality of your ECG, use the trace indicator which is located in the top right of the screen. Note: Green symbolises good connectivity with the patient. Orange and Red indicates interference and/or possible lead disconnections. To capture your ECG trace press the ‘ECG acquisition’...
- Page 4 Open the patient’s medical record in your clinical system. Note: InPS Vision hosted and AEROS sites must ensure that Numed Enterprise Link software is running on the remote desktop. Double click the I icon, this is usually found on your taskbar or desktop.
- Page 5 Select ‘ECG’ from the product selection screen – if you have more than one ECG system you may need to select ‘MAC PDF filer’. If requested, confirm the patient’s details are correct then click ‘Yes’. You will then be presented with a list of ECGs that are ready to be uploaded to the patient’s medical record.
- Page 6 Click ‘OK’ to complete the process. ADDITIONAL: HOW TO DELETE THE CONTENTS OF YOUR SD CARD Power on the MAC 600 ECG system. Access File Manager by pressing ‘F4’ for More and then ‘F3’ for File Manager. Once File Manager has loaded, press ‘F2’...
- Page 7 ‘F2’ to accept this. This has now deleted the contents of your SD card. If you experience any problems using the MAC 600 ECG System, please contact our technical support team on: 0114 399 0010 or visit: www.numed.co.uk/support...
- Page 8 SUPPLY | INSTALLATION | TR AINING | SUPPOR T Alliance House, Roman Ridge Road, Sheffield, S9 1GB Telephone: 0114 243 3896 Fax: 0114 243 3413 www.numed.co.uk support@numed.co.uk...
Need help?
Do you have a question about the MAC 600 and is the answer not in the manual?
Questions and answers