Advertisement
Advertisement
Table of Contents

Related Manuals for QFX PBX-6000


Summary of Contents for QFX PBX-6000
- Page 1 PBX-6000 12” PROJECTOR SPEAKER PORTABLE SPEAKER INSTRUCTION MANUAL...
-
Page 2: Table Of Contents
Table of contents Safety Instructions......... Included..........Screen Assembly........Assessing the Set-up Menu....Microphone........... Inputs............ Lens Focus..........Descriptions and Functions....Remote Control........Parameter Table........ -
Page 3: Safety Instructions
CAUTION 10. POWER SOURCES The appliance should be connected to a power supply only of the type RISK OF SHOCK described in the operating instructions or as marked on the appliance. CAUTION: To reduce the risk of electric shock, do not remove cover (or back). -
Page 4: Included
Included • PBX-6000 • 1 Wireless Microphone • PBX-6000 Remote • 1 Stand • 1 Screen • 2 Short Poles • 2 Long Poles • 2 Poles with Metal Collars • 10 Elastic Ties • 4 Outdoor Metal Stakes • Power Cord... -
Page 5: Screen Assembly
Screen Assembly The PBX-6000 comes with a projection screen to better show the image. The projection screen has 6 poles that fit together, with the screen held to the poles by elastic ties. Before starting, identify: • 1 Screen • 2 Poles with Metal Collars • 2 Short Poles... - Page 6 STEP 2 • Use the elastic ties to secure the screen to the poles. • To secure the screen to the poles: insert a tie through the metal grommet, wrap around the pole and pull the fastener tight. • To ensure the screen is flat, secure the corners ties in this order: o Top Left Corner o Bottom Right Corner...
-
Page 7: Assessing The Set-Up Menu
Assessing the Set-Up Menu • MIRROR LRUD Rotates the image Left, Right, Upside-down, and Right-side up. o Note: If accidentally changed, press The Set Up Menu has options that govern color, the Right arrow on the remote language, time, and sound. Listed Below: control to continue to cycle through options until image is correct. -
Page 8: Microphone
The receiver for the wireless microphone is built into the PBX-6000. The microphone has a range of up to 150ft. Use the Mic Volume knob located on the back of the PBX-6000 to alter the microphone audio up and down. -
Page 9: Inputs
The USB In allows USB flash drives with digital video and audio files to be played back through the PBX-6000. The USB flash drive must be formatted in FAT or FAT32 file systems and cannot exceed a storage size of 32GB. -
Page 10: Lens Focus
If the PBX-6000 is closer to the screen/wall, turn the Lens Focus counter-clockwise to bring the image into focus. If the PBX-6000 is further from the screen/wall, turn the Lens Focus clockwise to bring the image into focus. -
Page 11: Descriptions And Functions
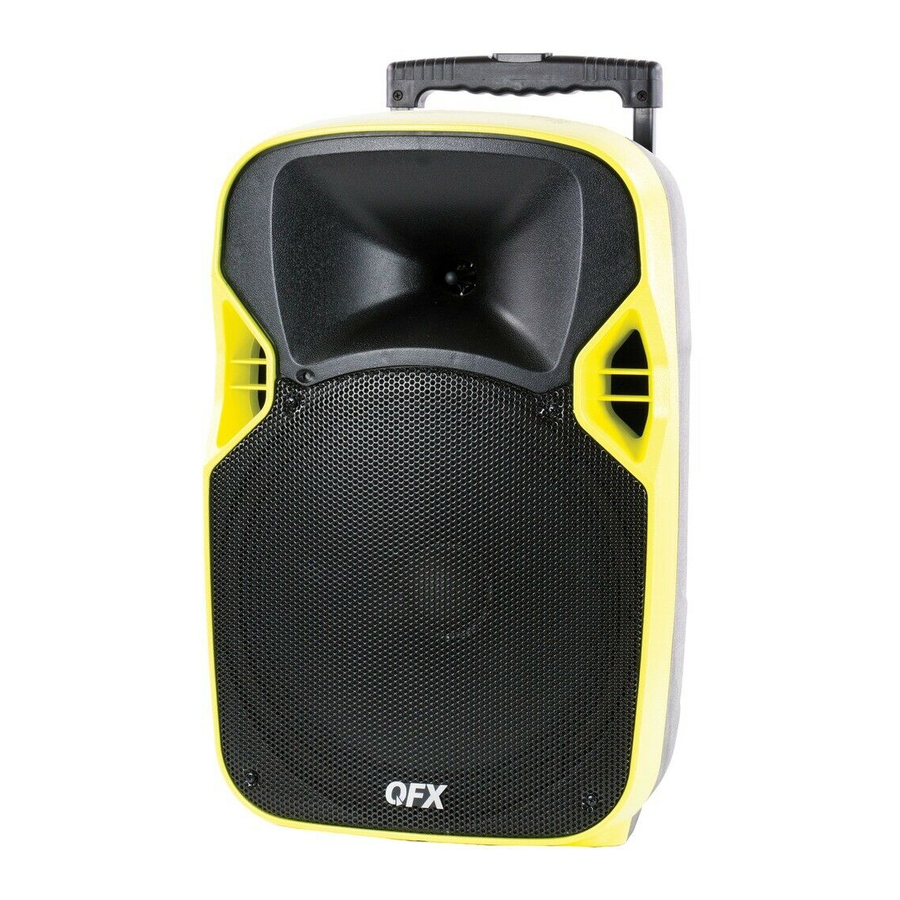
Descriptions and Functions Lens Focus Exit Previous/ Microphone Input Previous Page Guitar Input Next/ Next Page Guitar Volume Enter Microphone Volume HDMI Input MODE/Projector Display Screen USB Disk Microphone Echo (Projector) MP3 SD Card Line In (AUX) Treble Microphone Priority (MP3) Bass Volume... -
Page 12: Microphone Echo
23. HEAT SINK (DO NOT COVER) or music playing. 24. POWER SWITCH This toggles power to the 11. MIC VOLUME This is the microphone PBX-6000. volume control. Set this volume first when 25. CHARGE STATUS This indicates the finding the upper volume limit for the performance to ensure a proper balance charging status of the internal battery. -
Page 13: Remote Control
REMOTE CONTROL 1. INPUT SELECT Use this to switch between HDMI and USB input sources. 2. ENTER Select on screen options. 3. RETURN Returns to the home screen. 4. DIRECTIONAL KEY This is used to navigate menus and to make selections. 5. -
Page 14: Parameter Table
PARAMETER TABLE RESOLUTION 800 x 480 INPUT POWER 16V/4A SIGNAL/NOISE RATIO ≥86DB BATTERY 12V/9AH CONTRAST 5000:1 PLAY TIME 3-4 hours MICROPHONE TYPE Wireless UHF Dynamic CHARGING TIME 4-5 hours Microphone - 900MHz Band Brightness: 3000 PROJECTION DISTANCE 40 -112 Inches Lumens IMAGE ASPECT RATIO 16:9/4:3 BULB: LED...
Need help?
Do you have a question about the PBX-6000 and is the answer not in the manual?
Questions and answers