Advertisement
Quick Links
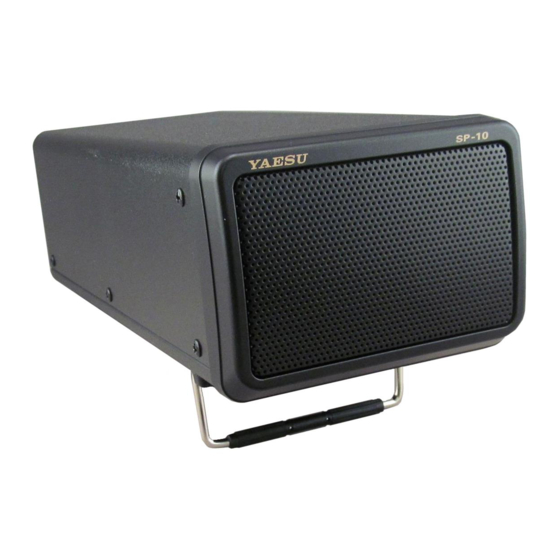
SP-10/SP-20 External Speaker
Installation
Connect the supplied cable between the "EXT SPKR" jack on the transceiver and RCA jack
on the SP-10/SP-20.
Note: The figure above shows the
FTDX3000 and SP-20.
Adjusting the Front Stand/Legs
SP-10
Simply fold the stand forward to raise the
front of the SP-10, and fold it back against
the bottom case to lower the front of the
SP-10.
Specifications
Frequency Range:
Speaker Diameter:
Maximum input:
Impedance:
Case Size (WxHxD): 4.33" x 3.15" x 9.96"
Weight (approx.):
SP-10
250 - 20000 Hz
66 mm
3 watts
8 ohms
(110 x 80 x 253 mm)
2.2 lbs (1.0 kg)
YAESU MUSEN CO., LTD.
Supplied Cable
SP-20
Pull the front legs outward from the bot-
tom panel, and then rotate the legs count-
er-clockwise to lock them in the extended
position.
Rotate the legs clockwise, and push them
inward. The front feet should now be locked
in the retracted position.
SP-20
200 - 18000 Hz
100 mm
7 watts
8 ohms
5.12" x 4.53" x 12.28"
(130 x 115 x 312 mm)
3.75 lbs (1.7 kg)
Advertisement

Related Manuals for Yaesu SP-10


Summary of Contents for Yaesu SP-10
-
Page 1: Specifications
Simply fold the stand forward to raise the Pull the front legs outward from the bot- front of the SP-10, and fold it back against tom panel, and then rotate the legs count- the bottom case to lower the front of the er-clockwise to lock them in the extended SP-10. - Page 2 Nr. YUK-DOC-1203-16 Nr. YUK-DOC-1204-16 We, Yaesu UK Ltd. certify and declare under our sole responsibility that the following We, Yaesu UK Ltd. certify and declare under our sole responsibility that the following equipment complies with the essential requirements of the Directive 2011/65/EU.
Need help?
Do you have a question about the SP-10 and is the answer not in the manual?
Questions and answers