
Related Manuals for Tysso BLP-300

Summary of Contents for Tysso BLP-300
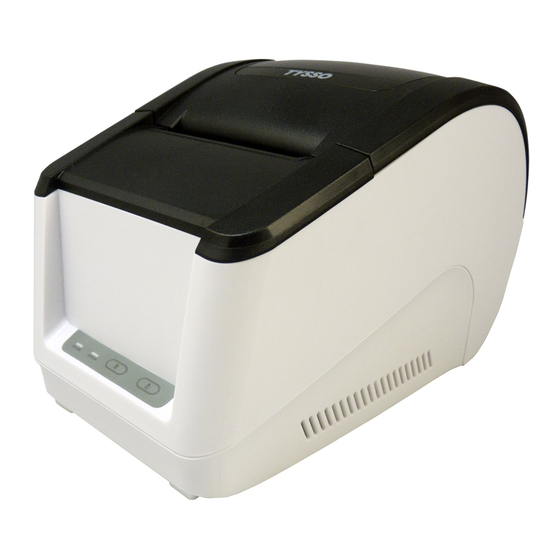
- Page 1 BLP-300 80 mm Thermal Direct Barcode Label Printer 1D & 2D Instruction Manual Keep the user manual for future reference.
-
Page 2: Table Of Contents
Index A. IMPORTANT SAFETY NOTIFICATION ....1 B. PRODUCT OVERVIEW ......... 3 Features ............3 Packing ............4 Specification ........... 5 Product Description ........7 4.1 Product Overview .......... 7 4.2 Control Buttons ........... 11 4.3 LED & Audio Indicators ....... 12 C. - Page 3 APPENDIX ..............18 Self Test ............18 Dump Mode (Debugging Mode) ....20 Gap Sensor Calibration ........ 22 Reset Your Printer ........23...
-
Page 4: Important Safety Notification
A. Important Safety Notification Read the instruction manual carefully before use. Save the manual in the near location for further reference. Use only parts or accessories, especially power adapter, recommended by the manufacturer; unapproved parts may be hazardous and cause injures to the product or human. - Page 5 Important Safety Notification Do not expose the product to water or moisture, such as a bathtub, a washbowl, a kitchen sink, a laundry tub, and a swimming pool. Do not expose the machine under direct sunlight, and keep it away from any heat source. ...
-
Page 6: Product Overview
B. Product Overview Features Thermal Direct Printing Technology Stylish Design Suitable for Retail and Office Printing Print Speed: 2 ~ 5 inch/sec Label Width: 25 ~ 82 mm Interface: USB 1D & 2D (QR Code) Barcode Printing Support ... -
Page 7: Packing
Packing USB Printer Printer Unit *Power Cord* Cable Media Roll Quick Holder Set Installation Guide * Power Cord is selectable depending on the types of electrical plug. - 4 -... -
Page 8: Specification
Specification Model BLP-300 Print Capabilities Print Method Thermal Direct 2 ~ 5 inches/sec Print Speed 50 km Print Head Lifecycle 203 dots/inch (8dots/mm) Print Resolution 76 mm Maximum Print Width Maximum Print Length Print Font Character English, Simplified Chinese, Traditional... - Page 9 General +24VDC/2.5A Power Input (Internal Power Adapter, 100 ~ 240VAC, 50/60Hz) Color White Material Compliance FCC, CE, WEEE, RoHS Weight 1.4 kg Dimension (mm) 215 (L) x 148 (W) x 155 (H) Operating Temperature 5°C ~ 45°C Operating Humidity 25% ~ 85% RH, non-condensing Storage Temperature -10°C ~ 50°C Storage Humidity...
-
Page 10: Product Description
Product Description 4.1 Product Overview Dimensions - 7 -... - Page 11 External Overview Label/Paper Printer Cover Outlet Cover Release Lever Control Buttons & LED Indicators Cover Release Lever: Press the lever to open the printer cover. - 8 -...
- Page 12 Rear View Power Power Input Switch - 9 -...
- Page 13 Internal Overview Printer Cover Label Roll Holder Set Print Head Cover Release Lever Media Guide (Fixed) Media Guide Media (Adjustable) Sensor - 10 -...
-
Page 14: Control Buttons
4.2 Control Buttons LED Status Indicators Pause Feed Button Button (ON LINE / ERROR) Feed Button: This function is to advance the paper or label. When the printer is ready (ON LINE), press the key and the paper advances. Press the button several times to adjust the label paper to move the specified label to the proper position. -
Page 15: Led & Audio Indicators
4.3 LED & Audio Indicators Indicator Status Descriptions Power-ON / On-Line Printer is powered on and in normal printing status Printer Paused Power indicator flashes every 640ms Printed Label Not Removed Printed label is peel-off but not taken off Power indicator flashes every 160ms Printer Cover Is Opened Power indicator is off... - Page 16 Indicator Status Descriptions Overheat Protection Power indicator and Error indicator flash every 160ms ※ Printer will stop print process until the temperature return normal After 1 minute; the printer will check the temperature of print head. If the temperature restore normal, printer resumes working - 13 -...
-
Page 17: Printer Installation
C. Printer Installation Connecting Your Printer Please check the printer and the supplied accessories before installation. It’s recommended to read the entire instruction manual prior to the installation. Power Outlet Printer Cable Power Cord Host PC Printer Place the printer on the designate location. Use the supplied Printer Cable and connect to the Host PC. -
Page 18: Install The Media (Label Or Paper Roll)
Install the Media (Label or Paper Roll) Push the Cover Release Lever to open the Cover. Release Cover Lever - 15 -... - Page 19 Take out the Media Roll Holder Set from the printer. Install the Media to the Holder Set. Media Roll (Paper or Label Roll) Media Roll (Printing side up) Holder Set Note: Please make sure the paper printing side face up as image illustrated.
- Page 20 Install the Label Roller Holder Set with label roll to the printer. Close the Printer Cover back to the printer and the printer is ready for printing. Check the LED Indicators of the printer and make sure the printer is in On-Line and Ready status. Tips: Roll out the label roll to proper length so as to pass through the printer outlet.
-
Page 21: Appendix
Appendix Self Test This function allows user to test the printing function. Before perform the test, make sure the test paper is properly installed. Close the Printer Cover. Turn off the printer. Press and hold the Feed Button. Turn on the Power Switch of the printer. The printer starts printing out the self-test data. - Page 22 Self Test Sample - 19 -...
-
Page 23: Dump Mode (Debugging Mode)
Dump Mode (Debugging Mode) This function allows user to test the printing function and examine the print data in code formats (ASCII / HEX). This function is for user or engineer to debug the program. Before perform the test, make sure the test paper is properly installed. - Page 24 The printer starts printing out the print data in ASCII and HEX codes. Note: Printer will not print if data is not more than one piece of label. Please press FEED button to force the printer to print it out. Restore the Normal Print Mode: Turn off the printer to interrupt the Debugging Mode, and then turn on the printer again.
-
Page 25: Gap Sensor Calibration
Gap Sensor Calibration User needs to start the calibration of the gap sensor sensitivity after loading a different type of label roll or the printer is initialized. The calibration is to perform when: 1. New printer first in use. 2. Label stock changed. 3. -
Page 26: Reset Your Printer
Reset Your Printer * Factory default settings do not include ribbon setting. Close the Printer Cover. Turn off the printer. Press and hold the Feed and Pause Buttons. Turn on the Power Switch of the printer. As the POWER LED (ON LINE) indicator is On and ERROR LED indicator dims, release the two buttons. - Page 27 20190128...
Need help?
Do you have a question about the BLP-300 and is the answer not in the manual?
Questions and answers