Advertisement
A
03347 • 2x
B
01315 • 1x
02943
04877
H
I
J
4x
8x
LUGGAGE CARRIER INSTRUCTION SHEET
ASSEMBLY COMPONENTS
C
03807 • 2x
03918 • 4x
00017
K
4x
D
03808 • 2x
E
00841 • 2x
00115
04103
01010
L
M
N
12x
8x
4x
TOOLS REQUIRED
EXPLORER
A90095 • A90096 • A90098
F
03810 • 2x
00764
00070
03948
O
P
Q
4x
8x
4x
G
03396 • 2x
03668
10171
R
S
4x
1x
Advertisement
Table of Contents

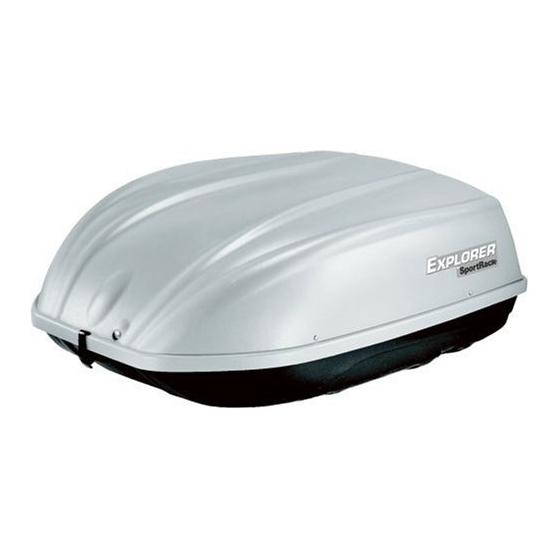
Summary of Contents for SportRack EXPLORER A90095
- Page 1 EXPLORER A90095 • A90096 • A90098 LUGGAGE CARRIER INSTRUCTION SHEET ASSEMBLY COMPONENTS 03347 • 2x 01315 • 1x 03807 • 2x 03808 • 2x 00841 • 2x 03810 • 2x 03396 • 2x 02943 04877 03918 • 4x 00017 00115 04103 01010 00764...
-
Page 2: Parts List
EXPLORER A90095 • A90096 • A90098 PARTS LIST Part Description Part Number Qty. – –––––– Hardshell Top – –––––– Hardshell Bottom – 05305 Master Parts Bag MASTER PARTS BAG Qty. Part Description Part Number 03347 Snap Latch 01315 Foam Gasket 03807 Camlock with Keys 03808... - Page 3 EXPLORER A90095 • A90096 • A90098 CARGO BOX ASSEMBLY TOP ASSEMBLY Attach foam weather stripping (B) to inside of Carrier top. DO NOT CUT! Roll out in one piece and trim excess. Install lock assemblies (C). NOTE: The locks must be in the “locked” position for assembly to the carrier top and for assembly of the lock locators. Remove key to prevent movement of lock hook.
- Page 4 EXPLORER A90095 • A90096 • A90098 ASSEMBLING TOP TO BOTTOM While someone holds the top, align the slot in the hinges (G) on the Carrier bottom with the Carrier top and attach medium screws (M), medium flat washers (K) and large plastic insert nuts (L). DO NOT FULLY TIGHTEN AT THIS TIME. While someone holds the top in an open position, attach the support assemblies (F) with the 2 large screws (Q), 4 large flat washers (P) and 2 large plastic insert nuts (L).
- Page 5 EXPLORER A90095 • A90096 • A90098 Attach lock brackets (E) to Carrier bottom on passenger side with medium screws (M) and large plastic insert nuts (L). Use lower slots in lock brackets. DO NOT FULLY TIGHTEN. Check for correct alignment of lock assembly by closing and locking the carrier. If the lock properly engages the bottom lock bracket, open the Carrier and tighten the hinge (G) hardware and the lock bracket (E) hardware.
- Page 6 EXPLORER A90095 • A90096 • A90098 U-BOLT MOUNTING When carrier is assembled, place on the crossrails, place U-Bolts (H) under crossrails and assemble U-bolts through Carrier bottom mounting holes and U-bolt plates (J). Secure with threaded knobs (I). Recheck to see that your crossrails are securely locked into position. For safety the hooks in the carrier locks must properly engage the lock brackets (E) whenever the vehicle is in motion.


Need help?
Do you have a question about the EXPLORER A90095 and is the answer not in the manual?
Questions and answers