Table of Contents
Advertisement
Quick Links
Advertisement
Table of Contents

Subscribe to Our Youtube Channel
Summary of Contents for Millipore Millivac Maxi SD1P014M04
- Page 1 Millivac Maxi ™ Diaphragm Pump Catalogue No. SD1P014M04 (230 V, 50 Hz)
- Page 2 Corporation assumes no responsibility for any errors that may appear in this document. This manual is believed to be complete and accurate at the time of publication. In no event shall Millipore Corporation be liable for incidental or consequential damages in connection with or arising from the use of this manual.
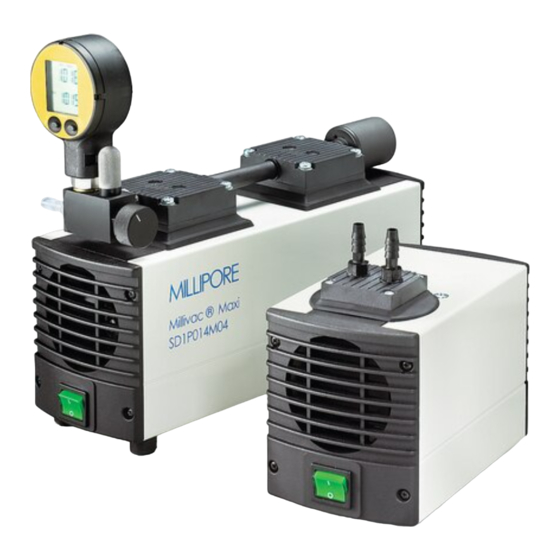
- Page 3 Introduction The Millivac Maxi Diaphragm Pump is a double-head, dry-running de- vice used in a wide range of laboratory applications including those that require pumping slightly aggressive or corrosive gases and vapors. This pump works without oil lubrication, eliminating oil vapors that might pollute the transferred, evacuated or compressed air.
-
Page 4: Usage Guidelines
AND a vacuum trap to protect the pump from vapors and gases. The vacuum trap consists of a 1 liter filtering flask (Millipore cat. no. XX10 047 05), No. 8 stopper (XX10 047 08) and silicone tubing. Additional tubing is available as Millipore cat. no. XX80 000 24. -
Page 5: Rules For Safe Operation
■ Inspect hose, plug and cord for signs of damage before use. Do not use if a deficiency is found. Never operate a damaged unit. Contact Millipore for replacement parts; see Technical Assistance section for details. ■ This vacuum pump needs no lubrication. Applying oil to any part could result in polluted air delivery to the air-handling equipment and will damage the pump. - Page 6 Set Up Remove the pump and its components from the packing material. Use the diagram below to identify the parts of the Millivac Maxi pump. Pump Components Pump heads Pump head connector Digital vacuum gauge Digital vacuum gauge connector...
- Page 7 Millivac Maxi Pump User Guide Install the Battery 1. Insert a coin into the slot in the back of the digital vacuum gauge and remove the cover. 2. Install the battery (type CR2430) between the metal prongs, with the “+” side facing out. Replace the cover. Attach the Digital Vacuum Gauge 1.
- Page 8 Set the Digital Vacuum Gauge Values Use the diagram below to identify the parts of the digital vacuum gauge. Gauge Components Gauge screen Select key Enter key Bleeder valve Vacuum port Regulator knob Turn on Digital Vacuum Gauge Press the Select key to turn the digital vacuum gauge on. When first turned on, the gauge will flash the full-scale pressure range and the software version (year/week).
- Page 9 Millivac Maxi Pump User Guide Digital Gauge Functions Turn the regulator knob all the way closed to assure full vacuum be- fore setting the digital gauge functions. Press the Select key to select the gauge’s various functions and the pressure units. Press the Enter key to activate the selected function or pressure unit.
-
Page 10: Maintenance
Measurement Ranges and Calibration Pressure: 0–1200 mbar ab Compensated temperature range: 0–50 °C Precision at room temperature (% MR) + 0.25 Resolution 1 mbar If a pressure can not be displayed, the message OFL (Overflow) or UFL (Underflow) will appear on the gauge screen. If a pressure outside the measurement range of the vacuum gauge is applied, the last pressure value is displayed blinking. -
Page 11: Specifications
IP20 Connectors for tube ID 6 mm CE — Declaration of Conformity Millipore Corporation certifies that this product complies with the fol- lowing European Union Directives: Electromagnetic Compatibility (EMC) Directive 89/336/EEC Equipment Intended for Use in Potentially Explosive Atmospheres (ATEX) Directive 94/9/CE... -
Page 12: Technical Assistance
In the event of a breach of the foregoing warranty, Millipore's sole obligation shall be to repair or replace, at its option, the applicable product or part thereof, provided the customer notifies Millipore promptly of any such breach.


Need help?
Do you have a question about the Millivac Maxi SD1P014M04 and is the answer not in the manual?
Questions and answers