Table of Contents
Advertisement
Advertisement
Table of Contents

Related Manuals for Wintec LP-4502+


Summary of Contents for Wintec LP-4502+
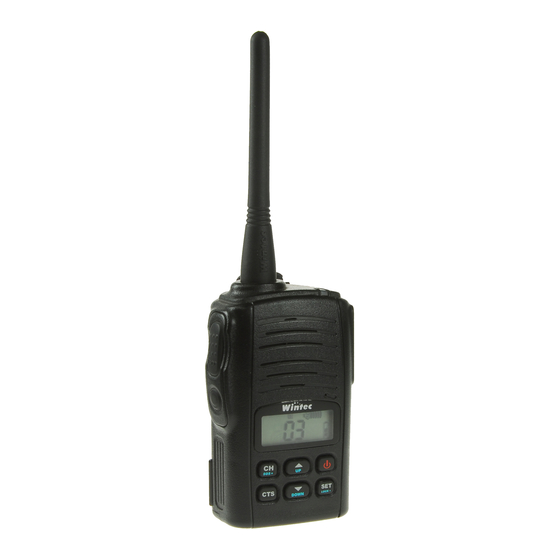
- Page 1 LP-4502+ LP-4502+ User’s Manual...
- Page 2 Introduction Thank you for purchasing Wintec LP-4502+. Wintec LP-4502+ lets you talk to as many people you wish, as often as you like, with no need for a license, subscription or tax payment. It is very easy to use so even children can handle Please read through this manual carefully for many features of this model.
- Page 3 This device has been tested and meets applicable limits for Radio Frequency (RF) exposure. Specific Absorption Rate (SAR) refers to the rate at which the body absorbs RF energy. SAR limits are 1.6 Watts per kilogram (over a volume containing a mass of 1 gram of tissue) in countries that follow the United States FCC limit and 2.0 W/kg (averaged over 10 grams of tissue) in countries that follow the Council of the European Union limit.
- Page 4 Features Use of TCXO resonator to enhance freq. stability (±1.5ppm). Digitally designed to ensure stable quality. Extra-small size with sturdy case, comply with US military standards 810E. 7 tone calls & amateur’s MORSE code. 9 levels of VOX (voice-activate feature) with quick VOX capability ON / OFF.
-
Page 5: Table Of Contents
Contents Radio Controls / Functions..........Icons Guide..............Operation Guide............. Installing / Removing Battery Pack......... Battery Charging............. PMR Type Channel Frequency Table......CTCSS Code Table............DCS Code Table............. Specifications.............. -
Page 6: Radio Controls / Functions
Radio Controls / Functions 1. LED indicator 10. Down key 2. External speaker jack 11. CTCSS / DCS key 3. External microphone jack 12. Channel / SOS key 4. Speaker area 13. Monitor / Back light key 5. Microphone 14. PTT key(Push-To-Talk) 6. -
Page 7: Icons Guide
Icons Guide Tone Call Squelch Level Auto-Power Save Keypad Lock SOS (Emergency) (Voice-activate system) Channel Keypad Tone Scrambler Volume Scanning Auto-Power-Off Signal Strength Indicator Transmit Time-Out-Timer Dual Watch Scanning Battery Power Memory Channel CTCSS Number Tx / Rx Different Channel Mode DCS Number Function Settings Channel Number... -
Page 8: Operation Guide
Operation Guide Power ON / OFF Hold about 1 sec to power radio. While power ON, hold about 1.5 sec turn the power off. Transmitting / Receiving While holding [PTT], speak to the microphone area. LED glows red during transmission. To receive, release [PTT]. LED glows green when receiving. - Page 9 - When the signal is received, pressing [SET] or [CH] will stop scanning and stay in the current channel. - When scanning and none of the signal is received, pressing [PTT] will talk to the original channel, release [PTT] will continue to scan after 5 sec. - When the signal is received, pressing [PTT] will talk to the current channel, and stop scanning and stay in the current channel.
- Page 10 *Sub-Tone code indicates a small number icon to the right of the channel number icon. When is displayed, there are 51 groups of CTCSS. When the display is , there are 83 groups of DCS. *The Sub-Tone code setting operation is invalid at the memory / SOS channel.
- Page 11 Function Settings - Temporarily press [SET] to entry function menu mode. - In the function menu mode, press [SET] to switch the function menu items F1~F13, and then adjust the function data with [▲] or [▼]. After the adjustment is completed, short press [PTT] will leave the function menu mode and save the changed function data.
- Page 12 F5 Tx / Rx Different Channel Mode ON / OFF Under menu item 5, Tx / Rx Different Channel mode ON/OFF can be selected. While this mode is on, if receiving is on any normal channel, the transmission channel will be memory channel or the vice versa.
- Page 13 Factory default: Level 3 F10 Repeater ON / OFF The function is not in use for PMR type. *F10 does not appear on the PMR type device. F11 End of Call Confirmation ON / OFF Under menu item 11, when the function is on, each time the Call is finished, the unit will send a tone to confirm the end of the call.
- Page 14 VOX ON / OFF Holding [PTT], temporarily press [SET] to enable VOX. To disable it, holding [PTT] and temporarily press [SET] again. When VOX is enabled, the icon appears. (For selection of VOX sensitivity, refer to F4.) *While VOX is enabled, press of [PTT] is no longer required during transmission.
- Page 15 Dual Watch Scan Momentarily press [CH]. While channel number icon blinks, holding both [▲] and [▼] simultaneously to start this feature. The LCD show indicates Dual Watch Scan in progress. - In the dual watch scan, will be the normal channel and memory channels alternate listen.
- Page 16 Memory Channel and SOS Channel Setting 1. Select favorite channel and CTSS / DCS. 2. Hold [CH] and [SET] until the LCD starts flashing indicating that you have entered the Memory / SOS channel setting mode, and you can release [CH] and [SET]. 3.
-
Page 17: Installing / Removing Battery Pack
Installing / Removing Battery Pack To Install 1. Place the battery pack into battery compartment as in illus 2. Push battery pack forward as in illus #2. It will lock into compartment. To Remove 1. Holding the radio in one hand, push down battery latch as in illus #3. -
Page 18: Battery Charging
Battery Charging 1. Power drop-in charger with standard AC / DC wall charger 2. Drop radio with installed battery into the charger slot #2. LED Indication Green LED: Standby Mode Green Flash LED: Charge Complete Red LED: Charging Red Flash LED: Battery NG... -
Page 19: Pmr Type Channel Frequency Table
PMR Type Channel Frequency Table Channel Frequency(MHz) Channel Frequency(MHz) 446.00625 446.10625 446.01875 446.11875 446.03125 446.13125 446.04375 446.14375 446.05625 446.15625 446.06875 446.16875 446.08125 446.18125 446.09375 446.19375 CTCSS Code Table 67.0 97.4 136.5 192.8 165.5 71.9 100.0 141.3 203.5 171.3 74.4 103.5 146.2 210.7 177.3... -
Page 20: Dcs Code Table
DCS Code Table... -
Page 21: Specifications
Specifications Modulation Mode 0.48 W/Kg Number of Channels (446.00625~446.19375MHz) Number of CTCSS (62.5.0~254.1Hz) Number of DCS (023~754) 1.8dBi Antenna Gain 50Ω Antenna Impedance 1.5ppm Frequency Stability +/- 2.5khz Max Frequency Deviation 12.5kHz Frequency Resolution 7.2V Power Supply < 40mA RX Current (auto save off) >... - Page 22 CE DECLARATION OF CONFORMITY In compliance with the procedure specified in RD_061, Wintec declares as designed Notified Body 0560 for the European Radio Equipment Directive, that the radio equipment type LP-4502+, complies with the essential requirements, in accordance with Articles 3 of Directive 2014/53/EU.
Need help?
Do you have a question about the LP-4502+ and is the answer not in the manual?
Questions and answers