Table of Contents
Advertisement
Instructions for
Installation and Use
EN
HD5G00CCW/UK
HD5G00CCW/UK
HD5G00CCW/UK
HD5G00CCW/UK
HD5G00CCX/UK
HD5G00CCX/UK
HD5G00CCX/UK
HD5G00CCX/UK
HD5G00CCBK/UK
HD5G00CCBK/UK
HD5G00CCBK/UK
HD5G00CCSS/UK
HD5G00CCSS/UK
HD5G00CCSS/UK
Contents
Introduction, 7
Hotplates, 13
Grill, 14
Main Oven, 17
Installation, 22
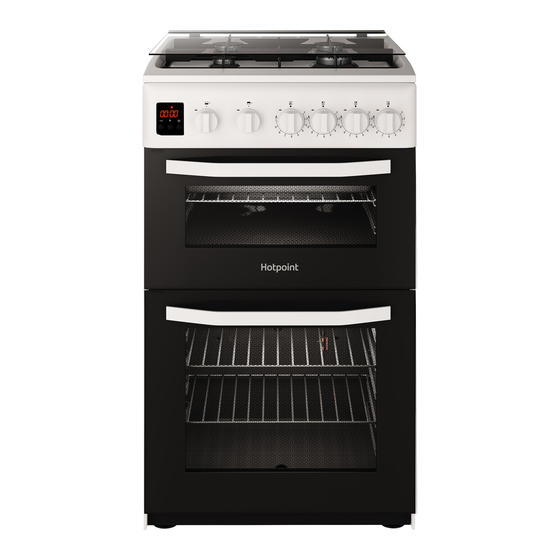
50 cm Gas Cooker
EN
Advertisement
Table of Contents


Need help?
Do you have a question about the HD5G00CCW/UK and is the answer not in the manual?
Questions and answers
User manual only tells you how to set the clock as a cooking time,I only want it to tell the time
To set the time on a Hotpoint HD5G00CCW/UK without setting a cooking time:
1. Press the button several times until the clock icon and the first two digits of the time start flashing.
2. Use the “+” and “-” buttons to adjust the hour value.
3. Press the button again so that the last two digits start flashing.
4. Use the “+” and “-” buttons to adjust the minutes.
5. Press the button again to confirm.
This can be done whether the oven is on or off.
This answer is automatically generated
How do you set the clock to show the time I don't want to use it as a timer
@james mcculloch
To set the clock on a Hotpoint HD5G00CCW/UK without using the timer:
1. Press the button several times until the first two numerical digits on the display start to flash.
2. Use the “+” and “-” buttons to adjust the hour value.
3. Press the button again so that the other two numerical digits on the display begin to flash.
4. Use the “+” and “-” buttons to adjust the minute value.
5. Press the button again to confirm.
If no buttons are pressed, the settings will be confirmed automatically after 10 seconds.
This answer is automatically generated