Reolink RLN8-410 Quick Start Manual
Hide thumbs
Also See for RLN8-410:
- User manual ,
- Operational instruction (24 pages) ,
- User manual (66 pages)

Related Manuals for Reolink RLN8-410


Summary of Contents for Reolink RLN8-410
- Page 1 Quick Start Guide www.reo-link.com Reolink Digital Technology Co.,Ltd E-mail: service@reo-link.com...
- Page 2 Contents: Hardware connection-------------Page 1 ~7 Setup Wizard---------------------Page 8~17 Mobile App -----------------------Page 18~27 Windows Client ------------------ Page 28~37...
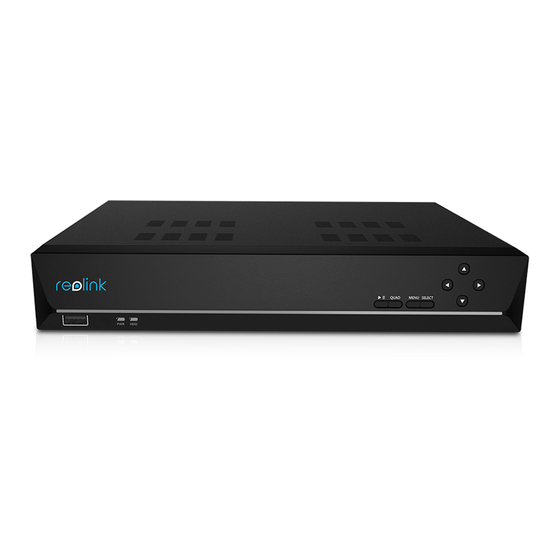
- Page 3 General: To know your NVR Step 1 Connect NVR to Monitor / TV HDMI : Use the HDMI cable (supplied ) to connect your NVR to the TV HDMI port . HDMI HDMI Or VGA : Use the HDMI cable (supplied ) to connect your NVR to the TV HDMI port .
-
Page 4: Step 2 Connect Cameras
Step 2 Connect Cameras Step 3 Connect Network Use the supplied cable, one side into the back socket of NVR, If you want to view the NVR from Mobile or Internet , you need other side into the network socket of Camera as below. to connect NVR to Internet .If don't connect to Internet , it will still works, just some function maybe affected . -
Page 5: Step 4 Connect Mouse
Step 4 Connect Mouse Step 5 Connect Power Adapters You can connect mouse to either of the two rear USB ports Connect power cord to power up NVR to control your NVR . You Can have a general view of the connection Diagram on next page... - Page 6 Quick Start Guide Windows Setup Guide...
- Page 7 The Setup Wizard will run automatically the first time you 1 General Configuration start your NVR Choose the language you'd like the menu system to be Here you can: displayed in Set up language, video format, resolution, time zone and Choose between NTSC (USA,Japan,Canada) or PAL (EU) date format.
-
Page 8: Configure Email
2 Device List 3 Configure Email You can send email alert when detect alarms events. Display technical information of the Cameras connected to NVR ,IP address , Mac Address , name ,Channel. We suggest to use Gmail, you can go to www.gmail.com to create your account . -
Page 9: Internet Time
5 Daylight Saving 4 Internet Time You can set your NVR's system date and time You can configure NVR to auto adjust its time for Daylight Savings in your time zone . You can Sync your NVR's clock with an Internet Time Service using NTP You can set when daylight saving time start and ends , Click “Sync”... -
Page 10: Configure Password
6 Configure Password 7 Live View Screen You can set new password to your NVR Live View is the default display mode for the NVR where all of your connected cameras are displayed on-screen , You The default password is 12345 can check the status or operation of your NVR and cameras Select “... -
Page 11: Mobile App
8 Menu Bar Right click the mouse on the live view screen to open the main Menu Opens the Main Menu. Single camera view. Quick Start Guide Four-camera view. Mobile App Eight-camera view Nine-camera view Click this to view the next camera or screen when the NVR is in single or four-camera view. - Page 12 Android mobile device Control PTZ (pan, tilt, zoom) cameras remotely 2 When you first start the app, Let's start downloading the Reolink App from Apple Store you will see this screen, Tap or Google Play to experience Reolink from Here .
- Page 13 B Add A Device C Add A Device 3 Tap the QR code icon. Hold 5 Tap “ Device Name ” to your mobile device over the name your NVR . Enter the QR code sticker located on password ( default 12345 ) top of your NVR to scan .
- Page 14 D Add A Device E Preview 7 When app has successfully connected with you r NVR tap the “ Start preview ” button. If the app fails to connect, make sure the UID and Channel:1(My Device) Channel:2(My Device) your login details are correct.
- Page 15 F Preview G Playback Shows which camera or group you are viewing. Take a snapshot of the selected camera and save image to your mobile device Stop/Stat all cameras , stop live view of all the cameras . Tap again to restart all cameras . Record video of the selected cameras to your mobile 2.
- Page 16 Quick Start Guide Windows Client Software D,Slide the timeline scroll to choose the file you want to play . You can also drag to magnify the timeline scroll as below sample to see time details.
- Page 17 Install Reolink Windows Client Software You can download Reolink Client Software from the CD supplied or download from Internet to access and control your NVR from your Computer. Click Next to Begin Go to www. reo-link. com to download Reolink client Software.
- Page 18 Install Reo-link Use Reolink The Reolink software allows you to control your NVR from within the same network or remotely over the internet . The following instructions will explain what you can do and Select additional task which buttons control what functions.
-
Page 19: Ip Address Mode
Use Reolink Use Reolink UID Mode and IP address Mode Click Search to see UID Mode the NVR on your network Here we have selected UID mode . This mode provides the option of connecting to your NVR without the working knowledge of networking to connect over the Internet . - Page 20 Playback Preview Preview mode allows you to watch live view of cameras on You can select the camera you want to play. For more your computer. details please refer to User Manual. Expand basic settings to adjust the brightness, contrast etc.
-
Page 21: Device Setting
Device Setting You can configure most settings on the NVR on your computer . For more details please refer to User Manual.
Need help?
Do you have a question about the RLN8-410 and is the answer not in the manual?
Questions and answers