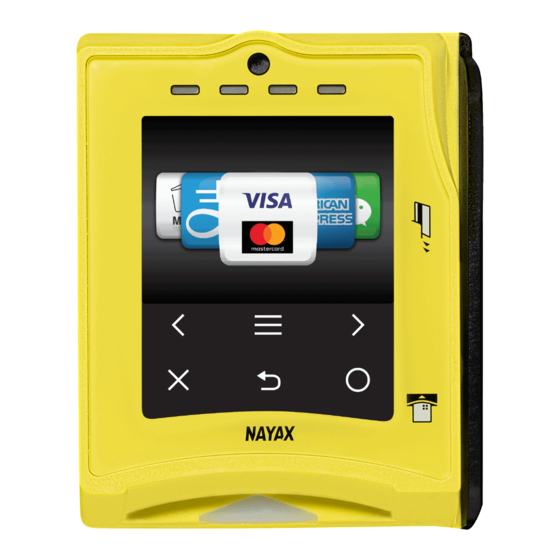
Nayax VPOS Touch User Manual
Hide thumbs
Also See for VPOS Touch:
- User manual (19 pages) ,
- Manual (15 pages) ,
- Installation manual (12 pages)
Table of Contents
Advertisement
Nayax VPOS Touch User Guide
Document Control
Version
1.0
1.1
1.2
OBJECTIVE
The purpose of this document is to guide users through hardware and installation of the VPOS Touch
and the functions the VPOS Touch currently supports.
MINIMUM REQUIREMENTS
•
VPOS Touch
•
#00 Phillips Head Screw Driver
•
M4 Phillips Head Screw Driver
•
Vending Machine or Test Rig
Table of Contents
Packaging ................................................................................................................................................ 1
VPOS Touch Components ................................................................................................................... 2
Cables .............................................................................................................................................. 3
Device Components ............................................................................................................................... 4
Safety & Handling Instructions.........................................................................................................................5
Installations.........................................................................................................................................................6
Operation & Testing...........................................................................................................................................7
Technician Mode................................................................................................................................................8
Technician Mode Commands..................................................................................................................9
|
www.nayax.com
Level 1, Suite 3, 2 Help Street, Chatswood, NSW, 2067
Author
Alex Vaserman
Alex Vaserman
Justin Lee
Proprietary of Nayax, All Right reserved
info@nayax.com.au
Date
21/03/2018
21/03/2018
Minor Corrections and design
29/05/2018
Minor Corrections and design
|
Description
Initial Release
|
02 8459 7207
au-
Advertisement
Table of Contents

Summary of Contents for Nayax VPOS Touch
- Page 1 Minor Corrections and design Justin Lee 29/05/2018 Minor Corrections and design OBJECTIVE The purpose of this document is to guide users through hardware and installation of the VPOS Touch and the functions the VPOS Touch currently supports. MINIMUM REQUIREMENTS • VPOS Touch •...
-
Page 2: Packaging
Cable • Package VPOS Touch Open Package VPOS Touch Closed Package Cables There are many configurations to the VPOS Touch cables. Nayax develops different cables to fit different machines. Please View the different cable options: Image Description Connect to MDB at Vending machines... -
Page 3: Device Components
Yellow/Black Back side Sim Card must be installed with Gold Chip facing the inside of the device with cut corner facing up. Proprietary of Nayax, All Right reserved www.nayax.com Level 1, Suite 3, 2 Help Street, Chatswood, NSW, 2067 02 8459 7207... -
Page 4: Safety & Handling Instructions
• Deploy in non-condensing conditions 2. VPOS Touch Additional features: • The VPOS Touch has no battery and receives power via its connection to the vending machine • Strong shock or vibrations to the device may cause failure • Disassembly is strictly prohibited and will void warranty 3. -
Page 5: Installations
There are two installation options: inside and outside the machine door. Option 1 – Installation inside the machine In the event the machine has a window in the door in which the VPOS Touch can be placed: 1. Open the machine door 2. - Page 6 Credit Card Purchase c) Card Vend Cancel – check that credit is not retained on transaction cancel Once all tests are successfully completed the VPOS Touch is fully installed and ready to be used. Proprietary of Nayax, All Right reserved www.nayax.com...
-
Page 7: Technician Mode
Enter the technician code (either “111111” or “123123” by default) Technician mode Commands There are 3 screens: • First Screen – two buttons that can be configured by logging- in to my.nayax.com (back office) • Next two screens – predefined collection of options listed below:...


Need help?
Do you have a question about the VPOS Touch and is the answer not in the manual?
Questions and answers