Table of Contents
Advertisement
Quick Links
1. POWER OVERVIEW
Endurance II can run on the internal 3.0V watch type
battery (#CR2032).
Install the power wire to enable the continuous backlight.
Endurance II is polarity independent and has safeguards
to avoid draining the vehicle battery. See the POWER
CONNECTION section for more info.
2. MOUNT ENDURANCE II:
Endurance II is made to be bolted to the vehicle. Use
the included handlebar mounts, or refer to the manual
or
www.trailtech.net
for other options like the CNC
aluminum protector.
3. VEHICLE SENSORS:
Refer to the sensor installation sections. You should install
both the wheel sensor and vehicle power connection.
Installing the power wire enables a continuous and brighter backlight.
Installing the wheel sensor enables speed and distance readouts.
4. MAINTENANCE REMINDER:
Endurance II's maintenance icon appears after the countdown gets to 0. Increase the countdown in DATA SETTING MODE.
The countdown can be based on either DISTANCE or TIME, select your preference in DATA SETTING MODE.
5. SLEEP MODE:
Endurance II goes to sleep if no vehicle activity is detected.
During sleep mode Endurance II uses the internal battery and will not draw down vehicle power.
a. Wakes on external power
b. Wakes on wheel movement
c. Wakes on button press
d. Backlight shuts off after 90 seconds of inactivity
e. LCD shuts off and clock is displayed after 180 seconds of inactivity.
QUICK-START
Included
Handlebar
Mount
Tech Support: (844) 378-8143
technicalservice@apexproductgroup.com
Power Wire
010-ELV-197
Aluminum
Protector Mount
(optional)
Wheel Speed
Sensor (varies)
Advertisement
Table of Contents

Subscribe to Our Youtube Channel
Related Manuals for Trail Tech Endurance II


Summary of Contents for Trail Tech Endurance II
- Page 1 Sensor (varies) 4. MAINTENANCE REMINDER: Endurance II’s maintenance icon appears after the countdown gets to 0. Increase the countdown in DATA SETTING MODE. The countdown can be based on either DISTANCE or TIME, select your preference in DATA SETTING MODE.
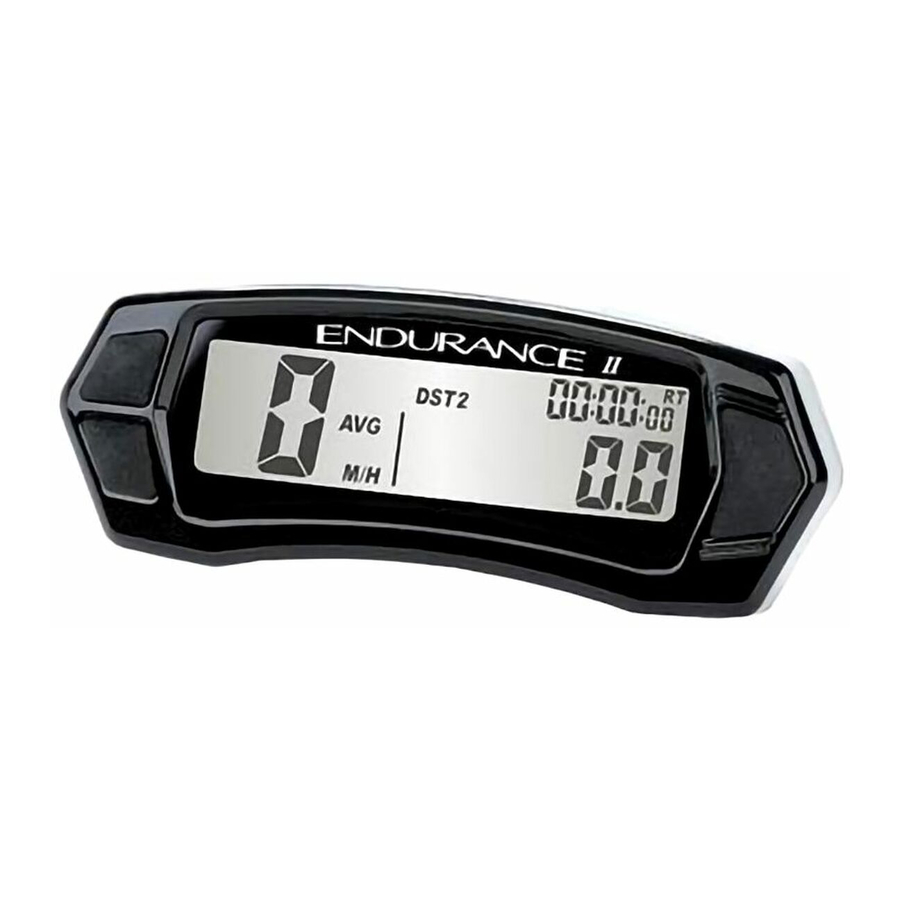
- Page 2 Button 2 <LEFT>, <RIGHT> = SCROLL VALUE Decrement Down 7. SCREENS: Endurance II has 3 screens, press BUTTON 3 to cycle between screens. Hold all three buttons to enter data setting mode. SCREEN 1 SCREEN 2 SCREEN 3 • Speed •...
- Page 3 WHEEL SENSORS INSTALLS KTM WHEEL SENSOR CONVENTIONAL FORK SENSOR Trail Tech wheel If the fork is close to sensors work with the the brake rotor, then KTM and Husqvarna the VHB fork sensor OEM install location. can be used. Peel...
- Page 4 WHEEL SENSORS SETUP WHEEL SENSOR TEST: Test for correct sensor/magnet placement before permanently mounting. 1. Set the vehicle on a stand so that the front (left) wheel spins easily. 2. Plug the wheel sensor cable into the computer. 3. Install the magnetic bolt. 4.
Need help?
Do you have a question about the Endurance II and is the answer not in the manual?
Questions and answers