
Subscribe to Our Youtube Channel
Related Manuals for BioMax N-BM30W


Summary of Contents for BioMax N-BM30W
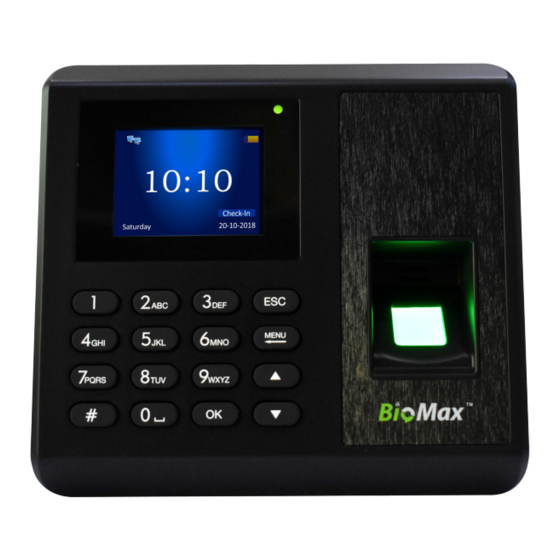
- Page 1 User Manual N-BM30W Fingerprint Time Attendance and Access Control www.biomaxsecurity.com...
-
Page 2: Table Of Contents
CONTENT 1. Use notice .................................. 1 1.1 the recommended procedure in the first using ....................1 1.2 Button description ............................2 2. User Management ..............................3 2.1 User Registration ............................. 3 2.1.1 Fingerprint registration ......................... 4 2.1.2 Password registration ..........................5 2.1.3 ID card registration .......................... -
Page 3: Use Notice
About this manual All functions are based on the actual product, because the product unceasing renewal, the company cannot promise the actual product is consistent with the data, but also cannot afford because of the technical parameters and the data does not match any dispute caused by, any changes without prior notice. -
Page 4: Button Description
1.2 Button description “ESC” Close a submenu and return to the previous menu or submenu. “MENU” The main menu button, used to enter the main menu, press it can enter the main menu interface. Also used as backspace. “∧” Move the cursor forward. “∨”... -
Page 5: User Management
2. User Management In main menu, select the “User” then press “OK” button or press “3” button can enter the user management interface. The user data can be backed up, you can upload to another the same series of attendance machine. “New”... -
Page 6: Fingerprint Registration
2.1.1 Fingerprint registration This can register the information of fingerprint for employees. Operation steps: 1. In user interface, select “New” then press ”OK” or press “1”, next select “Finger” then press ”OK” or press “1” can start the fingerprint registration; 2. -
Page 7: Password Registration
Introduction to Fingerprint Recognition technology: Enroll fingerprint by pressing index finger, middle finger or ring finger. Proper press: Make finger center pressed on the sensor window Improper press: Upright Slant Too lean Too downward 2.1.2 Password registration The password can be registered for employees. Operation steps: 1. -
Page 8: Id Card Registration
2.1.3 ID card registration The ID card can be registered for employees. Operation steps: 1. In user interface, select “New” then press ”OK” or press “3”, next select “Password” then press ”OK” or press “3” can start the ID card registration; 2. -
Page 9: Download Data
department and user permissions. Can re-enter or delete users. Method of entry: In user management select “Modify” then press “OK” or press “2” can enter the modify user interface. 2.3 Download Data Download data to U disk backup, to prevent data loss, to facilitate data upload. PS: This operation requires operation to insert U disk, if not insert U disk, the screen will display “Download fail operation error”... -
Page 10: Device Settings
3.1 Device Settings In advanced Settings menu, select “Device” then press “OK” or press “1” can enter device setting. You can set the Device No. ,language(only English), total number of managers, Prompt volume(0-10), authentication(F refers to fingerprint, C refers to ID card, P refers to password), Screen Return time(Attendance successful return to the initial Screen of the time), Screensaver time(The machine does not use more than this time to enter screensaver mode), Auto shutdown(The machine does not use more than this time to turn off the screen), Open delay(External entrance guard opened delay time), alarms... -
Page 11: Connection Information
All of the attendance record in the attendance machine information deleted. The password “Delete all log” is 8282 Clear all employee data.The password is 8282 “Delete all user” Delete all the information and restore the default Settings. The password is 8282 “Delete all data”... -
Page 12: Appendix
Appendix Keypad 0…9 Can enter the Numbers and English characters and pinyin OK Confirm key can be used as a shortcut key, click this button after verification through can query the records. ⊙# Shut down the power button (if it was on long press for 3 seconds to turn it off, if it was turned off, press the machine) ...
Need help?
Do you have a question about the N-BM30W and is the answer not in the manual?
Questions and answers
how can we receive daily attendance sheet on email