Sign In
Upload
Download
Table of Contents
Contents
Add to my manuals
Delete from my manuals
Share
URL of this page:
HTML Link:
Bookmark this page
Add
Manual will be automatically added to "My Manuals"
Print this page
×
Bookmark added
×
Added to my manuals
Manuals
Brands
Bush Manuals
Cookers
BSC90DFB
Manual
Bush BSC90DFB Manual
Combined gas cooker gas twin cavity
Hide thumbs
1
2
Table Of Contents
3
4
5
6
7
8
9
10
11
12
13
14
15
16
17
18
19
20
21
22
23
24
25
26
27
28
29
30
31
32
33
34
35
36
37
38
39
40
41
42
43
44
45
46
47
48
page
of
48
Go
/
48
Contents
Table of Contents
Bookmarks
Table of Contents
Table of Contents
Safety Information
Safety Information
Energy Saving Tips
Getting to Know Your Combined Gas Cooker
Ready? Let's Begin
Control Panel
Installing Your Combined Gas Cooker
Environment Where Your Appliance will be Installed
Installation of Product
Gas Connection
Electrical Connection and Safety
Adjustment of Feet
Accessories
Functions
Use of Oven
Use of Digital Timer (BSC90DFSS/BSC90DFB)
Using Your Combined Gas Cooker
Use of Gas Burners
Care and Maintenance
Cleaning
Maintenance
Injector Table
Technical Specifications
Advertisement
Quick Links
1
Control Panel
2
Functions
3
Use of Oven
4
Use of Digital Timer (Bsc90Dfss/Bsc90Dfb)
5
Technical Specifications
Download this manual
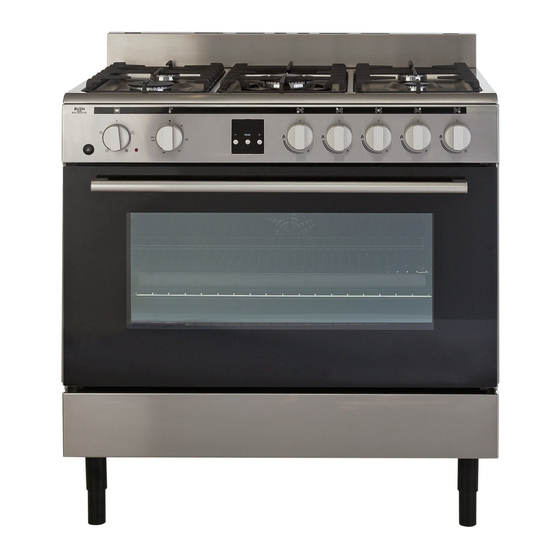
Combined Gas Cooker
Gas twin cavity
BSC90DFB
BSC90DFSS
Table of
Contents
Previous
Page
Next
Page
1
2
3
4
5
Advertisement
Table of Contents
Need help?
Do you have a question about the BSC90DFB and is the answer not in the manual?
Ask a question
Questions and answers
Related Manuals for Bush BSC90DFB
Cookers Bush BSC90DFSS Manual
Combined gas cooker gas twin cavity (48 pages)
Cookers Bush BSC90EB Instruction Manual
(42 pages)
Cookers Bush BSC90ESS Instruction Manual
(42 pages)
Cookers Bush BUSH BESC60W Installation & User's Instructions
(16 pages)
Cookers Bush BGC60SB Instruction Manual
(46 pages)
Cookers Bush BBISGLPYROBLK Instruction Manual
(36 pages)
Cookers Bush BESAW50B Instruction Manual
(35 pages)
Cookers Bush BRCNB90ECSBK Instruction Manual
Freestanding cookers (41 pages)
Cookers Bush BRCP90EBLK Instruction Manual
Freestanding cookers (40 pages)
Cookers Bush BGC50DW Instruction Manual
(48 pages)
Cookers Bush BES50W Installation & User's Instructions
(16 pages)
Cookers Bush BETC60S Installation & User's Instructions
(16 pages)
Cookers Bush BRC100DHESS Instruction Manual
Freestanding cookers (42 pages)
Cookers Bush BGC60SWX Instruction Manual
(46 pages)
Cookers Bush BCL100DFC CREAM Installation & User's Instructions
Dual fuel range cooker (20 pages)
Cookers Bush BRCNB90SPSS Instruction Manual
Freestanding cookers (45 pages)
This manual is also suitable for:
Bsc90dfss
Table of Contents
Save PDF
Print
Rename the bookmark
Delete bookmark?
Delete from my manuals?
Login
Sign In
OR
Sign in with Facebook
Sign in with Google
Upload manual
Upload from disk
Upload from URL


Need help?
Do you have a question about the BSC90DFB and is the answer not in the manual?
Questions and answers