HEIDELBERG Wallbox Home Eco Installation Instructions Manual
Hide thumbs
Also See for Wallbox Home Eco:
- Operating manual (8 pages) ,
- Installation instructions manual (60 pages) ,
- Operating instructions manual (77 pages)
Table of Contents
Advertisement
Quick Links
Advertisement
Table of Contents

Related Manuals for HEIDELBERG Wallbox Home Eco


Summary of Contents for HEIDELBERG Wallbox Home Eco
- Page 1 Heidelberg Wallbox Home Eco Installation instructions 00.999.3023/01...
-
Page 3: Table Of Contents
Main chapter overview Installation instructions Installation instructions ........................ A.1.1 Installation instructions ......................A.1.1 Safety ..........................A.1.1 Prerequisites ........................A.1.1 Scope of supply/Enclosed accessories ................A.1.1 Specifications ......................... A.1.1 Mounting on the wall ...................... A.1.2 Mounting on a column ....................A.1.5 Electrical connection ...................... - Page 4 Main chapter overview A. 2 00.999.3023/01...
-
Page 5: Installation Instructions
Installation instructions Installation instructions Safety Before installing and starting up the Wallbox, please carefully read the enclosed safety instructions. Prerequisites ● The Wallbox may only be operated when mount‐ ed vertically. ● If possible, the Wallbox should be mounted so that it is not directly exposed to rain e.g. -
Page 6: Mounting On The Wall
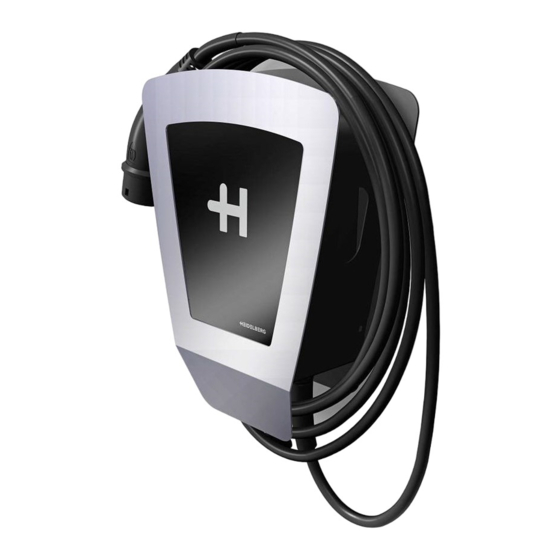
Installation instructions Designation Technical specifications Nominal current up to 16 A adjustable from 6 A to 16 A in 2 A increments Nominal frequency 50 Hz Connection method Spring clip method Charging connection/ Type 2 coupler Length of charging cable 3.5, 5 m or 7.5 m Operation/status informa‐... - Page 7 Installation instructions 210mm 105mm Fig. 1 Drilling plan for the Heidelberg Wallbox Home Eco Prerequisites Recommended mounting height above the floor is 1.00 m -1.10 m up to the lower hole. The mounted Wallbox must be able to withstand a load of at least 16 kg.
- Page 8 Hang the mounting plate (Fig. 2/1) of the Wallbox on the two fastening screws (slotted holes, Fig. 2/2). Screw the third fastening screw into the lower hole. Tighten the three fastening screws (approx. 12 Nm). Fig. 2 Heidelberg Wallbox Home Eco, mounting plate A.1.4 00.999.3023/01...
-
Page 9: Mounting On A Column
Follow the instructions on the sticker (Fig. 4/4) and then pierce the sticker on the cable entry. Insert the connecting line into the cable gland. Tighten the cap nuts of the cable gland (approx. 4 Nm). Fig. 4 Heidelberg Wallbox Home Eco, opened electronics housing A.1.5 00.999.3023/01... - Page 10 Installation instructions Caution - Heed the terminal sequence. When clamping the connecting line, heed the sequence of the terminals. PE, L3, L2, L1, N. Reverse polarity of the electrical con‐ necting lines will destroy the electronics in the Wallbox! Connect the individual wires of the power supply cable as shown in the diagram (Fig.
-
Page 11: Commissioning
10. Replace the cover, fasten it with the four screws M4x10 (Fig. 7/1) and tighten them (1.8 Nm). The four screws are included in the enclosed acces‐ sories. Fig. 7 Heidelberg Wallbox Home Eco with cover Commissioning Pushbutton/LED combination Nameplate Provide power to the Wallbox. -
Page 12: Contact Address/Customer Sales Representative
(LED lights up/blinks yellow or red) is de‐ scribed in the operating manual of the Wallbox. Contact address/Customer Sales Representative Hotline: +49 6222 82-2266 E-mail Wallbox@heidelberg.com Contact language: German and English. Website: https://wallbox.heidelberg.com/ 1.10 Environment This device is used for charging electrically powered vehicles and is thus regulated by EU Directive 2012/19/EU on waste electrical and electronic equip‐...
Need help?
Do you have a question about the Wallbox Home Eco and is the answer not in the manual?
Questions and answers