Table of Contents
Advertisement
Quick Links
Advertisement
Table of Contents

Related Manuals for GRD MAX V2

Summary of Contents for GRD MAX V2
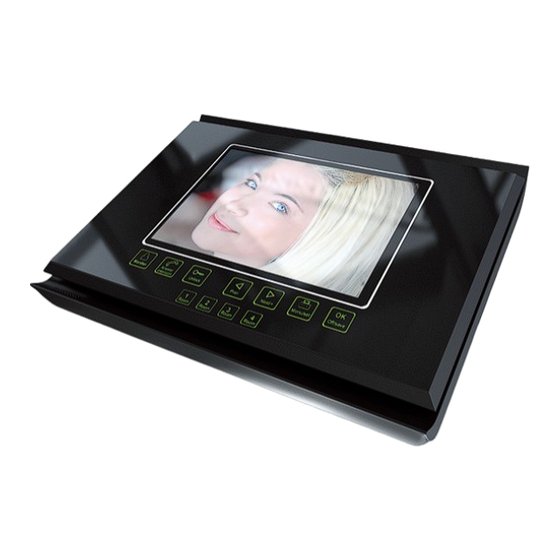
- Page 1 Thank you for choosing GRD products MAX V2 User's Manual...
-
Page 2: Speci Cation
Package Characteristics: • up to 4 monitors in one system Monitor – 1pc. Wall mounting bracket with screws – 1pc. • 2 door panels connection Power cord – 1pc. Door panel cords – 2pcs. • 2 cameras connection (without audio) Camera cord - 1pc. -
Page 3: Installation Instructions
You should use external power supply for such powerful devices. PORT 2 SETTINGS on the second page of SYSTEMSETTINGS menu. продукции GARDI Maximum current for door panel power is 500mA. Two door panels with locks and two cameras connection to the GRD MAX V2 monitors system User’s manual... -
Page 4: Multimedia Manager
Multimedia manager System settings Shortly press button in standby mode to enter Multimedia Manager. Use Press and hold button for two seconds to enter SYSTEM SETTINGS: Pre/- Menu/Set button to move through the menu. Shortly press button to enter current menu. Menu/Set Menu/Set Next/+... -
Page 5: Button For 2 Sec
Incoming calls answer When a visitor prsses door panel buttton, all the indoor monitors will chime simultane- ously. The screen will show “PLEASE TAKE UP”, left upper angle of the screen will show the Unlocking door while viewing sign which door panel have been pressed (DOOR1 or DOOR2). Some time, when you are talking with DOOR1, you will see the sign on the screen “SOMEONE IS VISITING DOOR 2”. -
Page 6: Dvr Function
Auto leaving message This function let your visitors to leave a video message for you while nobody is at home. You should activate AUTO ANSWER for ANSWER MODE function in the SYSTEM SETTINGS of your monitor Manual photo and video capturing before leaving home to activate this function. -
Page 7: Voice Messages
Voice messages If you want to leave a message for your family, choose menu in MULTIMEDIA MANAGER and press button to enter it. Then press button again After all settings being made press ACT to con rm all the changes or CANCEL to exit without saving. Menu/Set Menu/Set to start voice recording. -
Page 8: Address Intercom
SET ALARM CLOCK 1 STATE Address setting CYCLE TYPE WEEK Before starting to work with the monitor, you should correctly set DEVICE ADDRESS. To set DEVICE ADDRESS, WEEK SELECT enter system settings by press and hold buton for two seconds in standby mode. Menu/Set Then go to the DEVICE ADDRESS setting, using button. -
Page 9: Timings
Video capturing function Frame rate SD card volume Video resolution System settings options 320*240 pixels 2 fps 1 Gb CHIME TIME can be seted as (in seconds): 05S/10S/15S/20S/25S/30S/35S/40S/45S/50S/55S/60S. 5 fps 2 Gb 320*240 pixels CHIME VOLUME can be changed as: 10%/20%/30%/40%/50%/60%/70%/60%/90%/100% 320*240 pixels 4 Gb 10 fps... -
Page 10: Table Of Contents
Transfer visitor calls to the telephone (only MAX TEL V2) Go to the rst page of SYSTEM SETTINGS and set ANSWER MODE to be CALL TRANSFER. Index Then enter PHONE NUMBER SETTINGS and enter phone number which you want to transfer calls.
Need help?
Do you have a question about the MAX V2 and is the answer not in the manual?
Questions and answers