Fisher & Paykel WODV230 Installation Manual
Hide thumbs
Also See for WODV230:
- Installation manual (24 pages) ,
- Care & cleaning (8 pages) ,
- Using (5 pages)
Table of Contents
Advertisement
Quick Links
Advertisement
Table of Contents

Related Manuals for Fisher & Paykel WODV230


Summary of Contents for Fisher & Paykel WODV230
- Page 1 WALL OVEN WODV230 & WOSV230 models INSTALLATION GUIDE US CA 591007C 07.18...
-
Page 2: Safety And Warnings
SAFETY AND WARNINGS IMPORTANT SAFETY INSTRUCTIONS! WARNING! Electrical shock hazard Save these instructions for the local inspectors use. ● Before carrying out any work on the electrical section of the appliance, To avoid hazard, follow these instructions carefully before installing or using this appliance. ●... -
Page 3: Parts Supplied
PARTS SUPPLIED Screws Long Trim (1) (2) for Single oven models (to be fitted in a flush installation) (4) for Double oven models Spacers (2) for Single oven models (4) for Double oven models PRIOR TO INSTALLATION The countertop and oven cavity are square and level, and are the required dimensions. ●... -
Page 4: Product Dimensions - Single Ovens
PRODUCT DIMENSIONS - SINGLE OVENS FRONT PROFILE WOSV230 PRODUCT DIMENSIONS INCHES (MM) Overall height of product 27 1/8” (689) Overall width of product 29 13/16” (757) Overall depth of product ( 23 15/16” (608) excludes handle and dials) Depth of oven front and control panel ( 1 9/16”... - Page 5 CABINETRY DIMENSIONS - SINGLE OVENS PROUD INSTALL 5/8 - 13/16" (16-20 mm) 1-9/16" (39 mm) Electrical supply min. 1/16" (2 mm) FLUSH INSTALL 5/8 - 13/16" (16-20 mm) 1-9/16" (39 mm) PROFILE PLAN min. 1/16" (2 mm) IMPORTANT! FLUSH INSTALLATION WOSV230 The depth of the control panel (D) CABINETRY DIMENSIONS...
-
Page 6: Product Dimensions - Double Ovens
PRODUCT DIMENSIONS - DOUBLE OVENS FRONT PROFILE WODV203 PRODUCT DIMENSIONS INCHES (MM) Overall height of product 48 1/2” (1232) Overall width of product 29 13/16” (757) Overall depth of product ( 23 15/16” (608) excludes handle and dials) Depth of oven front and control panel ( 1 9/16”... - Page 7 CABINETRY DIMENSIONS - DOUBLE OVENS PROUD INSTALL 5/8 - 13/16" (16-20 mm) 1-9/16" (39 mm) Electrical supply min. 1/16" (2 mm) FLUSH INSTALL 5/8 - 13/16" (16-20 mm) 1-9/16" (39 mm) PLAN min. 1/16" (2 mm) IMPORTANT! FLUSH INSTALLATION The depth of the control panel (D) is larger than conventional ovens.
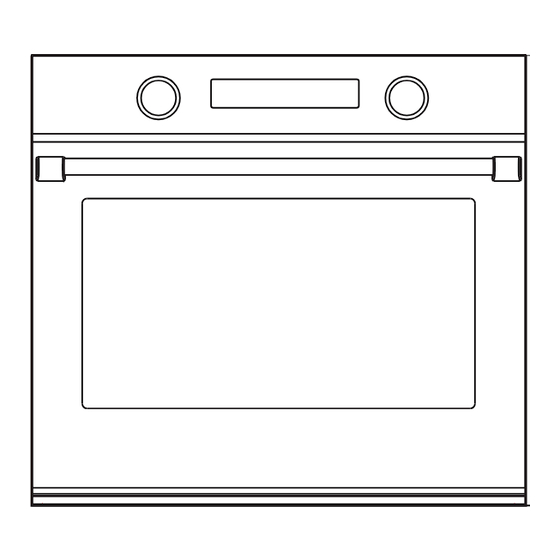
- Page 8 DISCARD PACKAGING RESPONSIBLY Single model shown for illustration purposes only IMPORTANT! Oven may vary When you remove the oven from the carton be careful not to damage the lower trim. The trim is important for both ventilation and to ensure the door opens fully without obstruction.
-
Page 9: Secure The Oven To The Cabinetry
ELECTRICAL CONNECTION TO JUNCTION BOX Cable from Cable from power supply power supply Junction box wires wires location for: undercounter OB30 Single installation Voltage Max. current draw Max. load White Black wires 208V 16.6A 3.5kW wires 240V 19.4A 4.6kW Junction box Nameplate location for: OB30 Double... - Page 10 REFIT THE DOOR(S) IMPORTANT! Do not lift the oven by the door handle. 1 Position the door in an approximately halfway open position. 2 Align the hinge tongue with the hinge slots. 3 Push the door into the slots until you feel the latches locate into position on each side.
-
Page 11: Final Checklist
FINAL CHECKLIST TO BE COMPLETED BY THE INSTALLER Make sure the oven is level and securely fitted to the cabinetry. Check the lower trim is undamaged. Open the (lower) oven door slowly until it is fully open and check there is adequate clearance between the bottom of the door and the lower trim. This is to ensure correct air circulation.
Need help?
Do you have a question about the WODV230 and is the answer not in the manual?
Questions and answers