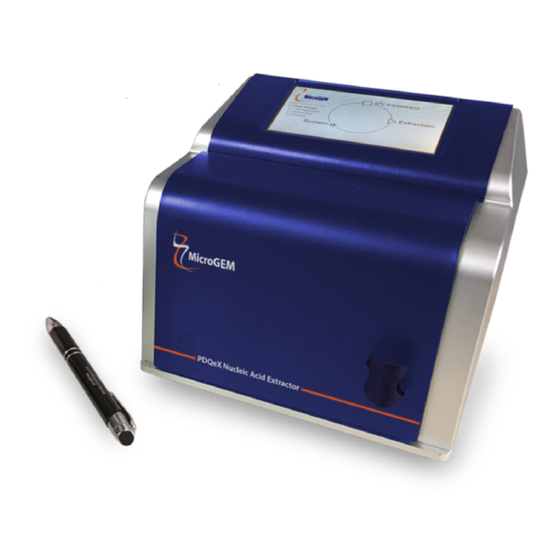
Summary of Contents for Microgem PDQeX
- Page 1 PDQeX Nucleic Acid Extractor Instructions for use Applicable models:forensicGEM, phytoGEM, prepGEM IMPORTANT: Read the instructions before operating this device...
- Page 2 It should only be used by trained personnel or under supervision. The PDQeX is designed to extract DNA from the following types of samples. If your target material is not covered in this document, please contact us at info@microgembio.com.
-
Page 3: Specifications
The cells are lysed by a cocktail of enzymes. This cocktail varies for different substrates. For example, the lysis of leaf tissue requires a complex mixture of hydrolases and a program on the PDQeX to activate them. A temperature regimen is carried out by the hardware. This brings into play the different enzymes at different temperatures. - Page 4 Machine Set-up. Connect the PDQeX to the power supply and switch on. WARNING: The PDQeX should be installed in such a way that affords easy access for disconnection from the main supply. Back of the PDQeX Only use the power supply...
- Page 5 Loading and unloading the PDQeX. The door of the PDQeX slides horizontally left and right. The door will lock during operation or UV decontamination. Before inserting any cartridges into the block, make sure the cartridge lifting tool is in place. This will...
- Page 6 WILL CONTAMINATE THE MACHINE. WARNING; THE LOWER END OF THE PDQEX CARTRIDGE IS DESIGNED TO FIT INSIDE THE COLLECTOR TUBE. IF IT IS ABOVE THE UPPER LIP OF THE TUBE, THERE IS A RISK OF CROSS CONTAMINATION. THIS PROBLEM MAY OCCUR WHEN LOWER PROFILE COLLECTION PLATES OR TUBES ARE USED.
- Page 7 If you wish to carry out sequential runs, make sure the block temperature has fallen below the first temperature used in your program. • Take care when removing tubes to prevent contamination of the block. • If you abort a run, the tubes cannot be re-used. 7 PDQeX Instruction Manual 20190513...
-
Page 8: The Home Screen
Running your program The PDQeX is very easy to use and is controlled by a touch-screen. The following section provides an overview to help you navigate through the controls. 1. The Home Screen The Home Screen is self-explanatory. Three options are provided: 1. -
Page 9: Date And Time
2.2 Date and Time Set the Date and Time using the keypad and press Save. The last System option gives you a QR-code so that you can access more information from MicroGEM webpage. 9 PDQeX Instruction Manual 20190513... - Page 10 3. UV treatment The PDQeX is fitted with four UV strip lights to reduce DNA contamination. Three lights are situated below the collection tube drawer. The drawer should be removed before treatment to allow the light to access the lower side of the heating block. The other is above the heating block.
- Page 11 Select the program you wish to run. The temperature regimen will be shown. Press Start. The PDQeX will switch to a display that shows the progress of your program. At any time, you can terminate the program but be aware that your tubes and samples cannot be re-run.
- Page 12 Instead of choosing one of the pre- defined programs, you can write your own. This can be useful for optimising the PDQeX for your specific sample type. Press the + Button. Click on the dashed line at the top of the screen ( *- - - - - - - - * ) to give your program a name.
-
Page 13: Error Messages
6. Error messages Running the PDQeX is easy, so it is unlikely that anything serious will go wrong. A few common mistakes are detected by the machine. The PDQeX has a sensor at the back of the collection tube drawer. If the drawer is not in place or is crooked, the machine will not run. -
Page 14: Cleaning And Sterilisation
If you are forced to use bleach, make sure that ALL of it is removed. Inspection and Maintenance The PDQeX has been designed to require no operator maintenance. Disposal of Waste Used PDQeX tubes are to be disposed of as hazardous waste in accordance to laboratory protocols. Contact Information MicroGEM...


Need help?
Do you have a question about the PDQeX and is the answer not in the manual?
Questions and answers