Advertisement
Table of Contents
- 1 Table of Contents
- 2 Introduc on
- 3 Installa on and Opera
- 4 Func on Programming
- 5 Time and Date Se Ng
- 6 Loca on Setup
- 7 Synchronisa on Setup
- 8 Network Setup
- 9 Display Setup (4200X and 4010X Series)
- 10 Calendar Setup (4500X and 4600X Series)
- 11 Display Status
- 12 External Interface Setup
- 13 System Setup
- Download this manual
4000x Series Digital Clock
Operating and Installation Instruction
Issue 2.2
Contents
Wharton Electronics Ltd.
Unit 15, Thame Park Business Centre, Wenman Road
Thame, Oxfordshire, England, OX9 3XA
Page 3
Page 4
Page 5
Page 6
Page 7
Page 9
Page 12
Page 13
Page 14
Page 15
Page 16
Page 16
Page 16
Tel: +44 (0) 1844 260567
Email: sales@wharton.uk
Web: www.wharton.co.uk
Advertisement
Table of Contents

Related Manuals for WHARTON 4000x Series


Summary of Contents for WHARTON 4000x Series
-
Page 1: Table Of Contents
4000x Series Digital Clock Operating and Installation Instruction Issue 2.2 Contents 1 Introduc on Page 3 2 Installa on and Opera on Page 4 3 Func on Programming Page 5 4 Time and Date Se ng Page 6 5 Loca on Setup... - Page 2 Warranty The 4000x series digital clocks are fully guaranteed, on a return to works basis, against failure due to faulty parts or workmanship for 24 months from date of purchase. In the event of failure, either within or outside the warranty period, please pack the unit with care and return to the manufacturer, or their agent, for examina on and repair.
-
Page 3: Introduc On
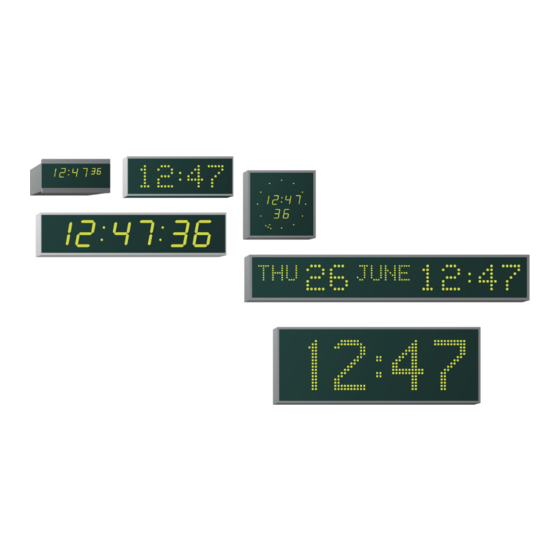
Operating and Installation Instructions 1 - Introduction The 4000x series of digital clocks provide a precise and elegant display of me using red, green, yellow/amber, blue or white LED display characters with an unrivalled flexibility of opera on in the most demanding mekeeping and stopwatch applica ons. -
Page 4: Installa On And Opera
Remote Control and Rear Switches In addi on to the rear se ng switches, the 4000x series digital clock displays are supplied with an Infrared Remote Control to allow for easy se ng of the unit. -
Page 5: Func On Programming
4000x Series Digital Clock Operating and Installation Instructions 3 - Function Programming The 4000x digital clocks have a user friendly programming interface based around a series of func on menus, accessed using the supplied Infrared remote control or four switches located on the right hand rear of the display. -
Page 6: Time And Date Se Ng
Operating and Installation Instructions 4 - Time and Date Setting The 4000x series digital clocks can be configured to automa cally adjust for daylight savings changes, however if the unit is run in Standalone mode of opera on (i.e. unsynchronised), you may occasionally need to manually adjust the me.Please refer to the diagram below for further informa on. -
Page 7: Loca On Setup
Setting the Location If you wish to alter the me zone displayed on your 4000x series digital clock, rather than manually adjus ng the me, the loca on code should be adjusted as detailed in the table below. - Page 8 4000x Series Digital Clock Operating and Installation Instructions UTC+12 (MIKE) MHT Marshall Is. - Majuro, Kwajalein NZST/NZDT New Zealand - Wellington, Auckland TKT Tokelau - Fakaofo LINT Line Is.- Kiri ma UTC-13 UTC-12 (YANKEE) UTC-11 (X-RAY) Midway Is. UTC-10 (WHISKEY) HAST Hawaii - Honolulu...
- Page 9 4000x Series Digital Clock Operating and Installation Instructions 6 - Network Setup The 4000N and 4000NE series digital clocks are fi ed with a 10/100Base-T Ethernet network interface and designed to synchronise to a remote NTP (Network Time Protocol) me server across a TCP/IP computer network.
-
Page 10: Synchronisa On Setup
7 - Synchronisation Setup The 4000x series digital clocks have a standalone accuracy of be er than 0.1 sec/day @ 20-25ºC. However, for applica ons where an increased level of accuracy is required, units may be synchronised to a range of different synchronisa on methods. - Page 11 4000x Series Digital Clock Operating and Installation Instructions NTP Client 4000N & 4000NE products are primarily intended to be synchronised via NTP/SNTP from a remote me server located on the customers TCP/IP Ethernet network. Up to to 4 remote NTP me servers can be specified either fully automa cally using DHCP op on 42 configured on your company's DHCP server or...
-
Page 12: Network Setup
4000x Series Digital Clock Operating and Installation Instructions 48x0 and w482 Time Code Synchronisation Clock configuration The 4000E, 4000NE and 4000EP series digital Press ‘Menu’ or ‘Up’ bu on to access clock se ngs clocks can be configured to synchronise to 48x0 menu. -
Page 13: Display Setup (4200X And 4010X Series)
4000x Series Digital Clock Operating and Installation Instructions 24V Alternate Polarity Impulse Clock configuration Synchronisation Press ‘Menu’ or ‘Up’ bu on to access clock se ngs The 4000EP series digital clocks can be menu. configured to synchronise to 24V alternate Press ‘+’... -
Page 14: Calendar Setup (4500X And 4600X Series)
4000x Series Digital Clock Operating and Installation Instructions 8b - Calendar Setup The 45x0x series digital calendar clocks either dot matrix alpha-numeric date displays or seven segment numeric date displays. Each of the two display type allow for different date formats as follows. -
Page 15: Stopwatch Setup
Operating and Installation Instructions 9 - Stopwatch Setup The 4000x series digital clocks can be configured to operate as a mul func on stopwatch controlled via the supplied IR remote control. The clock can be switched between clock and stopwatch modes by pressing the ‘Clock’... -
Page 16: External Interface Setup
12 - Clock Status Display The synchronisa on status of the 4000x series digital clocks is confirmed by the status of the Colon LEDs. If the Colon LEDs are flashing, the unit is unsynchronised. When the clock successfully synchronises to the selected me source, the Colon LEDs remain sta cally illuminated.
Need help?
Do you have a question about the 4000x Series and is the answer not in the manual?
Questions and answers