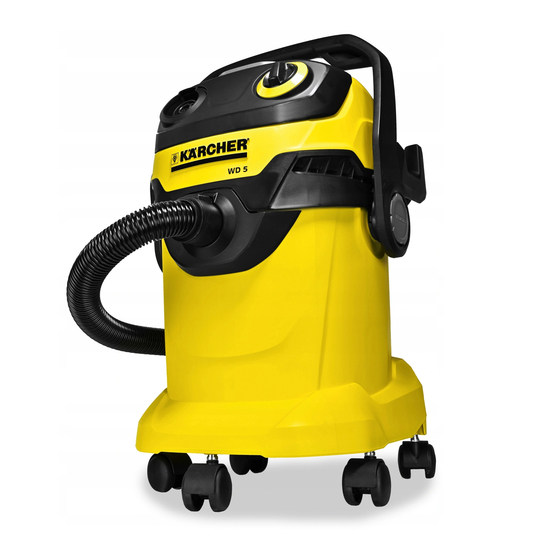
Kärcher WD 5 Operating Instructions Manual
Hide thumbs
Also See for WD 5:
- User manual ,
- Manual (190 pages) ,
- Original instructions manual (185 pages)
Subscribe to Our Youtube Channel
Summary of Contents for Kärcher WD 5
- Page 1 WD 5 Operating Instructions Before first use of the unit read these operating instructions and act in accordance with them. Register your product 59687950 (02/19) www.kaercher.com/welcome...
-
Page 5: Safety Instructions
Contents Warranty The terms of the guarantee applicable in each country General notes have been published by our respective national distrib- Safety instructions utors. We will repair possible faults on your unit free of Description of the Appliance charge within the warranty period, insofar as the faults Operation are caused by material defects or defective workman- Care and maintenance... - Page 6 – Turn off the appliance and re- – Switch the appliance off after move the mains plug prior to every use and prior to every cleaning/maintenance proce- any care and maintenance work. dure. – Repair works may only be – Risk of fire. Do not vacuum up any burning or glowing ob- performed by the authorised customer service.
-
Page 7: Hazard Levels
Hazard levels Recessed grip DANGER After unlocking it, grab the appliance head by the Pointer to immediate danger, handle recess and remove it. which leads to severe injuries or Carry handle death. Illustration WARNING The carrying handle is also used to lock the appli- ance head and the container. -
Page 8: Operation
Note: Accessories, such as suction brushes (optional) Start up can be directly attached to the connecting piece and thus connected to the suction hose. Illustration For convenient working even in tight spaces. Connect accessories. The removable handle can be attached between the ac- cessories and the suction hose if necessary. -
Page 9: Troubleshooting
Troubleshooting Blowing function Cleaning hard to reach locations or, where vacuuming Decreasing cleaning power is not possible, like leaves from a gravel bed. If the suction power becomes less, check the following Illustration points: Connect the suction hose to the blower connection, ... - Page 10 THANK YOU! MERCI! DANKE! GRACIAS! Registrieren Sie Ihr Produkt und profitieren Sie von vielen Vorteilen. Register your product and benefit from many advantages. Enregistrez votre produit et bénéficier de nombreux avantages. Registre su producto y aproveche de muchas ventajas. www.kaercher.com/welcome Bewerten Sie Ihr Produkt und sagen Sie uns Ihre Meinung.


Need help?
Do you have a question about the WD 5 and is the answer not in the manual?
Questions and answers