Sign In
Upload
Download
Table of Contents
Contents
Add to my manuals
Delete from my manuals
Share
URL of this page:
HTML Link:
Bookmark this page
Add
Manual will be automatically added to "My Manuals"
Print this page
×
Bookmark added
×
Added to my manuals
Manuals
Brands
MachineryGuide Manuals
GPS
SM1
User manual
MachineryGuide SM1 User Manual
Gps guidance system
Hide thumbs
1
2
Table Of Contents
3
4
5
6
7
8
9
10
11
12
13
14
15
16
17
18
19
20
21
22
23
24
25
26
27
28
29
30
31
32
33
34
35
36
37
38
39
40
page
of
40
Go
/
40
Contents
Table of Contents
Bookmarks
Table of Contents
Table of Contents
Parts of the Guidance System
GPS/GLONASS Antenna
Bluetooth GNSS Receiver
Antenna Cable
DC-USB Cable
Tablet Mount
Software Installation
Installation Steps
Software Updates
First Steps
Options Menu
Units, Gauges to Display and Overlap Option Menu
Size and Alignment Menu
Guidance Mode Menu
Language Settings
Font Size Settings
Starting a New Job Session (with Bluetooth-Receiver)
Error Messages and Notifications When Using the Bluetooth-Antenna
Alarm Notification in Main Menu
Starting a New Job Session (with Built-In GPS-Module)
Loading Previously Saved Sessions and Continue Former Job
Managing Former Paths
Layout of the Navigation Screen
Function Buttons
Starting Navigation (with A-B Straight Guidance Mode)
Starting Navigation (AB with Surrounding Guidance Mode)
Starting Navigation (AB Curve Guidance Mode)
Starting Navigation (AB Round Curve Guidance Mode)
Advertisement
Quick Links
1
Parts of the Guidance System
Download this manual
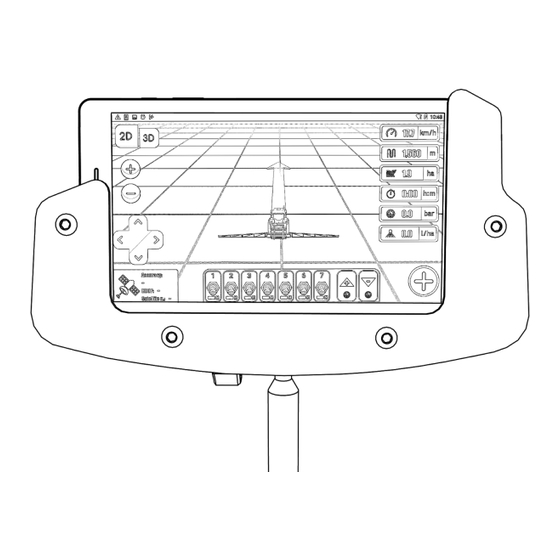
User Manual
MachineryGuide
G PS Guidance System
Read the whole manual before using the product
and keep it for later reference
UK ENG
Table of
Contents
Previous
Page
Next
Page
1
2
3
4
5
Advertisement
Table of Contents
Need help?
Do you have a question about the SM1 and is the answer not in the manual?
Ask a question
Questions and answers
Related Manuals for MachineryGuide SM1
GPS MachineryGuide AutoSteer Software Installation Manual
Assisted steering unit (22 pages)
This manual is also suitable for:
Dm1
Cm1
Table of Contents
Print
Rename the bookmark
Delete bookmark?
Delete from my manuals?
Login
Sign In
OR
Sign in with Facebook
Sign in with Google
Upload manual
Upload from disk
Upload from URL


Need help?
Do you have a question about the SM1 and is the answer not in the manual?
Questions and answers