Advertisement
User's Manual
Brugervejledning
Benutzeranleitung
Manual del usuario
Manuel de l'utilisateur
Manuale dell'Utente
Gebruikershandleiding
Manual do Proprietário
Käyttäjän käsikirja
Användarhandbok
Videojet Technologies Inc., Wood Dale, IL 60191 U.S.A.; Tel: (618) 234-1122; Tel: (800) 527-6275; Fax: (618) 234-1529.
.
©Videojet Technologies Inc. 2002. All Rights Reserved. "Marsh" is a registered trademark of Videojet Technologies Inc
Printed in U.S.A.
29933
Advertisement
Table of Contents

Related Manuals for Marsh PatrionPlus

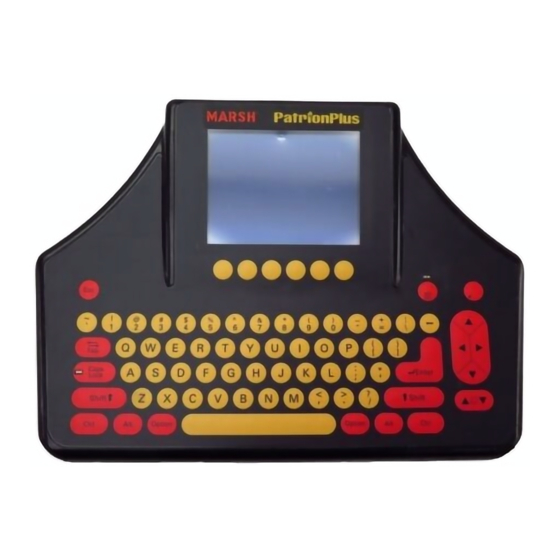
Summary of Contents for Marsh PatrionPlus
- Page 1 Käyttäjän käsikirja Användarhandbok Videojet Technologies Inc., Wood Dale, IL 60191 U.S.A.; Tel: (618) 234-1122; Tel: (800) 527-6275; Fax: (618) 234-1529. ©Videojet Technologies Inc. 2002. All Rights Reserved. “Marsh” is a registered trademark of Videojet Technologies Inc Printed in U.S.A. 29933...
-
Page 2: Change Language
OVERVIEW This User’s Manual provides step-by-step procedures for performing either single or dual-tasking PatrionPlus system functions. For further details, refer to your PatrionPlus Technical Manual. CHANGE LANGUAGE Available screen display languages: German, English, Spanish, French, Italian, Portuguese, Finnish, Swedish. To change language, begin from homescreen. Press . -
Page 3: Time And Date
Specifying Inverted 1. Use to highlight printhead for inverted print. Print 2. Press 3. Highlight Inverted; press 1. Use to highlight printhead you want to designate as the master. Designating Master Printhead 2. Press 3. Highlight Master option; press Setting Print Trigger 1. -
Page 4: Rollover Hour
ROLLOVER HOUR Setting Rollover Hour 1. Begin from homescreen. Press . Highlight Rollover Hour option; press . Rollover Hour screen is displayed. 2. To set rollover time to 00:00 (midnight), press ; to set time to anything else, type desired time in 24-hour format in the highlighted field. ALPHA CODES Setting Codes for 1. -
Page 5: Message Functions
MESSAGE FUNCTIONS CREATE/EDIT MESSAGES Creating a New 1. Dual-tasking only: From homescreen, press either to select Message correct task. 2. From homescreen, press . Highlight New option; press . New Message screen is displayed. 3. Type message in window; add any message elements. For details on checking/adding each different type of message element, see Message Elements. -
Page 6: Message Elements
6. To replace existing message, press . At replace prompt, press To save as new message, type new name (up to 10 characters); press MESSAGE ELEMENTS 1. Begin from a message screen. If adding, place cursor where element should be Formatting, Adding, and Changing Time/Date Codes in a... - Page 7 Incrementing Count 1. In Start at field, type number at which count should begin (up to 9 digits). 2. In Maximum field, type number of last count before count starts over. 3.If needed, use to access Reset and Prompt options. 4.
-
Page 8: Print Message
User Inserts 1. Press 2. Highlight User Insert; press 3. Type in label name, number of characters (up to 99), and default data. Press RS-232 Inserts 1. Press 2. Highlight RS-232 Insert; press 3. Type in field offset (up to 999), number of characters (up to 99), and default data. 4. -
Page 9: Print Settings
PRINT SETTINGS Setting Character 1. Dual-tasking only: From homescreen, press either to select Width or Print correct task. Position 2. Press . Character Width screen is displayed. 3. Character Width: To widen printed characters, press ; to narrow, press 4. Print Position: Press . -
Page 10: View Message
1. Begin from homescreen while message is printing. Press . Highlight Adjust Adjusting Product Counts Counts option; press . Product Counts screen is displayed. 2. Highlight field you want to change (see Adding a Product Count for types) and type in new number. -
Page 11: Delete Message
DELETE MESSAGE Deleting an Existing 1. Dual-tasking only: From homescreen, press either to select Message correct task. 2. From homescreen, press . Highlight Delete option; press 3. Select message (type or highlight message name); press 4. Confirm delete by pressing . -
Page 12: Special Characters
SPECIAL CHARACTERS To add special characters, bar codes or logos to your message, always begin from a message screen. Press . Pop-up menu of available options is displayed. Viewing/Adding 1. Highlight Character Map option; press . Character Map screen is displayed. Special Printable Characters (Character Map) -
Page 13: Utility Functions
UTILITY FUNCTIONS To access the Utility functions, always begin from the homescreen. Press Highlight desired option; press . The applicable screen/function is active. LOGOFF/LOGON Highlight Logoff; press . The system is logged off. Logging Off Logging On Press , type the correct password, and press PURGE PRINTHEADS/PRINT TEST PATTERN Note: HR printheads cannot be purged electronically. - Page 14 2. From controller homescreen, press 3. Highlight ML8 Emulation option; press . System transfers control of the PatrionPlus system to the KID. Note: See Technical Manual for complete list of commands. 4. To return to Patrion mode, press MESSAGE SELECTION (PATRION MODE) 1.
Need help?
Do you have a question about the PatrionPlus and is the answer not in the manual?
Questions and answers