
Related Manuals for EF EFBM 2591 M

Summary of Contents for EF EFBM 2591 M
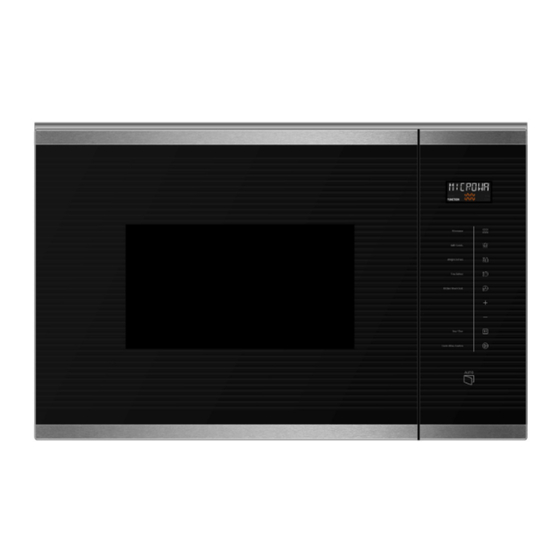
- Page 1 BUILT-IN MICROWAVE OVEN EFBM 2591 M THE BEAUTY OF SIMPLICITY USER MANUAL Read this manual thoroughly before using and save it for future reference...
-
Page 2: Safety Guidelines
Dear Customer, Thank you for having purchased and given your preference to our product. This manual provides a means to make full use of the features of this product. The safety precautions and recommendations are also featured in this manual. We recommend that you read this manual for best performance and to extend the life of your appliance. - Page 3 The appliances are not intended to be operated by means of an external timer or separate remote-control system. WARNING: The appliance and its accessible parts become hot during use. Care should be taken to avoid touching heating elements. Children less than 8 years of age shall be kept away unless continuously supervised.
-
Page 4: Product Specifications
Heat-resistant glass only Heat-resistant glass only Plastic Microwave-safe only Kitchen Paper Metal Tray/Rack Aluminum Foil PRODUCT SPECIFICATIONS Model: EFBM 2591 M Rated Voltage: 230V~ 50Hz Rated Input Power(Microwave): 1450W Rated Output Power(Microwave): 900 W Rated Input Power(Grill): 1000W Oven Capacity: Turntable Diameter: Ø... -
Page 5: Product Descriptions
PRODUCT DESCRIPTIONS Your oven comes with the following accessories: 1) Glass Tray x 1 2) Grill Rack x 1 Turntable Ring x 1 User Manual x 1 Rubber Sucker x 1 (for door opening when there is no electric power) Screws x 2 Grill Rack (Only be used in grill function and be placed on the glass tray) -
Page 6: Control Panel
CONTROL PANEL 1) Display Screen 2) Microwave 3) Grill / Combi 4) Defrost by Weight 5) Defrost by Time 6) Kitchen Timer/Clock 7) Auto Menu/Power/Weight/Timer Adjustment 8) Stop/Clear – Child Lock “3’” 9) Start/+30sec/Confirm 10) Auto Door Opening OPERATION OF THE OVEN FIRST USE Ensure that all the packaging material is removed from the oven before use. - Page 7 Microwave Cooking Mode You may select the desired power level and cooking time for microwave cooking. Press “Microwave” icon once, the screen will display maximum power level (100%) “P100”. Press “Microwave” icon repeatedly to select the desired microwave power level. There are 5 power levels – P100, P80, P50, P30 and P10.
- Page 8 Increasing Cooking Time During cooking process, press "Start/+30Sec./Confirm” icon to increase the cooking time. Each press is 30 seconds increment. The maximum cooking time is 95 minutes. Note: The above quick program is not applicable for Auto Menu and Weight Defrost. Weight Defrost Press "Weight Defrost "...
- Page 9 Auto Menu This oven offers 8 preset cooking programs. These programs are weight dependent and the cooking duration is automatically calculated once the weight is set. To access to this auto menu, follow the steps as below: Press “ ” to select the desired menu (menu chart as below). In standby mode, Press the "Start/+30Sec./Confirm"...
-
Page 10: Care And Maintenance
Oven Door Opening Press " " button, the oven door will open. To close the door, push the door firmly. During cooking process, the program will be disrupted if the door is opened. Close the door firmly and press the “Start/+30Sec./Confirm"... -
Page 11: Installation
INSTALLATION IMPORTANT: This appliance is only intended for domestic use. This oven is intended for built-in use only. It is not intended for counter-top use or for use inside a cupboard. The oven must be installed in compliance with regulations in force in your country and in observation of the manufacturer’s instructions. - Page 12 The cabinet column unit must have the following cut-out dimension To ensure adequate ventilation, a minimum gap of 45mm is required from back of the oven to the cabinet wall. Do not crush the power supply cord. Fit the oven to the column unit and fix it with the 2 screws provided. The fixing points are located at the top of oven (see Fig below).
-
Page 13: Troubleshooting
TROUBLESHOOTING If there is minor faults or problems with the oven, please check the following points before calling for service appointment. Trouble Possible Action Oven does not work Check if the main power is switched on and the plug is properly fixed Check if the door is closed properly Check if circuit breaker is in working order... - Page 14 The manufacturer and agent decline all responsibilities in the event of damage caused by improper, incorrect or illogical use of the appliance. Contact after sales service center when in doubt of the condition of the appliance. For after sales service [Singapore], please contact Casa (S) Pte Ltd 15 Kian Teck Crescent, Singapore 628884 Telephone: +65 6268 0077...
Need help?
Do you have a question about the EFBM 2591 M and is the answer not in the manual?
Questions and answers