Table of Contents
Advertisement
Quick Links
Advertisement
Table of Contents

Related Manuals for Sacci 111521

Summary of Contents for Sacci 111521
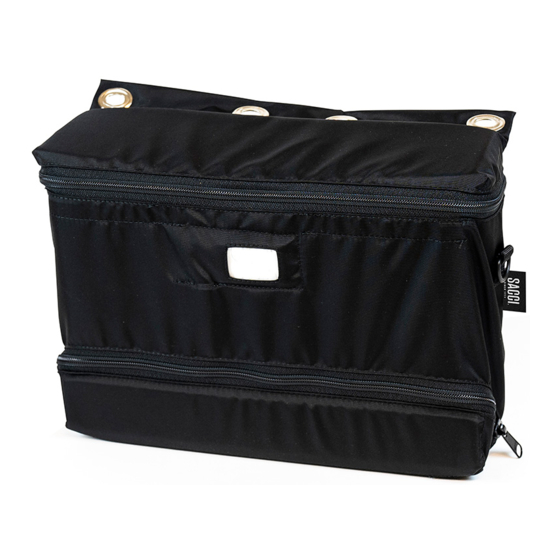
- Page 1 ARTNO 111521 Infusion Thermo Bag USER MANUAL...
-
Page 2: Table Of Contents
CONTENTS General information General information PURPOSE 3 Purpose This manual is intended to provide necessary information to 3 Safety – regulations and warnings users to ensure proper and safe use of the product. 4 Markings and symbols SAFETY – REGULATIONS AND WARNINGS 5 Certificates and markings 5 Technical lifespan Read the entire user manual and follow the instructions... -
Page 3: Markings And Symbols
check to ensure body temperature as a final test that the temperature of the infusion solution is correct. Manufacture date » If the display gives off a red light, do not remove the infusion solution bag for use. The product is CE marked according to the medical »... -
Page 4: Instruction Manual
Instruction manual by Sacci Ryggsäckar AB to be 2 years. Like all products, the infusion thermo bag from Sacci Ryggsäckar AB is subjected to wear and ageing, and even if the product is maintained and UNPACKING service is performed regularly, the function cannot be guaran- 1. -
Page 5: Cleaning And Maintenance
Operational control. In case the operational control does not without colour Sacci Ryggsäckar AB for give the desired outcome, the product must be sent to Sacci change despite repair. Ryggsäckar AB for repair. changed tem- perature. -
Page 6: Product Description
The product is a heat-regulated bag that holds three pieces of is supplied. Sacci Ryggsäckar AB for 1 L infusion solution bags and is intended for heating infusion repair. solution to body temperature. The product is intended for installation in ambulance vehicles to provide body temperature infusion solution. -
Page 7: Technical Data
Figure 1. Placement of display, microcontroller and overheating TECHNICAL DATA protection. Width 320 mm Display Height 230 mm Depth 100 mm Weight of empty bag 980 grams Weight of full bag (3 × 1L infusion solution bags) 3780 grams Material Acrylic coated polyamide fabric Microcontroller and overheating protection... -
Page 8: Accessories And Spare Parts
Accessories and spare parts Electrical connection From the switch, which is mounted in the smaller of the pre-drilled holes, a separate supply cable with a cross- CONTENT INSTALLATION KIT (ARTICLE NUMBER 009122) sectional area of 2.5 mm (attached cable) – with the pro- Installation kit is supplied as an accessory and includes: duct as sole user –... - Page 9 In case of non-approved operational control, the product must be returned to Sacci Ryggsäckar AB for repair. User manual - Infusion Thermo Bag User manual - Infusion Thermo Bag...
- Page 10 Figure 2. Mounting instructions for installation kit Switch with black casing and green lit spot (type 9). 1 + out Mounting frame, hole ø22 Power switch (possible hole 19,4x13) 2 + in Mounting: First press the frame in the hole, followed by the switch Fuse 15A Fuse holder...
-
Page 11: User Manual - Infusion Thermo Bag
Sacci Ryggsäckar AB, Gamla Tunavägen 8 WWW.SACCI.SE 784 36 Borlänge, SWEDEN sacci1914 Tel: +46 (0) 243-932 50 Mail: info@sacci.se sacci1914 User manual - Infusion Thermo Bag...
Need help?
Do you have a question about the 111521 and is the answer not in the manual?
Questions and answers