Table of Contents
Advertisement
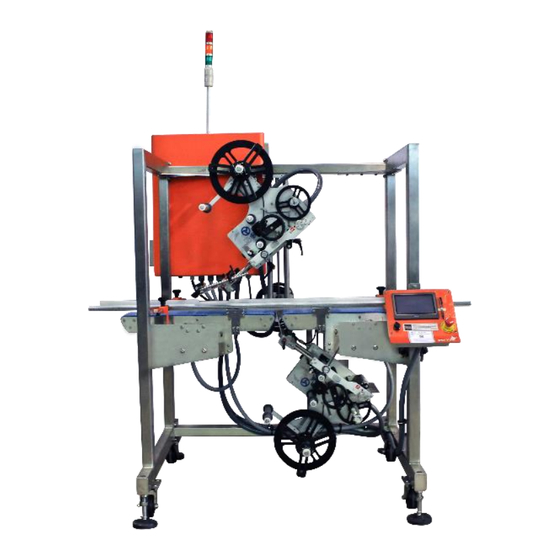
These systems are packaged to include one or several label heads as well
as a conveyor and may contain several options such as status light tower,
transparent label detectors, etc.
Some of the options described in this manual may not apply to your equipment.
Operator and parts manual - 2013
OPERATOR AND PARTS MANUAL
HMI Password: 12345678
Adv. Settings: 222183600
Advertisement
Table of Contents


Need help?
Do you have a question about the Joust and is the answer not in the manual?
Questions and answers