Table of Contents
Advertisement
Advertisement
Table of Contents

Related Manuals for Objecto F5


Summary of Contents for Objecto F5
- Page 1 USER MANUAL...
- Page 2 English Safety Information Before use, be sure to carefully read this manual on safety to ensure that you use this product correctly. Always follow these instructions when using the product. WARNING In order to avoid any electrical shock, short-circuit, burns, or cause a fire: •...
- Page 3 English For remote control batteries, do not use any other than specified. Do not leave the battery of the remote control in a hot location or in direct sunlight. When unplugging the power cord, always unplug by grasping the power plug, not by pulling on the power cord.
-
Page 4: Name And Function Of Each Part
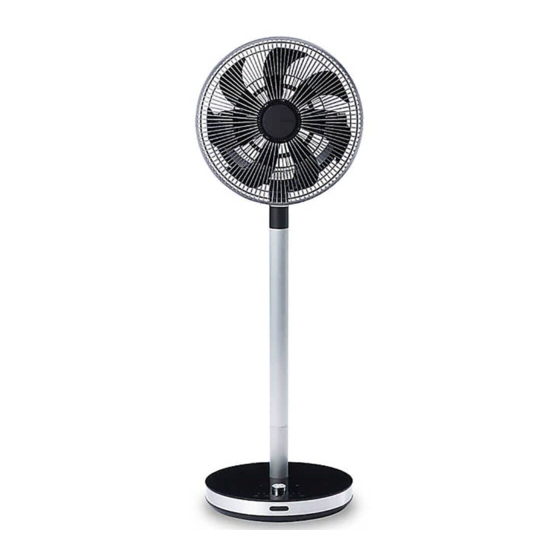
English Name and Function of Each Part Front Front grille Blade Unit top Center mark shell (aroma circle disk) Middle tube part Middle tube To use the maximum height, insert the middle tube into the base, the top into the middle tube. Air volume adjusting knob Base part Remote control receiver... - Page 5 English Operation part of main unit ⑥ ① ② ③ ④ ⑤ Remote control ① ⑦ ⑧ ⑨ ② ③ ④ ⑤ Air volume light Indicates the air volume; when the air volume increases, the light turns on from left to right Swing light The light turns on when swing function is enabled.
- Page 6 English Accessories included in box Main unit .....................1 Middle tube ..................1 Dedicated AC adapter ................1 Remote Control ...................1 Coin lithium battery ................1 Replacement felt (1 in aroma circle disk)..........4 Manual (including Warranty Card) ............1...
-
Page 7: Installation And Setup
English Installation and Setup Attention Turn on the power only when the blades and guards have been properly installed. Assembly of base, middle tube and unit top The middle tube can be removed or installed, and the height can be adjusted. Enlarged View of Connection Confi... - Page 8 English The height is about 22” when the middle tube is not used. Put the base on a stable position. Press the lock button to remove the unit top and middle tube. Rear Attention There should be no gaps between the connected parts. If the installation is not connected properly, the fan may shake or dislodge.
- Page 9 English Install the battery into the remote contro Remote control shell Battery case Pull out the battery case from the main unit of the remote control and pull out the battery holder from the gap. Insert the coin lithium battery into the battery case. Pay attention to the polarity of the battery Insert the coin lithium battery into the battery case.
-
Page 10: Start/Stop Operation
English Correct Use of the Fan Start/stop operation Start operation Simply press the power button on the main unit or remote control to start the operation. • In normal use, the air volume and swing angle will default to the setting when it was turned off last time because of the memory function. - Page 11 English Start natural /sleep wind function Press the natural/sleep wind button on the main unit or the remote control during operation to switch functions. About natural wind/sleep wind Natural wind (white LED turns on) Both high level and low level can reproduce natural wind. Press the + and the −...
- Page 12 English 90° 60° Swing to left and right 30° The swing angle can be manually adjusted by 70° upwards, 10° downwards and 60° horizontally. 70° upwards 10° downwards Enabling/disabling dimmer mode If the air volume light band or LED light is too bright, you can press the Dimmer button on the unit or the remote control to dim the light;...
- Page 13 English Timer Setting - Off timer You can set the off timer and the fan stops automatically after the set time. When the fan is running, you can press the timer button to set the off timer, and the red LED light will turn on. Press the button on the unit or remote control to set the time of schedule operation.
- Page 14 English Use of aroma oil Remove the center mark shell (aroma circle disk) from the center of front grille, turn the center mark shell to the left to unfasten it. Make sure that the felt tab is installed. Carefully sprinkle 2-3 drops of aromatic or natural essential oil onto the felt tab.
- Page 15 English Felt tab replacement If the aroma oil felt tab is dirty or a different aroma oil is used, replace the felt tab. To replace the felt tab, turn the felt cover to left, and then take out the felt tab. In addition to the felt tab inside the disk we also provide 3 replacement felt tabs.
-
Page 16: Cleaning And Storage
English Cleaning and Storage WARNING Disconnect the plug from the power outlet before maintenance. Storage When the product is not in use, use warm water or neutral detergent. Then gently wipe away any stains on the product. Then wipe with a dry cloth. - Page 17 English Disassembly of the blades/front grille Rear grille Motor shaft Blade Blade bundle Front grille To remove the front grille and turn the front grille to the left. See Attention Do not turn the front grille excessively in the opposite direction. This may cause product damage or malfunction.
- Page 18 English Assembly of the blades/front grille Rear grille Motor shaft Blade Blade bundle Front grille Align the blade to the motor shaft and install it. See Fig. Align the center of the blade with the center of the motor shaft and insert the blade into the root of the motor shaft.
-
Page 19: Storage Method
English Align the recess of front grille with the U-shaped print on rear grille. Fasten the front grille to the rear grille. See Fig. 3. Rotate the front grille to the right. See Fig. Turn the front grillr to the right untill it is locked. There will be abnormal noise if the front grille is not locked. -
Page 20: Troubleshooting
English Troubleshooting Please check if the product has any of the following symptoms before sending it for repair. Problem Cause Solution Blades won’t turn. • The blades are not Install blades and grilles properly as correctly installed. described on page 18 “Assembly •... -
Page 21: Specifications
Power cord, plug or AC adapter heats up abnormally. Please turn off the power, unplug • The power connects and then the power cord and contact the disconnects repeatedly. service department at Objecto. • Buring smell. Specifications Product name Model FN-72 Power supply 110 V. -
Page 22: Limited Warranty Policy
Should service be necessary for any reason due to manufacturing defect or malfunction during the 90 days period, OBJECTO will provide repair service at our FACTORY SERVICE CENTER at no charge, and for the duration of the extended 9 months parts warranty period will replace the defective part only, not including labor, provided the defect or malfunction is verifi...
Need help?
Do you have a question about the F5 and is the answer not in the manual?
Questions and answers
What size battery do I need for the F5 fan remote control?
The Objecto F5 fan remote control uses a coin lithium battery.
This answer is automatically generated