Table of Contents
Advertisement
Advertisement
Table of Contents

Related Manuals for Ecobike S3


Summary of Contents for Ecobike S3
- Page 1 Manual instruction for...
-
Page 2: Table Of Contents
Table of contents: 1. Your e-bike 1.1. Introduction 2. Function Display: Bigstone C300S 2.1. About the user manual 2.2. Button definition 2.3. Function summary 2.4. Full view area 2.5. Normal view area 2.6. Normal operation 2.7. Normal setting 2.8. Distance indicator 2.9. -
Page 3: Your E-Bike
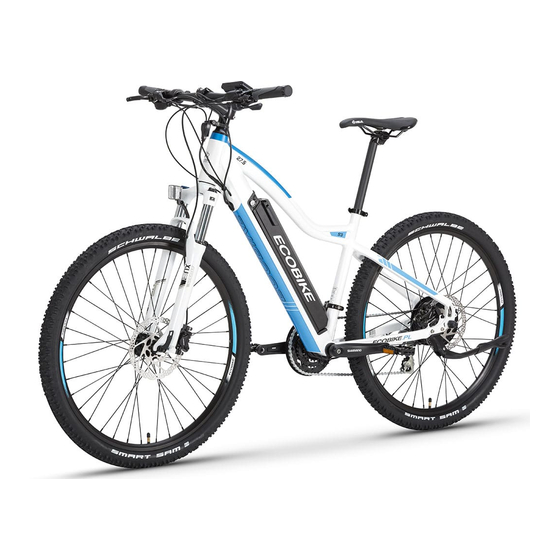
1. Your e-bike 1.1. Introduction We would like to thank you for your e-bike purchasing. The e-bike, equipped with pedals and an auxiliary electric motor, cannot be propelled exclusively by means of this auxiliary electric motor. You will thoroughly enjoy riding this new and electrical power- assisted bike. -
Page 4: Function Summary
2 .3. FUNCTION SUMMARY C300S provides a wide range of functions and indicators to fit the users’ needs. The indicated contents are as below. 1. MODE 2. Current display 3. Speed display 4. KM/H & MPH 5. Backlight indicator 6. 6KM/H work 7. -
Page 5: Normal View Area
2.5 Normal view area The normal viewing area of the C300S is shown below. 2.6. Normal operation 2.6.1. MODE Hold MODE and start the display. The display will provide power for the controller. Hold MODE again can open the backlight. With display on, press MODE for 1.5 seconds to turn off the power. - Page 6 2.6.3. SPEED DISPLAY It displays the current riding speed of e-bike. The speed display is as below. 2.6.4. KM/H & MPH Select KM/H or MPH for the speed and mileage, display will be the currently selected units display. 2.6.5. BACKLIGHT INDICATOR With the power on, hold UP for 1.5 seconds and turn on the backlight.
-
Page 7: Normal Setting
2.6.8. ERROR CODE INDICATOR If there is something wrong with the electronic control system, the display will flash at 1 HZ and show the error code automatically. Different error code is corresponding with different fault information, please see the last page Error code table for details. - Page 8 2.7.3. KM/H & MPH Click UP or DOWN to switch the KM/H & MPH selection. 2.7.4. Riding Mode Selection There are three modes for riding selection: 1: ECO 2:NORMAL 3:POWER 2.7.5. Max speed setting Hold DOWN and UP for 5 seconds and enter into password in putting interface, the password is “12”, Click MODE to choose setting parameters and click DOWN &...
-
Page 9: Distance Indicator
PAS level speed limit Click UP or DOWN to choose different PAS speed as Max speed limited. 2.8 DISTANCE INDICATOR With the display on, click the MODE to switch the display information. In turn shows ODO and trip time, trip distance, max speed, auto cycle display. means auto cycle display. -
Page 10: Cable Definition
Low battery flash 2.10. CABLE DEFINITION 1. Red: Battery + 2. Blue: Weak lock 3. Black: Battery- 4. Green: UART-RECEIVE (RXD) 5. White: UART- SEND (TXD) 2.11. AUTO SLEEP AFTER 10 MINUTES When the riding speed is less than 2 km/h for 10 minutes, the system will go to sleep automatically. -
Page 11: Self-Assembly
• Wheel adjustment. • Appropriate tire pressure. • Pedal adjustment. • Derailleurs are adjusted appropriately. • The lighting is properly set. After checking all the above items, make sure that the cables in the bike are not damaged and are in the correct position. Every 6 months, the bike should be provided with a comprehensive service at any service point to ensure that the user is completely safe while using. - Page 12 Step 3: Pedal mounting 1) The pedals on the axle are marked with the letter "R" or "L". 2) Tighten the pedal by the letter "R" clockwise in the clockwise direction. Then tighten it with key # 15 with a force of 34 Nm. 3) Tighten the pedal by the letter "L"...
-
Page 13: How To Adjust The Saddle Height To Suit The Rider
Then, use the pin. 3.3. How to adjust the saddle height to suit the rider. 3.4. Precautions required prior to each use Verify that the brakes and the front & rear lights are all working properly. Also, check the pressure of the tires. On derailleur geared bicycles the rear derailleur automatically tensions the chain. -
Page 14: The Battery
If you have any doubts, contact your dealer, who will proceed with the necessary inspection. 4. The battery 4.1. Li-on battery ECOBIKE uses high quality lithium-ion batteries in their bikes. These batteries are light and do not pollute the environment. In addition, they are characterized by: No memory effect during charging ... -
Page 15: Installing And Removing The Battery
4.2. Installing and removing the battery To remove the battery, unfasten the lock which is located along the battery’s box. Remove the battery by pulling it out. To put the battery back into place, insert the battery along to the guide rail. -
Page 16: Protecting The Battery
When charging, both the charger and the battery must not be less than 10 cm away from other items! Before starting to fully charge, read the entire user manual. 4.4 Protecting the battery In order to prolong the life of the battery and protect it from damage, observe the following guidelines: ... -
Page 17: Safety Maintenance And Recommendations
5. Safety and maintenance recommendations 5.1. Safety recommendations Helmet For safe riding, use a bicycle helmet. Tires Inspect the wear of your tires on a regular basis and verify the tire pressure at least once a month. Tire pressure: 40-65 PSI depending on the weight of the user. -
Page 18: Maintenance
5.2. Maintenance Caution: Bike maintenance and repair require specific skills and appropriate tools. Do not repair your bike or change any of its settings if you have the slightest doubt regarding your ability to correctly proceed with such work. Contact your dealer. Any adjustments or repairs that are not properly done can damage the bike and lead to accidents resulting in extensive injuries. - Page 19 Helmet, baskets and storage pouch are not provided with the vehicle. To order these accessories, get in touch with your dealer. Using only genuine replacement parts for safety-critical components. Have a pleasant ride!
- Page 20 4. The guarantor within the meaning of this charter is the seller. 5. The user undertakes to carry out a review of the purchased Ecobike bike after driving from 70 to 120 km. The cost of this review is the responsibility of the user.
- Page 21 • tries to repair the equipment by unauthorized persons or performs other activities than those specified in point 9 of this warranty card. 11. It is the responsibility of the user (the Purchaser) to perform; • maintenance and regulatory functions, •...
Need help?
Do you have a question about the S3 and is the answer not in the manual?
Questions and answers