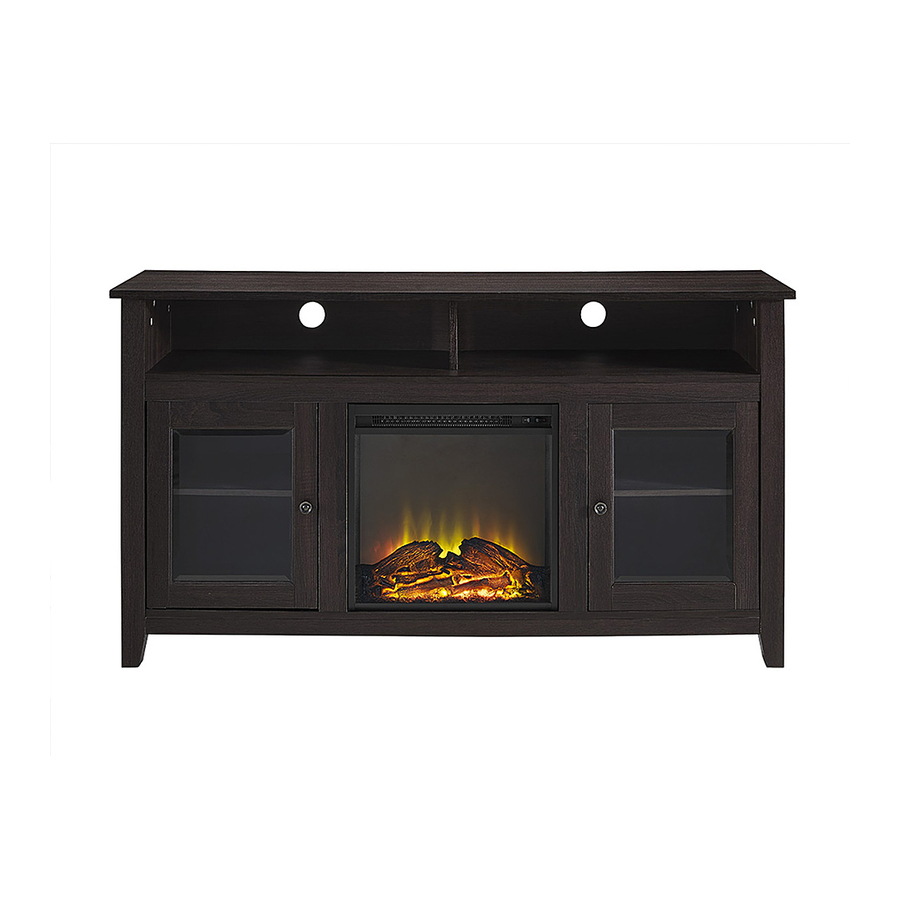
Walker Edison W58FP18HB Assembly Instruction Manual
Hide thumbs
Also See for W58FP18HB:
- Assembly instructions manual (19 pages) ,
- Assembly instructions manual (37 pages)

Related Manuals for Walker Edison W58FP18HB


Summary of Contents for Walker Edison W58FP18HB
- Page 5 Insert the wooden dowel (A) into the support panel (9)(10). Insert the cam bolt (B) into the top panel (1), face plate (11)(12). Insert the wooden dowel (A) and cam bolt (B) into the middle panel (2). Insert the wooden dowel (A) into the skirt (13).
- Page 6 Insert the cam bolt (B) and wooden dowel (A) into the bottom panel (3.). Insert the wooden dowel (A) into the skirt (14) and support panel (15). Attach the door stopper (F) to the skirt (13) and secure it by screw (G). Insert the wooden dowel (A), cam bolt (B) into the wooden legs (5,6,7,8).
- Page 7 Use cam lock (C) to assemble the wooden legs (5,7) to the side panel (4). Repeat step #6 for wooden legs (6,8).
- Page 8 Use cam lock (C) to assemble the skirt (14) and support leg (16) to the bottom panel (3). Use cam lock (C) to assemble the face plate (11)(12) to the support panel (9)(10).
- Page 9 Assemble the side panel (9,10) to the bottom panel (3) and secure it by bolt (H) and wrench (U). Upside down the middle panel (2) and use cam lock (C) to secure the skirt (13). Use screws (H) and wrench (U) to assemble the support panel (15).
- Page 10 Use cam bolts (C) to secure the middle panel (2) into the support panel (9,10). Insert the back panel (18) into the slot of the middle (2) and bottom panel (3). Assemble the wooden leg (5,7) to the middle panel (2), bottom panel (3) and skirt (13)(14) and secure it with cam lock (C).
- Page 11 Repeat step #13 for wooden leg (6,8). Right up the stand and slot in the back panel (17) into the legs.
- Page 12 Place the top panel (1) to the stand and secure it with the cam locks (C). Use flat-head screw (T) and plastic wedge (S) to secure the back panel (17)(18).
- Page 13 Attached the sticker (W) to cover the cam locks. Input the shelf support pin (R) into the stand and place the wooden shelf (19) on top.
- Page 14 Assemble the fireplace insert (D) to the stand and secure it with screw (E). For security, insert the cam bolts (B) to the bottom panel and use cam lock (C) to assemble the support panel (20) into the bottom panel (3).
- Page 15 Attach the door hinge (N) and metal plate (M) to the glass doors and secure it with screw (L). Attach the door knob (J) to the doors and secure it with screws (K). Insert the plastic pivot (Q) into the bottom panel (3) and skirt (13).
- Page 16 Insert the door hinge (P) into the plastic pivot (Q) on the bottom panel (3). Attach the door hinge (N) to the plastic pivot on skirt (13) and secure the door hinge (P) with screw (L).
Need help?
Do you have a question about the W58FP18HB and is the answer not in the manual?
Questions and answers