
Related Manuals for Emerson Quiet Kool EBTC08RE1T


Summary of Contents for Emerson Quiet Kool EBTC08RE1T
-
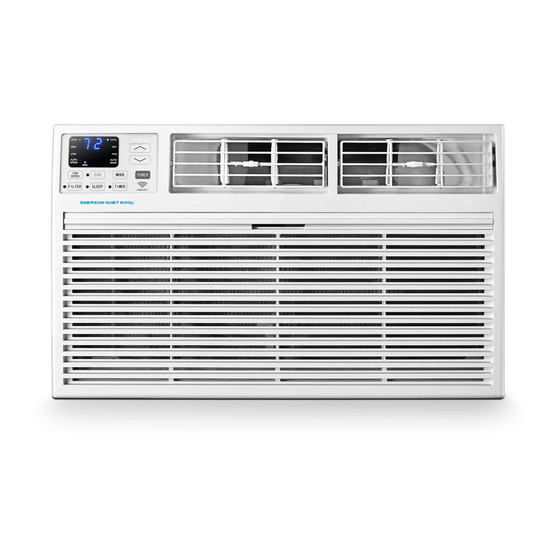
Page 1: Air Conditioner
MODEL: EBTC08RE1T EBTC10RE1T EBTC10RE2T EBTC12RE1T EBTC12RE2T EBTC12RD2T EBTE14RRDT THRU-THE-WALL AIR CONDITIONER... - Page 4 INTRODUCTION IMPORTANT SAFETY INSTRUCTION ................ELECTRICAL REQUIREMENTS ................... PACKING LIST ......................INSTALLATION & ASSEMBLY INSTRUCTIONS .............. USING YOUR AIR CONDITIONER ................OPERATING YOUR AIR CONDITIONER ................ CARE AND CLEANING ....................TROUBLESHOOTING ....................
- Page 6 8K/10K/12K/14K Cooling 10K/12K/14K Cooling & 8K Cooling & Heating Heating...
- Page 7 ° ² × ° ¸ ½ ¼ þ ± í IMAGE PAPT QUANTITY Through-The-Wall Air Conditioner Remote Controll Trim Frame 1 (Left&Right legs) Trim Frame 2 (Top&Bottom legs) Grille Aluminum Rear plastic net 1/2" Long Hex-head Screw Grouding wire with tooth washer Dimension PAPT QUANTITY...
- Page 8 Universal Wall-Sleeve Dimensions 1. Identify the wall-sleeve brand for your preparing, from the below chart. Wall-sleeve Dimensions Brand Brand Brand Brand Frigidaire White-Westinghouse 15 1/4’’ 25 1/2’’ 16’’ 17 1/2’’ or 22’’ Carrier(52 Series) GE/Hotpoint/Amana 15 5/8’’ 26’’ 16 7/8'’ Whirlpool 16 1/2’’...
- Page 9 NOTE • This units increased performance characteristics is the result of having two rear intakes. • It is very important that these installation instructions are followed so your unit can operate at maximum efficiency. • If there is an existing sleeve and rear grille, please check whether the dimension is suitable or not, otherwise replace them.
- Page 10 Direct Unit Mounting In case where the dual intake grille cannot be mounted directly to the sleeve it is desirable to attach the grille to the back of the TTW unit to the hole predrilled in the unit. 1. Attach the 2 seals(1''x3/8''x14''), as Fig. 1. 2.
- Page 11 Seal Installation 1. 1''x3/8''x25'' long seal in the center at the top of the sleeve. Remove the back paper and press into position. 2. 1''x3/8''x14'' seals to the left and right sides of the sleeve. 3. Cut 1''x3/8''x25'' long seals to 14'' long each and attach to the vertical sections of the grille as shown. 4.
- Page 12 Insert the unit with the seal into the sleeve pushing it all the way to rear making sure the seal are against the rear grille. The seals are necessary to reduce recirculation of hot air into the intakes which would reduce system performance.
- Page 13 Cool Mode: The cooling function allows the air conditioner to cool the room and at the same time reduces Air humidify. Press the MODE button to activate the cooling function. To optimize the function of the air conditioner, adjust the For Cooling model temperature and the speed by pressing the button indicated.
- Page 14 6. Eco Button: When the unit is in ECO mode, the Directional Louvers: To direct the airflow, light will turn on. In ECO mode, the unit will horizontal wheel to control the horizontal direction, turn-off once the room is cooled to the user set air deflector to control the vertical direction.
- Page 15 5. Timer: Use these buttons on the control panel and remote to set the Timer. Timer Off: The timed stop is programmed by pressing TIMER button. Set the rest time by pressing the button until the rest time displayed is to your demand then press TIMER button again.
- Page 16 FIG.21 FIG.21...
- Page 18 For any questions or Technical Support, Please Call Customer Service: 1-844-801-8880...
Need help?
Do you have a question about the EBTC08RE1T and is the answer not in the manual?
Questions and answers
Does this air conditioner use freon? The motor and fan is running but doesn't cool down enough to shut off once it's reached desired temperature set on thermostat. Thank you.
How to remove front cover to clean