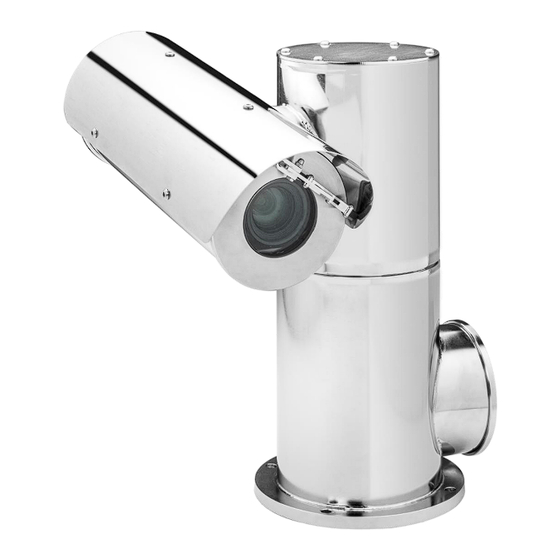
Summary of Contents for Siqura SA PTZ Series
- Page 1 Installation manual SA PTZ Series 316L Fixed camera station Document name: saptzseries_v4-IM-EN.docx...
-
Page 2: Brand Names
Any brand names mentioned in this manual are registered trademarks of their respective owners. Liability Siqura accepts no liability for claims from third parties arising from improper use other than that stated in this manual. Although considerable care has been taken to ensure a correct and suitably comprehensive description of all relevant product components, this manual may nonetheless contain errors and inaccuracies. -
Page 3: Installing The Camera
IP zoom camera or thermal module the SA-PTZ(T) transforms in a full featured PTZ camera station. The PTZ T is fitted with a ∅70 mm germanium window for thermal TC36 or TC640 modules. The housing is not sold separately, it is only available in combination with a Siqura daylight camera module or thermal module and an interface (INT-RJ/SM/MM). MODELS... - Page 4 INSTALLING THE NOZZLE BRACKET* M6 nut 2x M6 washers bracket * Not available for the thermal versions SA-PTZ T. PERFORM ELECTRICAL CONNECTIONS Open the base junction box and perform the connections on the interface board. The screw terminal blocks are used for the field installation.
-
Page 5: Connection Board
Connection board Field installation Name Notes Supply voltage Depending on model: 24VAC (max current: 6A) or 230VAC 50/60Hz (max current: 0,75A). PE (Protection Earth) must be connected. Auxiliary AC output Designed to activate washer systems. Generally activated via AUX 2 in Pelco D. The activation lasts 5 seconds. -
Page 6: Default Limits
Fuse values The following fuse values are used: Fuse name Fuse value 8A T 250VAC 5x20 10A T 250VAC 5x20 All the fuse must be T type (time lag). Different supply voltage can be supplied and may require different fuse values. In such cases, please contact Tecnovideo. SETTING THE UNIT ADDRESS (Analog version only) The 8 way dip-switch on the telemetry receiver (DIS1) can be used to set up the unit address (binary). - Page 7 Presets Preset from 1 to 69 and from 100 to 150 can be used to set/call specific positions. The other presets are factory reserved and cannot be used to set/call specific positions. On startup, the unit will perform a zero-axis (in which the unit won't accept any further command). Setting preset 74 changes the behaviour of the unit to perform the zero-axis on the first command received after the startup.


Need help?
Do you have a question about the SA PTZ Series and is the answer not in the manual?
Questions and answers