Advertisement
Advertisement
Table of Contents

Related Manuals for Skidee Y200

Summary of Contents for Skidee Y200
- Page 1 PRODUCT MANUAL - Y200 Or watch the video on YouTube.com...
-
Page 3: Dear Customer
GENERAL Dear customer, Thank you for choosing our scooter. You can rest assured that you have acquired a high quality product. And also we o er you an excellent after-sales service. Before you convince yourself of the unique driving experience o ered by your new scooter, please read the attached instructions carefully. - Page 4 Important Instructions and Warnings IMPORTANT: Before you allow your child to use our scooter, please read the operating safety instructions carefully, and ensure that the steering rod is fully engaged and all the screws are tight. Also ensure that the wheels have been correctly secured, and that they show no signs of wear.
-
Page 5: Operating Safety Instructions
Operating Safety Instructions Child should practice rst to gain control of the scooter. We recommend that you practice your scooter on a tra c-free car park or on open asphalt play areas. Ensure that your child always wears a helmet, and wrist, elbow and knee pads, as well as shoes with rubber soles. - Page 6 Cyclists, Rollerblade and Animals. Always observe tra c rules and regulations. Load capacity is up to 130 Lb (60 kg) body weight for the scooter. Scooter (Model No: Y200) for 2+ year Always take care not to risk injuring ngers when folding and unfolding scooter.
-
Page 7: Play Instructions
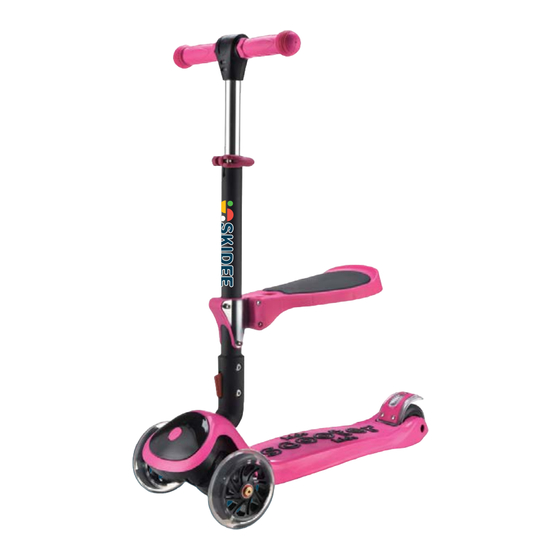
Play Instructions Hold on to the ends of the T-Bar or Ring Bar with your hand. You steer the board through the slightest of weight displacements. To Start moving, stand with one leg (the foot approx.at 45 ° angle to the direction of travel) on the board and push yourself o using the other leg. - Page 8 Model No: Y200 Handle Grip Age: 2+year Durable/Eco-friendly TPR Adjustable T-Bar 26 inches to 33 inches Stronger Plastic Collar Clamp Use Reinforced GFK30 material instead of ALU Handlebar\Steering Rod T-Bar Adjust Ball Thicken ALU Tube Adjustable Seat 13 inches to 13.8 inches...
- Page 10 Press Red Push Button (1), Direct the Scooter Hole (4). Red Push Button (1), Handlebar (2), Convex (3) to the Localization gap (5), Insert Convex (3). the Handlebar (2) in Scooter Hole (4), Until you hear "click" sound to ensure Handlebar (2) securely locked in Scooter Body.
- Page 11 Scooter, as shown in gure A. Press the Red Push Button (1) and Pull the Handlebar (2) 45 degrees upward, as shown in Figure B&C. Rotate the handlebar (2) 90 degrees, Press red push button (1), Direct the Finish the Scooter Dis-assembly, as Convex (3) to the Localization gap (5), insert the Handlebar (2) in Scooter hole shown in Figure F.
- Page 12 Height: 33 inches Height: 29.5 inches Height: 26.5 inches Lowest: 26.5 inches, Second: 29.5 Loosen the Lever of the Collar Use the popping ball to adjust the T-Bar inches, Highest: 33 inches, as Clamp. according to kids height. Tighten the shown in Figure C.
-
Page 13: Maintenance Instructions
Maintenance Instructions Right Wheel: Turn the Allen Left Wheel: Turn the Allen Key anti-clockwise to loosen Key clockwise to loosen the the screw screw. Change deck 1. Loosen the 6 screws(A) as shown on the picture(arrows). 2. Remove deck and Tighten the screw(A). 3. - Page 14 Remove or Change collar clamp 1. Loosen the 2 screws (E) and (F) as shown on the picture (arrows). 2. Pull the T-Bar all the way up till it comes out of bar to remove clamp. 3. Insert new clamp, and T-Bar back in place. 4.
-
Page 15: Warranty Items
If you need any help with your scooter, please directly contact us at support@skidee.net The warranty shall not include damage caused by: 1.
Need help?
Do you have a question about the Y200 and is the answer not in the manual?
Questions and answers